

Introduction: Wireshark image restoration involves the process of restoring image data packets captured using Wireshark, which can be utilized for forensics and tracing purposes.
By capturing data packets, we can convert binary to Base64, then from Base64 to images, eventually obtaining the final image. It’s useful in various scenarios, such as viewing images that others are browsing over a public WiFi network or tracing in certain specific situations.
Let’s get started with the operation directly.
First, we open Wireshark to capture packets, open a browser to a website and upload an image.
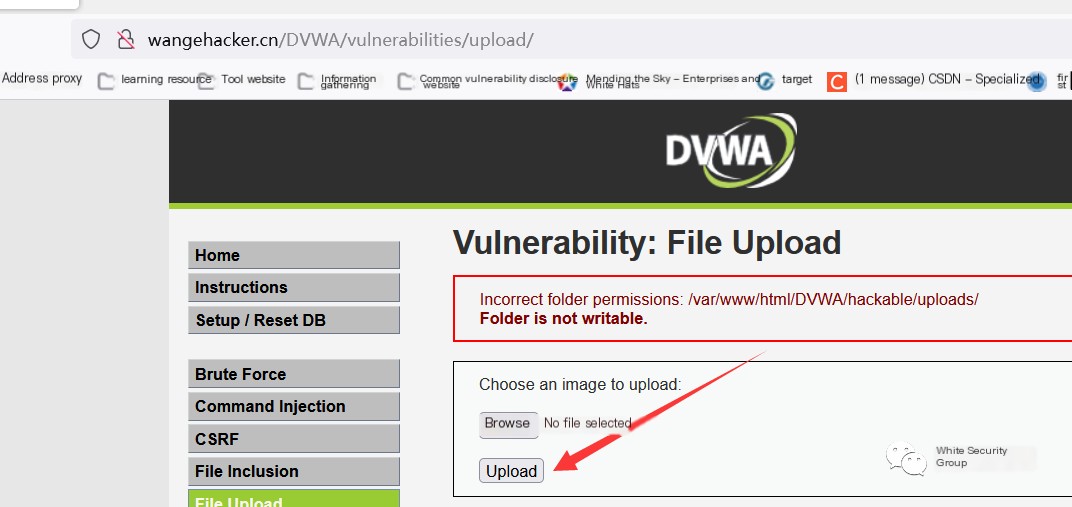
Here I’m using my website’s test environment, you all can use this for the experiment as well.
After uploading the image, we return to Wireshark to set up a filter. Since the image I uploaded is a PNG, I’m using a PNG filter. You can also use an HTTP protocol filter — both work the same.

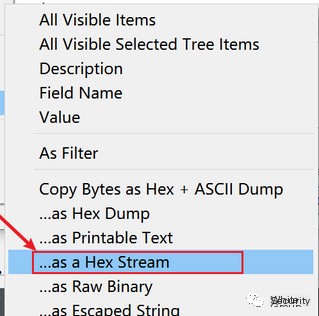
I’ve listed both, then we double-click this line and find it as shown below.
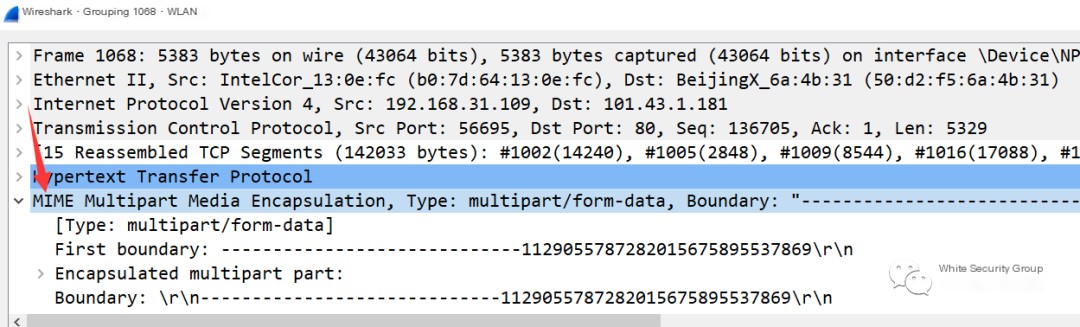
Then in its dropdown
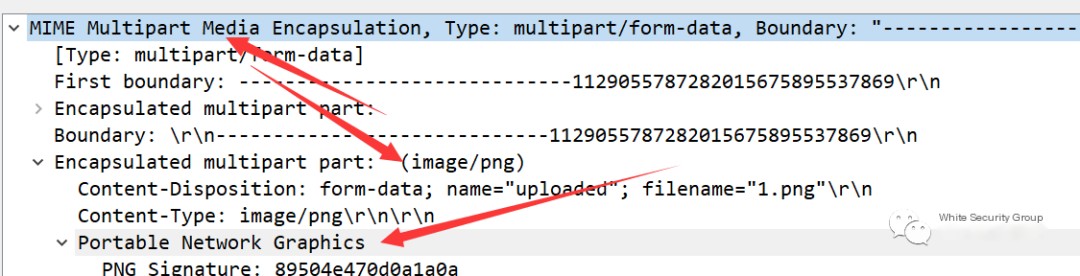
We can see here is where our image is being transmitted. In the second-level directory, there’s a part on the top that’s useless, so we simply copy the binary from the third arrow down, right-click the third arrow point.
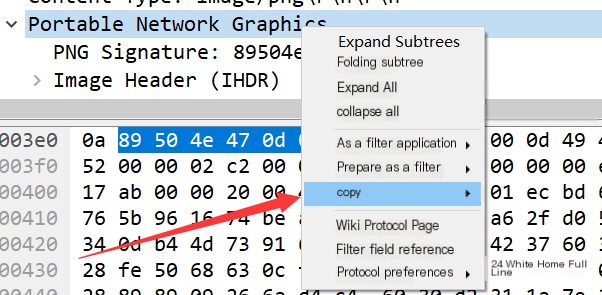
Then choose copy in
After copying, we go to an online site for binary to Base64 conversion.
Website address:
You can also search for it on Baidu yourself.
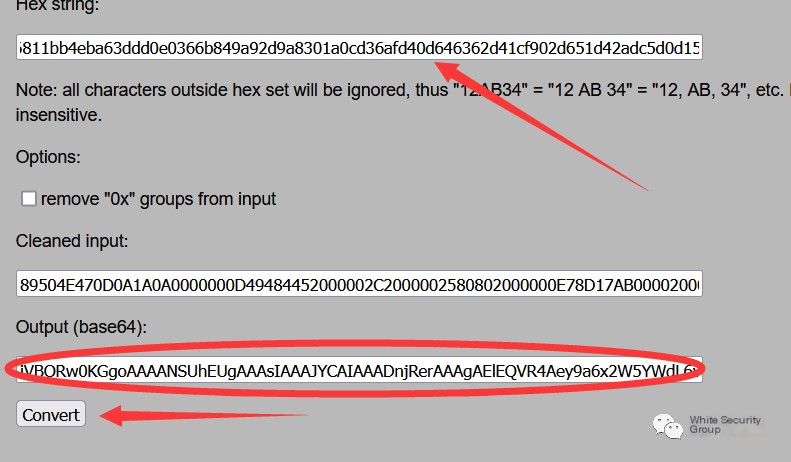
Here, place the copied binary at the first arrow and click the second arrow. Finally, copy the circled part and it’s converted. Then we go to a Base64 to image conversion website.
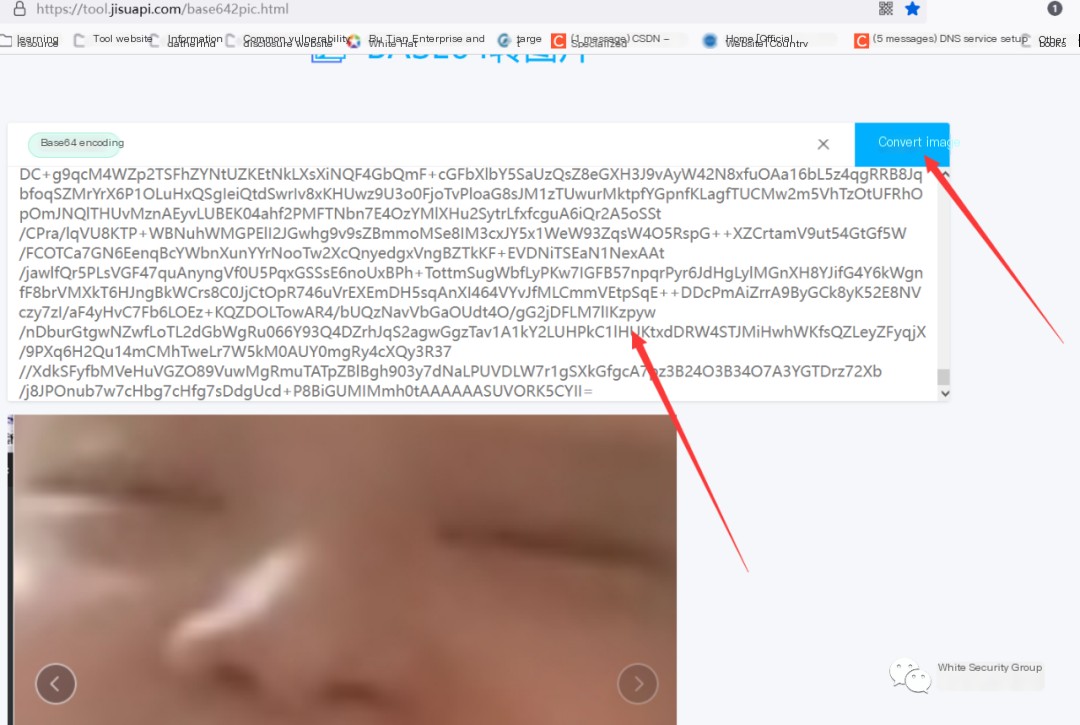
Copy it in to convert to an image, and you can see it immediately appears.
At this point, our image tracing is complete. Official Account: Bai Security Group Website: www.wangehacker.cn