

Kali is an operating system commonly used in penetration testing and Digital Forensics.
What is Kali in Digital Forensics?
Kali Linux is a Debian-based Linux distribution designed for digital forensics.
It is maintained and funded by Offensive Security Ltd.
It was initially completed by Mati Aharoni and Devon Kearns from Offensive Security by rewriting BackTrack, which was their previous Linux distribution for forensics.
Kali Linux comes pre-installed with many penetration testing software, including nmap, Wireshark, John the Ripper, and Aircrack-ng. Users can run Kali Linux from a hard drive, live CD, or live USB.
Kali Linux has both 32-bit and 64-bit images.
It is available for the x86 instruction set.
There are also ARM architecture-based images available for Raspberry Pi and Samsung’s ARM Chromebook.
Download Links
The author recommends installing and experiencing Kali on VirtualBox or VMware virtual machine.
Download link is as follows:
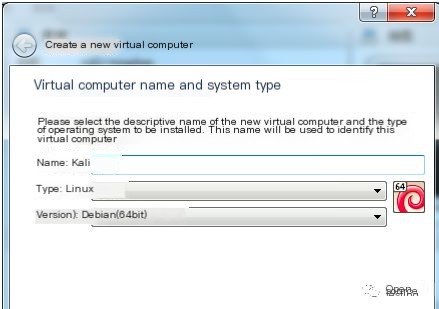
Please choose the correct version as needed; the author installed the 64-bit version, as shown in the image below.
 >
>
Installation Process
The Kali installation process is basically similar to that of regular Linux distributions, with nothing too special:
First, download VirtualBox from https://www.virtualbox.org/wiki/Downloads.
After installing VirtualBox, start it and click “New” to open the new virtual machine dialog.
 >
>
Enter a name at your discretion, select Linux for type, and choose Debian or Debian(64 bit) for version. The author installs the 64-bit version, so Debian(64 bit) is chosen. Click “Next”.
Select memory size according to your machine’s memory configuration, and it’s recommended to allocate 4G. Next, configure the virtual hard drive.
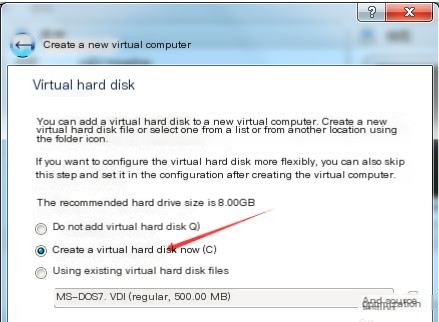
Select Create a new virtual hard disk and click “Create.”
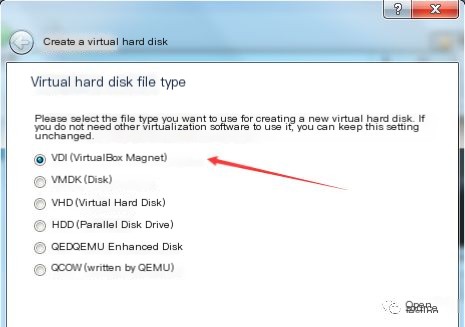
For the type of virtual hard disk file, choose VDI type. Next.
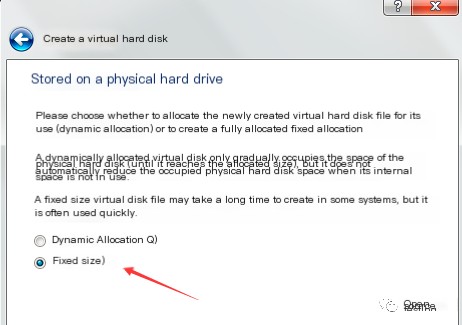
The author chooses to Fix size. Next, select file storage location and set the disk size. (You can choose dynamic size as you need)
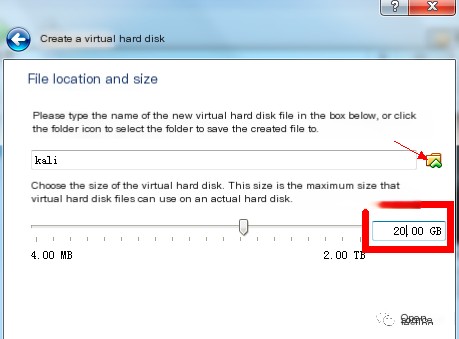
For virtual disk size, it is recommended to be greater than 8G. The author used the default 8G for installation, which failed midway. After changing to 20G, the installation succeeded. Start creating.
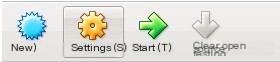
Wait for the virtual disk to be created. Return to the VirtualBox main interface, and select the virtual machine we created. Click the “Settings” button above.
Select the “Storage” tab.
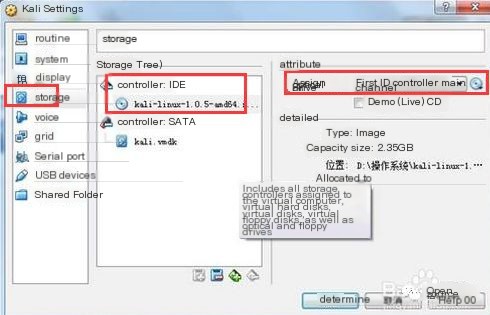
Next, select the optical drive.
Configure the optical drive and load the installation image file. In the optical drive attributes, select “Primary IDE Controller Master”, and load the downloaded Kali Linux ISO file (the Kali installation package downloaded earlier).
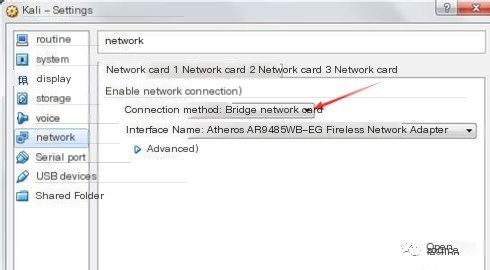
Select the “Network” tab and configure it to bridge mode. Confirm.
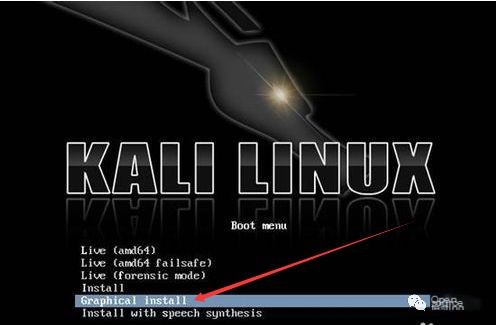
Return to the main interface, start the virtual machine, load the ISO. Choose “Graphic install” and continue.
Select language as Chinese Simplified

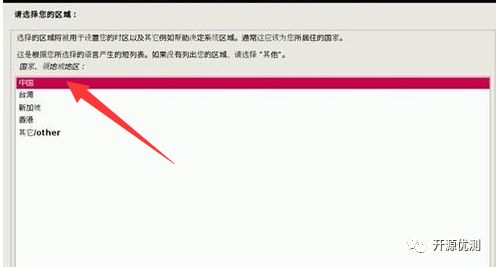
Select region as China
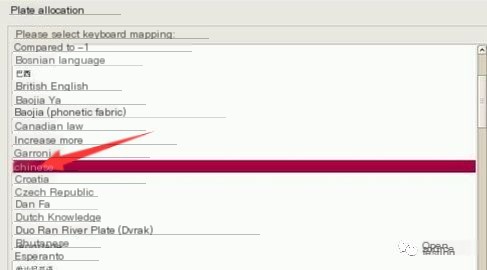
Configure the keyboard as “Chinese”
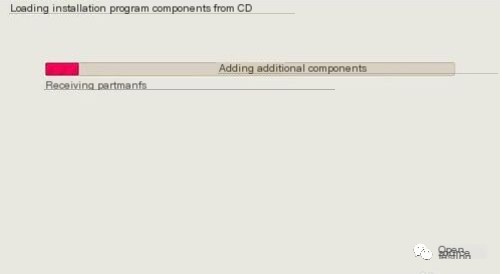
Wait for the components to load from the disc
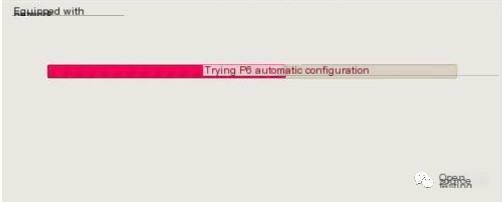
Wait for network configuration to complete
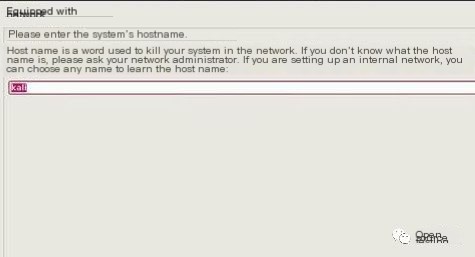
Configure the hostname, configure it as you like. The author simply named it Kali.
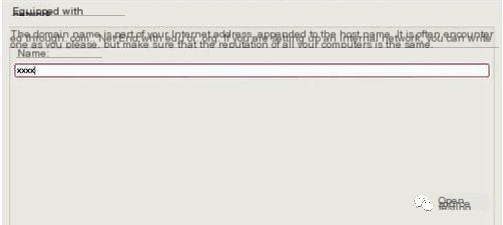
Configure the domain name. Since it’s for personal use, configure it at your discretion.
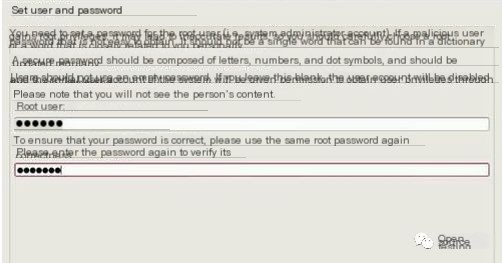
Set the Root account password, and for convenience, the author sets it to 123456.
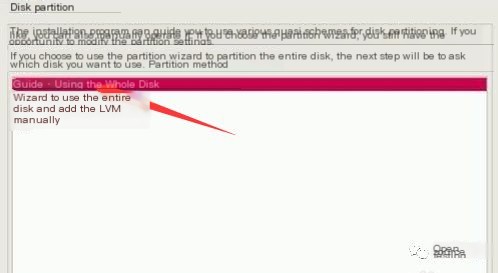
Configure disk partitioning. For simplicity, we choose non-manual methods, selecting “Use entire disk”.
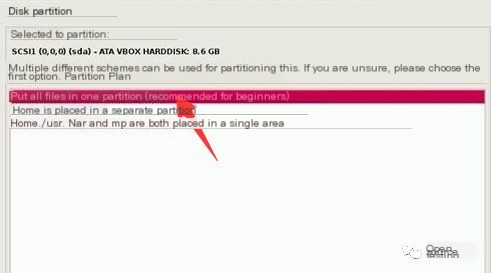
Choose the partitioning scheme, we choose the beginner-recommended scheme.
Next step to complete partition writing.
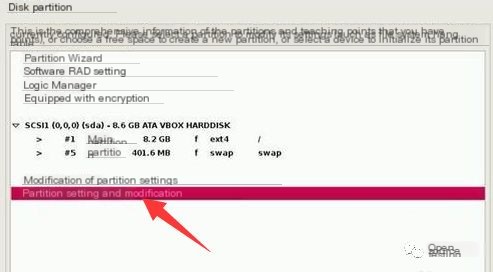
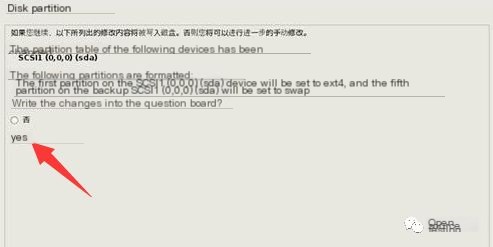
Confirm the partition writing scheme.
Enter the system installation process.
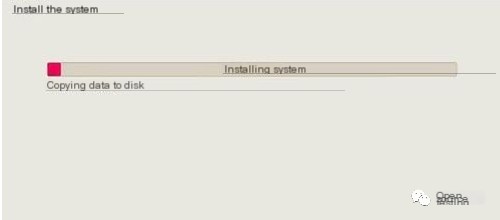
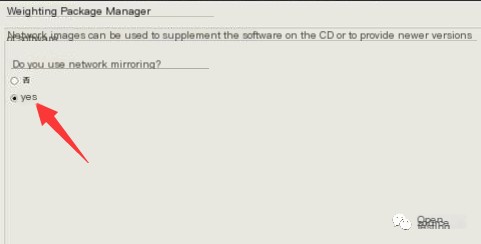
After the image content is installed, you will be prompted whether to use a network mirror. If connected online, it’s recommended to use it to get updated content.
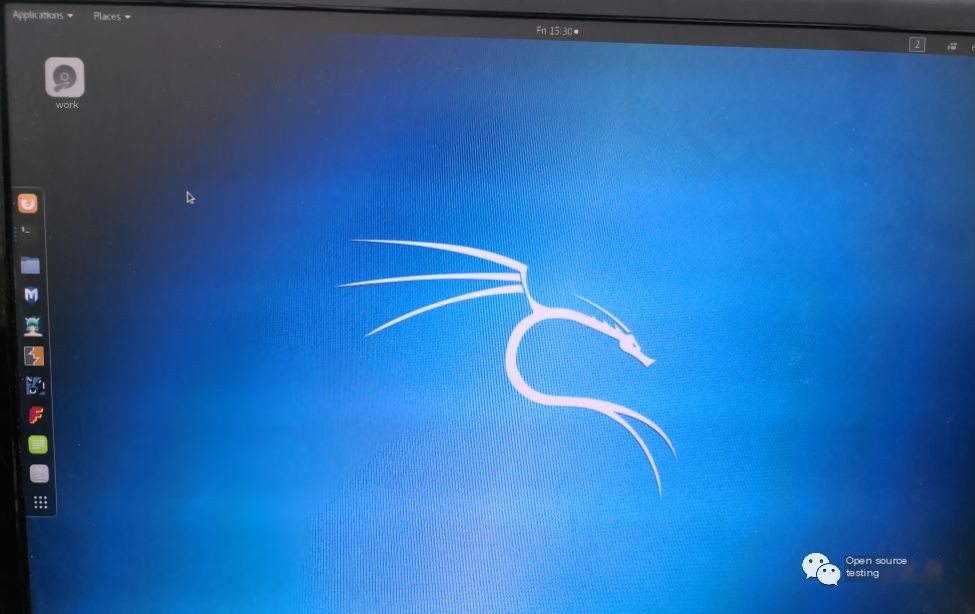
After the installation is complete, click continue to end the installation process. The virtual machine will restart and enter Kali Linux.
The entire installation process is now complete.
Here’s a picture of the desktop after the author’s installation:
What It’s Used For
The author specifically uses a server to install Kali Linux at work for the following purposes:
- Building an automated testing service with Jenkins + SVN + JMeter + SoapUI + RobotFramework
- Daily Python development environment
- Network penetration testing learning and a security testing platform for work
- Big data testing, etc.