

For development purposes, I want to debug the network card driver for DragonOS, so I’m writing a blog to document the network card debugging process.
QEMU Parameter Setting
Set the startup parameters for QEMU:
Code Language: JavaScript Copy
-netdev tap,id=hostnet0,ifname=tap1,script=/etc/qemu-ifup,downscript=no -device virtio-net-pci,mac=00:00:00:00:00:01,netdev=hostnet0In this way, the MAC address of the network card is 00:00:00:00:00:01. And it connects to the tap1 virtual network card on the host.
Wireshark Installation
On Ubuntu, installation and startup are very simple:
Installation:
Code Language: JavaScript Copy
sudo apt install wiresharkStartup:
Code Language: JavaScript Copy
sudo wiresharkConfiguring ARP
Since DragonOS currently lacks a network protocol stack, we will manually configure the ARP and IP routing of the tap on the host:
Code Language: JavaScript Copy
sudo ip addr add 192.168.69.0/24 dev tap1sudo arp -s 192.168.69.101 00:00:00:00:00:01 -i tap1After configuration, we can send data to the DragonOS virtual machine through the IP address 192.168.69.101.
Simple Test:
I added a piece of test code in the virtio_net function of DragonOS to echo back a copy of the data received by the network card:
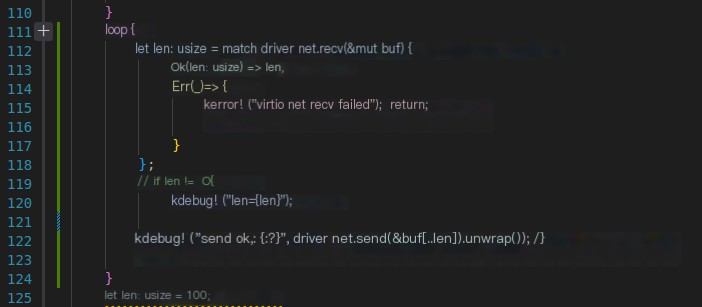 />
/>
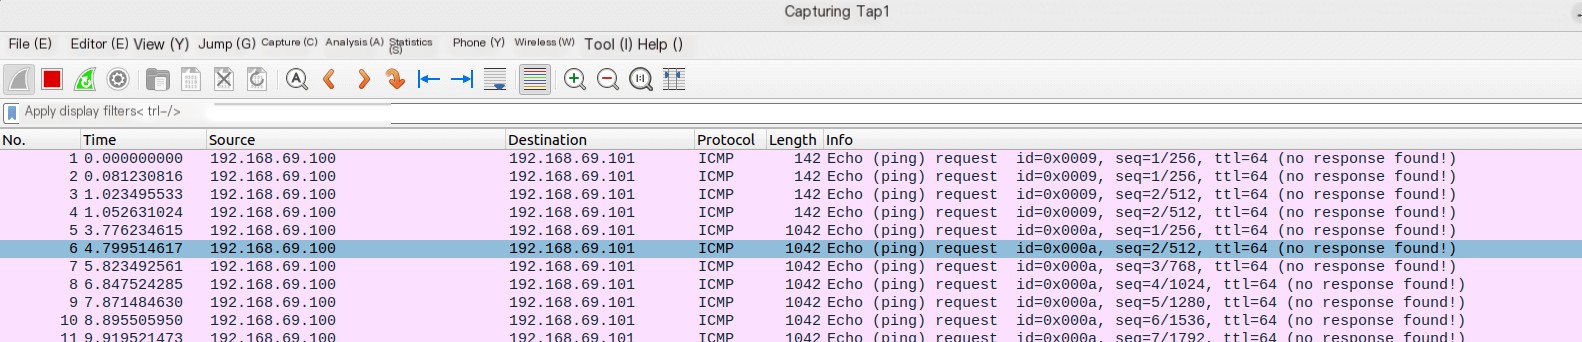
Then, run the DragonOS virtual machine. Next, in Wireshark, click to listen to tap1.
Then, in the Ubuntu terminal, ping 192.168.69.101 and observe the information in Wireshark. You can see that each ICMP packet with the same sequence number appeared twice. This means that the virtio network card in DragonOS successfully received the ICMP packets and forwarded the data as is.
The above is an introduction to the test process.