
Maltego is an open-source vulnerability assessment tool designed to demonstrate the complexity and severity of single points of failure within a network. The tool can aggregate information from both internal and external resources and provides a clear vulnerability analysis interface. This section will use Maltego in the Kali Linux operating system to demonstrate how to gather information using Maltego.
Preparation for Gathering Information with Maltego
Before using Maltego, you need to register an account at https://www.paterva.com/web6/community/maltego/. The registration interface is shown in Figure 1.1.
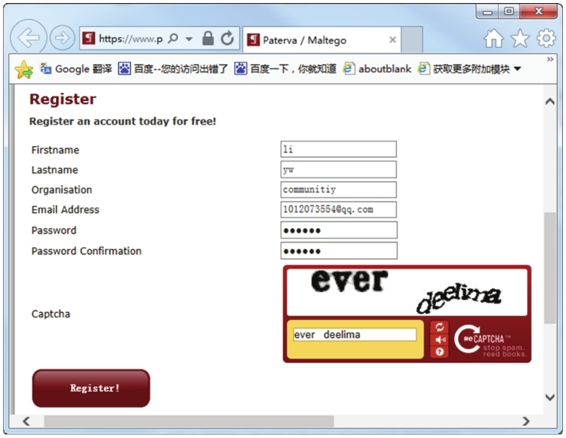
Figure 1.1: Registration Interface
After filling in the correct information on this interface, click the Register button to complete the registration. At this point, an email will be sent to the email address used during registration. Log into your email to activate your user account.
Gather Information Using Maltego
To gather information with Maltego, follow these steps:
- Launch Maltego: Select “Applications” | Kali Linux | “Information Gathering” | “Intelligence Analysis” | Maltego command. This will display the interface shown in Figure 2.1.
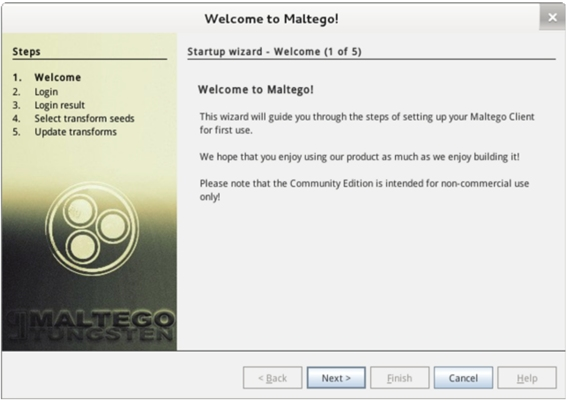
Figure 2.1: Maltego Welcome Screen
- Click the Next Button: On this screen, click the Next button to display the login interface, as shown in Figure 2.2.
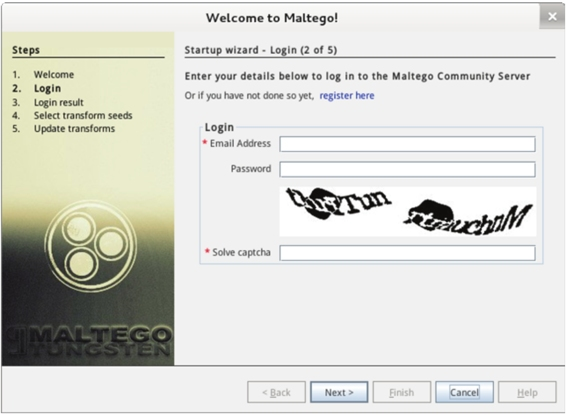
Figure 2.2: Login Interface
- Enter Login Credentials: On this screen, input the email address and password you registered with, along with the captcha code. Then click the Next button to display the screen shown in Figure 2.3.
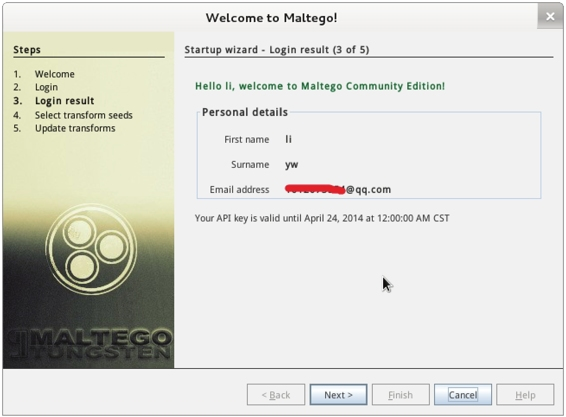
Figure 2.3: Successful Login
- View Login Results: This screen displays the login results. Click the Next button to display the interface shown in Figure 2.4.
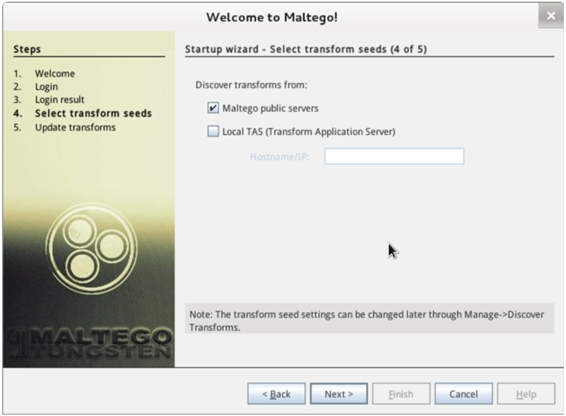
Figure 2.4: Select Transform Nodes
- Discover Transform Node Sources: On this screen, find the sources of the transform nodes. Click the Next button to display the screen shown in Figure 2.5.
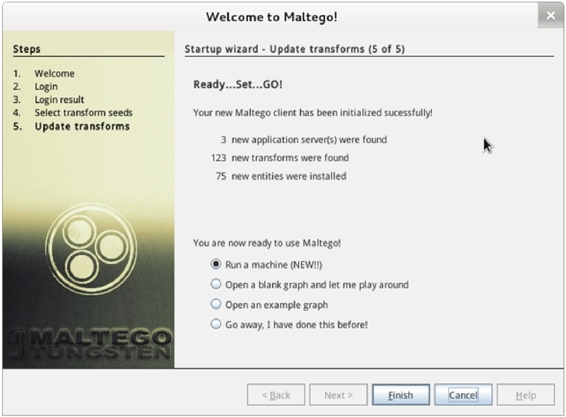
Figure 2.5: Update Transform Nodes
- Choose How to Use Maltego: On this screen, choose the default option, “Run a machine (NEW!!).” Then click the Finish button to display the interface shown in Figure 2.6.
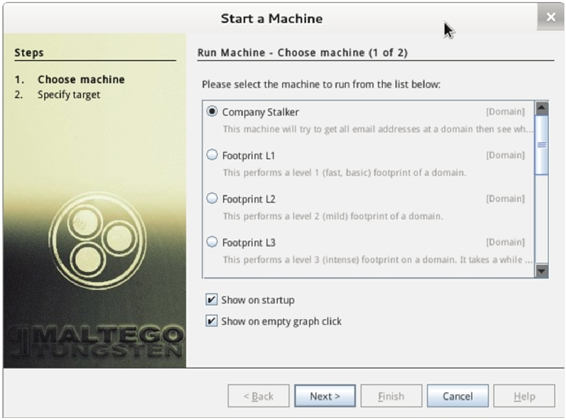
Figure 2.6: Select Host
- Select the Host: Choose the “Company Stalker (Organizational Network)” option on this screen. Click the Next button to display the screen shown in Figure 2.7.
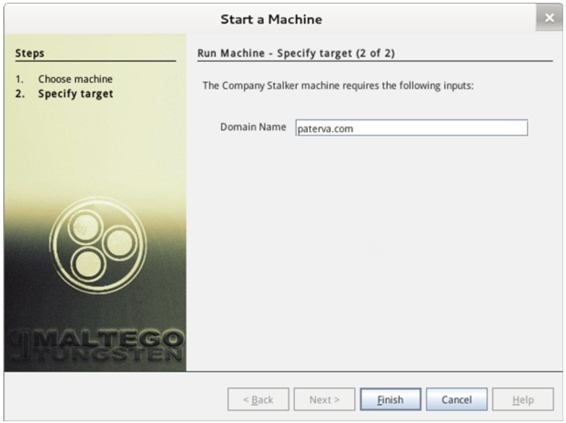
Figure 2.7: Specify Target
- Enter a Domain Name: On this screen, input a domain name. Then click the Finish button to display the screen shown in Figure 2.8.
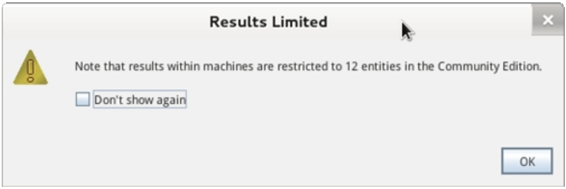
Figure 2.8: Results Limited
- Review Information Limits: This screen indicates that information is limited to 12 entities on the paterva.com host. Select “Don’t show again” and click the OK button to display the interface shown in Figure 2.9.
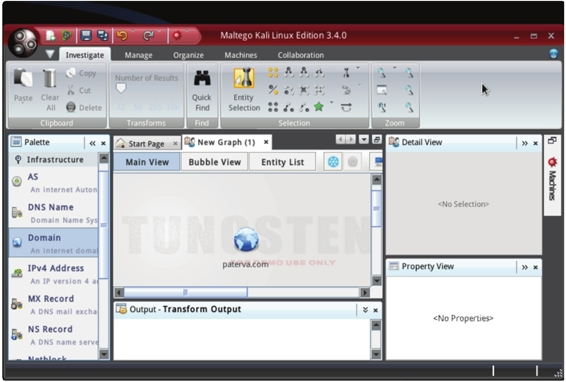
Figure 2.9: Running Host
- View paterva.com Information: This screen displays the newly created paterva.com. If it is not displayed, select Domain from the Palette on the right side and drag the domain into the Graph. Selecting the paterva.com domain will display related information in the Palette on the right side, as shown in Figure 9.1. Information such as the domain name can be modified. Click the Domain Name in the Property View box to select and modify the current domain name. For example, changing paterva.com to targethost.com will display the interface shown in Figure 2.10.
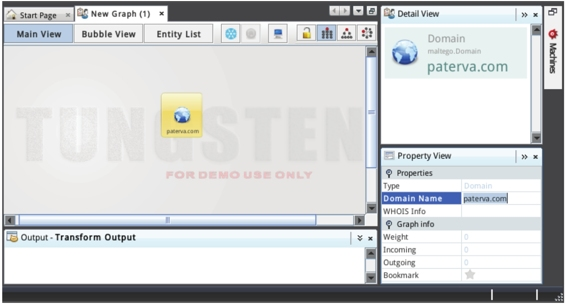
Figure 2.10: paterva.com Information
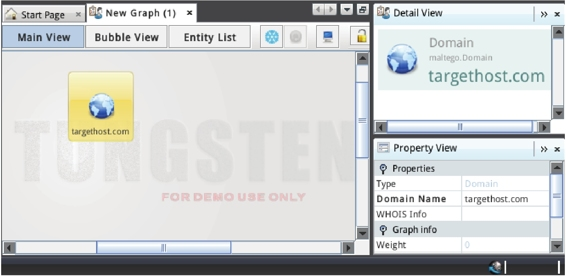
Figure 2.11: targethost.com Information
- Start Collecting Information: Once the target host is set up, you can start collecting information. Right-click the created domain entity and select “Run Transform” to display available options, as shown in Figure 2.12.
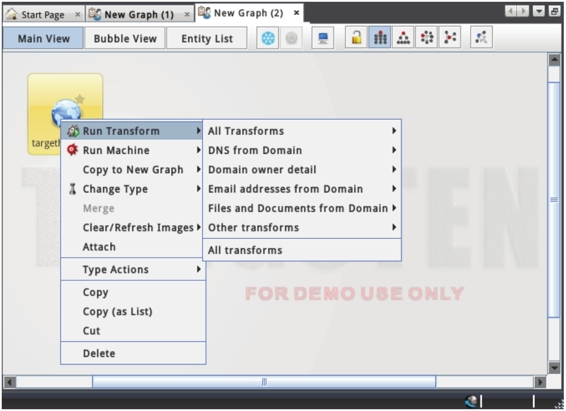
Figure 2.12: Start Collecting Information
- Choose Transform Options: On this screen, you can choose to find DNS names, execute WHOIS queries, and retrieve email addresses, among other options. Alternatively, select “Run All Transforms” to display results as shown in Figure 2.13.
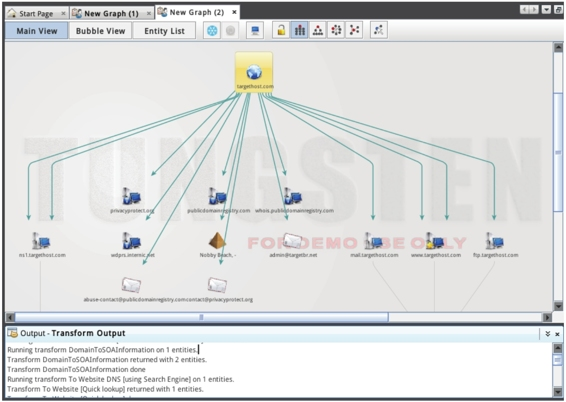
Figure 2.13: Information Collection
- Review Collected Information: The screen shows a wealth of information about targethost.com. You can also click on child nodes to view additional information.
Users can map networks using Maltego. Created by Paterva, Maltego is an open-source tool for information gathering and forensics. Previous sections covered the Maltego installation wizard, how to drag it into the chart, and use domain entities.
Now, you’ll learn how to allow Maltego to draw its charts and examine various sources to complete tasks to better gather information using Maltego. This capability allows users to quickly automate the collection of information within a target network, such as email addresses, servers, and WHOIS queries.
Users can start and disable transform nodes via the All Transforms tab in the Transform Manager window, as shown in Figure 2.14.
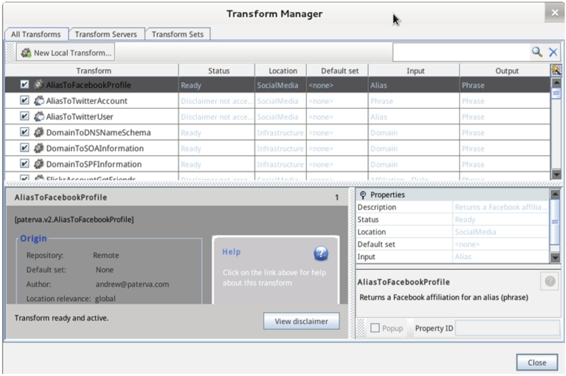
Figure 2.14: Transform Manager Interface
This interface lists all transform nodes. To use several transform nodes, you must first accept the disclaimer. To accept the disclaimer, select the transform node, then click the “View disclaimer” button at the bottom of the interface to display the screen shown in Figure 2.15.
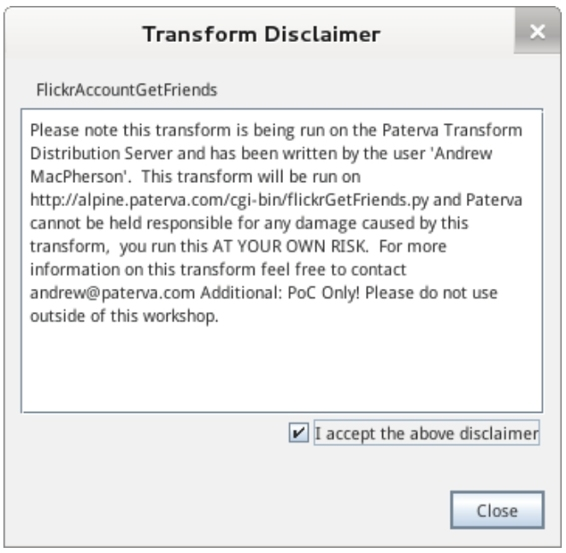
Figure 2.15: Transform Disclaimer
On this screen, check the “I accept the above disclaimer” checkbox, and then click the Close button. Then you can successfully gather information using Maltego and automate this collection.