

For those engaged in WiFi embedded software development, packet capture and analysis at the 802.11 protocol layer is a skill that must be mastered proficiently. It requires analyzing data packets at the WiFi layer of the 802.11 protocol to troubleshoot issues. Meanwhile, from the perspective of learning the 802.11 protocol, the most effective way is to learn through packet capture. The data packets captured can be used to verify the theoretical knowledge learned previously. Understanding these packets not only deepens your comprehension of the 802.11 protocol but also enhances your problem analysis and resolution capabilities in practical use. To capture data packets at the 802.11 protocol layer, the wireless network needs to be in promiscuous mode. This requires different software and hardware combinations on various operating systems to achieve. This article introduces the following three parts:
- Microsoft Network Monitor on Windows
- Omnipeek on Windows
- Wireshark on Ubuntu for implementing 802.11 packet capture analysis on different operating systems.
Microsoft Network Monitor
Embedded development engineers typically use Windows for their development environments, as many professional packet capture tools on Windows require specific wireless network cards and driver support to achieve promiscuous mode for 802.11 data capture. In some scenarios, these professional packet capture tools may not always be available. Therefore, we’ll introduce a lightweight packet capture tool officially provided by Microsoft on Windows called Microsoft Network Monitor.
 />
/>
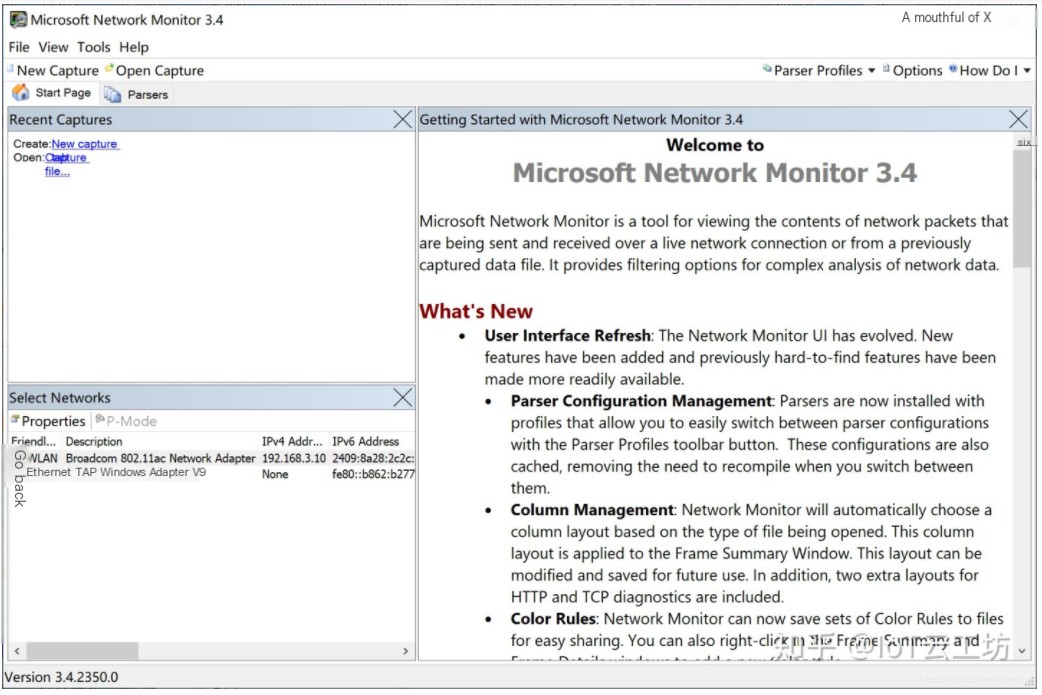
Microsoft Network Monitor is a free network protocol data analysis tool provided by Microsoft, which not only allows packet capture but also enables some simple data analysis based on the captured results. The latest version of Microsoft Network Monitor is 3.4, supporting both 32-bit and 64-bit systems. It is available for free download from Microsoft’s official website at: https://www.microsoft.com/en-us/download/details.aspx?id=4865. I am using a Win10_64-bit system, and the built-in network card driver does not support promiscuous mode. Testing found that connecting a 360USBWiFi can achieve promiscuous mode.
 />
/>
The software installation process is relatively simple, with nothing particular to note. It is important to restart the computer after installation; otherwise, the software may not correctly display the current network list.
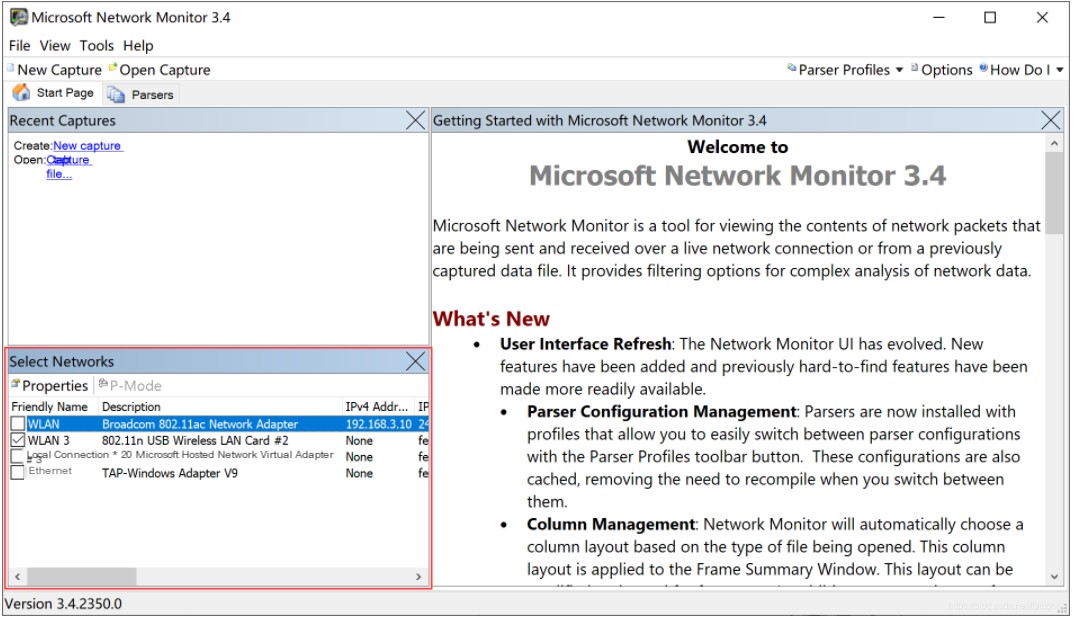
Run Microsoft Network Monitor 3.4 as an administrator. In “Select Networks,” all current network cards will be displayed correctly. You can find the network card you want to capture by looking at the Friendly Name and Description.
I. Normal mode
Microsoft Network Monitor defaults to “Local Mode,” in which the software can only capture data sent and received by the currently selected network card. It cannot capture data that has not passed through the network card.
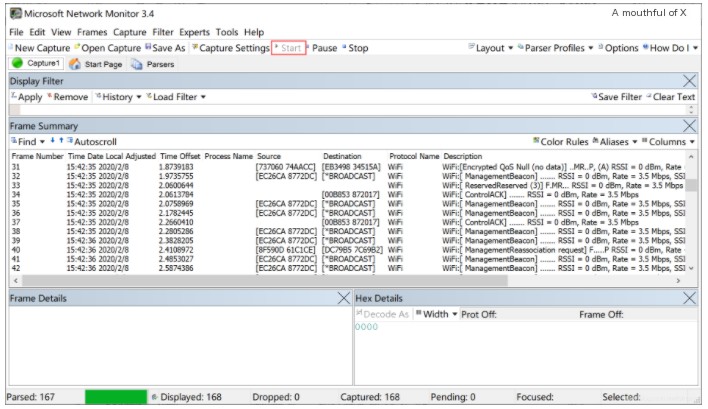
- After selecting the network card, click “New Capture,” and in the pop-up page, select “Start” to begin packet capture.
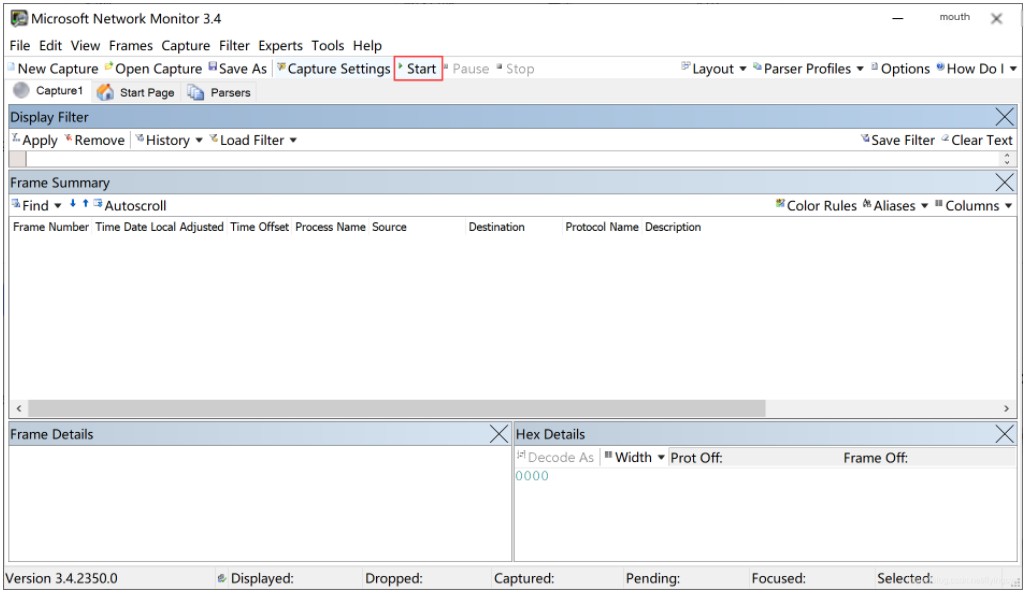
- You can click “Pause” to pause the current capture; click “Stop” to stop the current capture. Clicking “Stop” again after “Start” will clear the currently captured data.
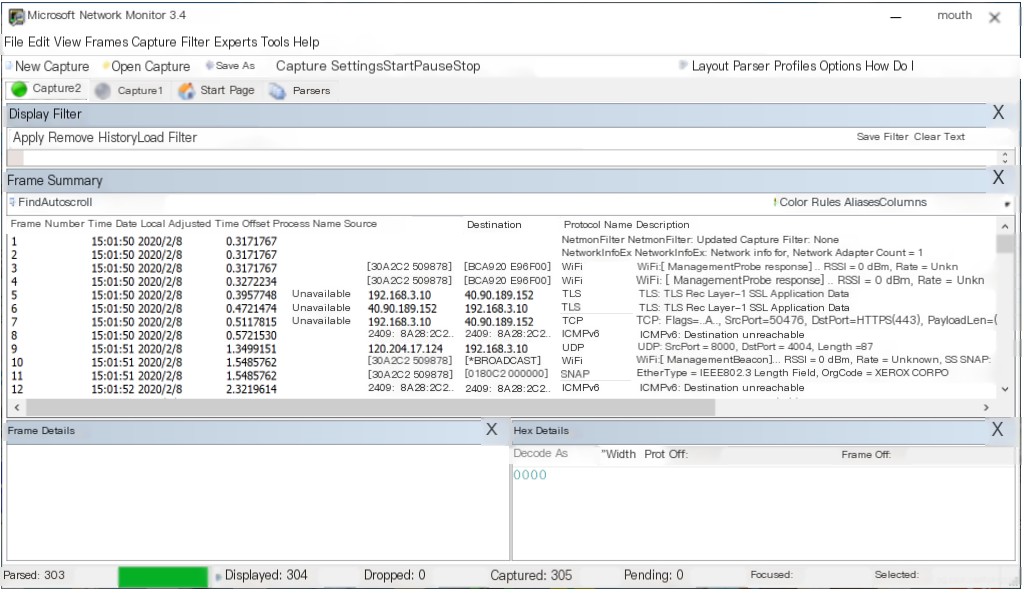
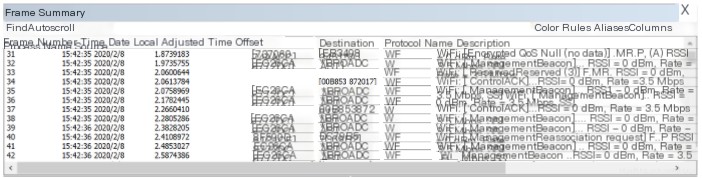
- In the “Frame Summary” box, the software supports capturing WiFi management frames, TCP, UDP, and other packets. Additionally, the software can display network information such as “Process Name,” “Source,” and “Destination.”
- Analyzing the above data, we can find that the data captured are all sent and received by the current network card. Even the 802.11 management frames are sent by the current network card to the router.
II. Promiscuous mode
In WiFi development, identifying issues often requires using a wireless network card to capture communication data between the router and other WiFi devices, which the software does not capture in normal mode. Microsoft Network Monitor supports wireless network cards entering “Monitor Mode,” also known as promiscuous mode, where communication data packets between routers and other WiFi devices can be captured.
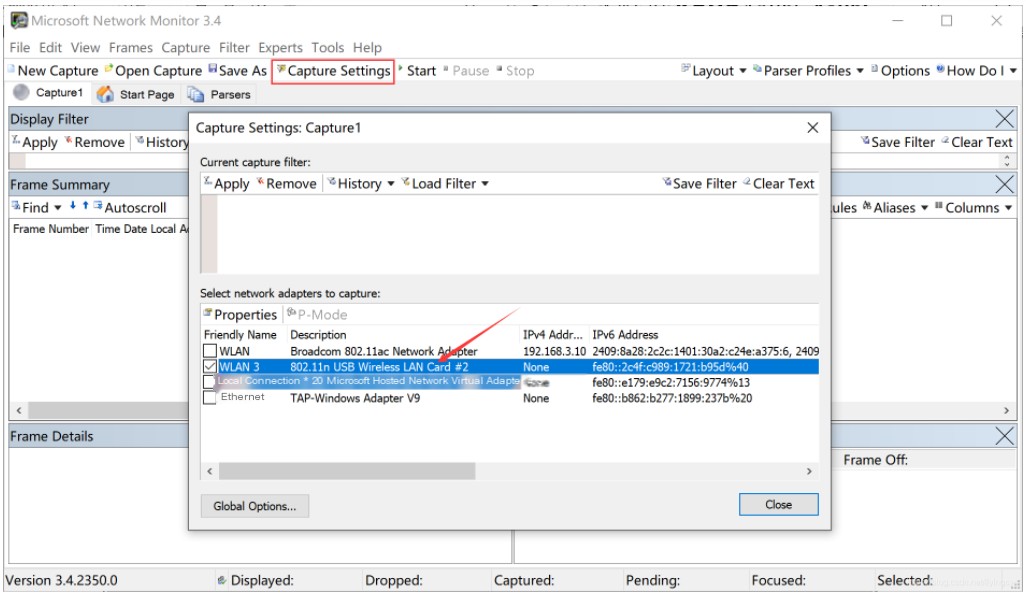
- Click “Capture Settings” to enter the settings page, where you can see the currently selected wireless network card.
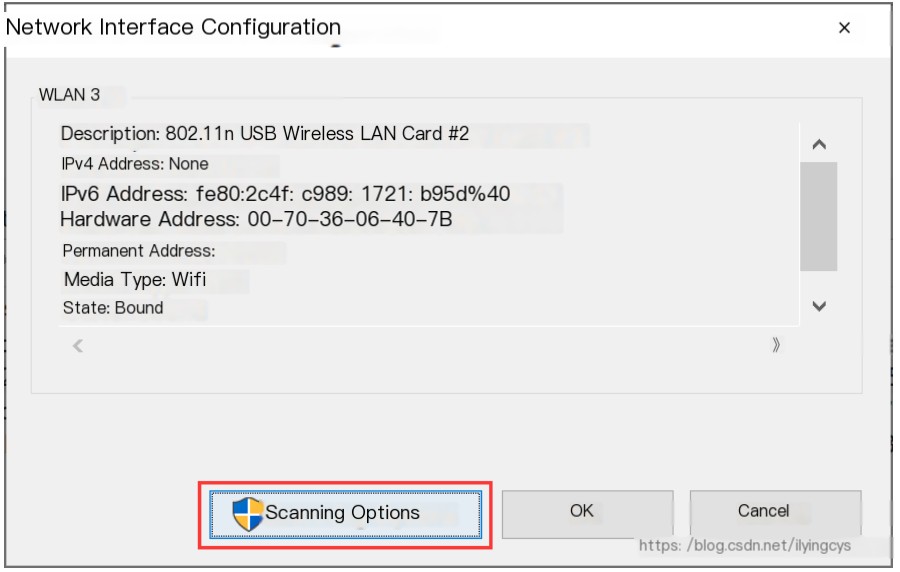
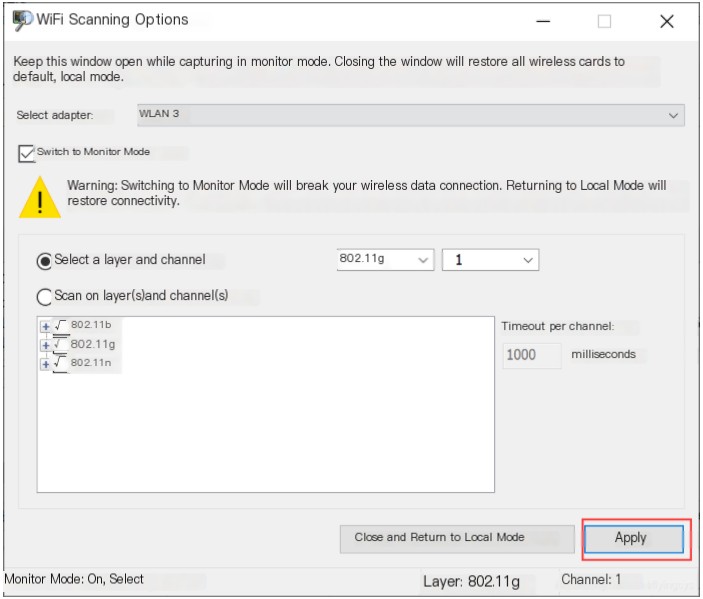
-Double-click the wireless network card that needs “Monitor Mode” setup, and click “Scanning Options”
- On the “WiFi Scanning Options” page, select “Switch to Monitor Mode,” and then choose the channel scanning mode. The software supports two channel switch modes, fixed channel and channel scanning mode. In channel scanning mode, the software dwells on each channel for a while, capturing packets from each channel sequentially according to time slices, and needs to be set according to actual requirements.
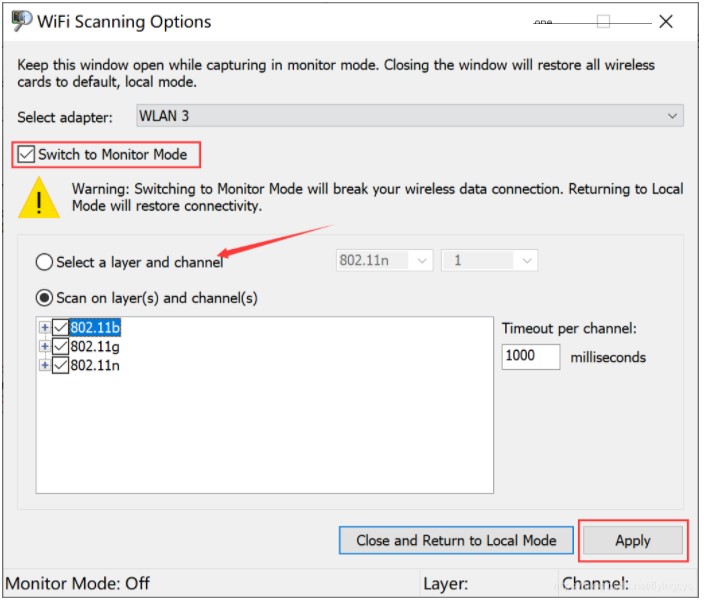
- After setting, click “Apply,” and keep this page open to prevent the wireless network card from automatically exiting “Monitor Mode.”
- Return to the main interface and click “Start” again to begin capturing under “Monitor Mode.”
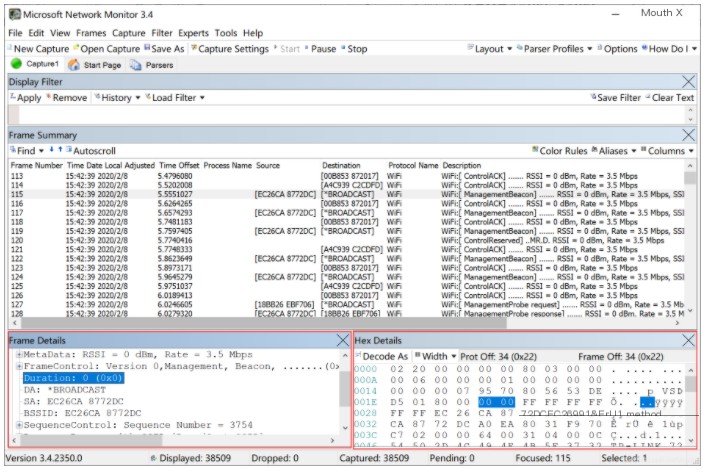
- From the “Frame Summary,” you can see various 802.11 management frames captured, as well as many packets with different “Source” and “Destination” addresses.
- Select the specific packets for analysis, and you can view detailed packet data in “Frame Details” and “Hex Details.”
- Click “File” and choose “Save As” to save the current captured data as “.cap,” which can be analyzed by tools such as “Wireshark” and “Omnipeek.”
III. Conclusion
In practical use, it is found that Microsoft Network Monitor’s features cannot compare with professional packet capture software such as “Wireshark” and “Omnipeek.” However, it can satisfy daily basic 802.11 packet capture and 802.11 protocol learning. It’s easy to get started with fewer restrictions, and more features need to be explored continuously in use.