

1. Introduction
The strength of WireShark lies in its ability to capture HTTP or HTTPS packets without requiring any additional configuration. Today, I will explain and share how to use WireShark for packet capturing.
2. Running Wireshark
After installing Wireshark, you can run it to capture packets. Here’s how:
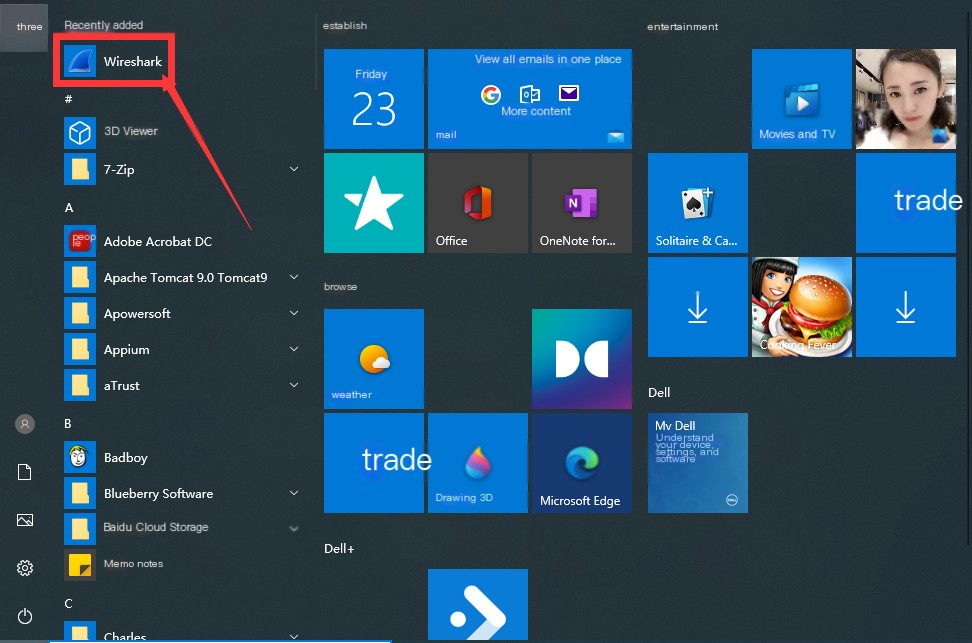
1. Click on the Wireshark menu from the “Start” menu on Windows, as shown below:
 />
/>
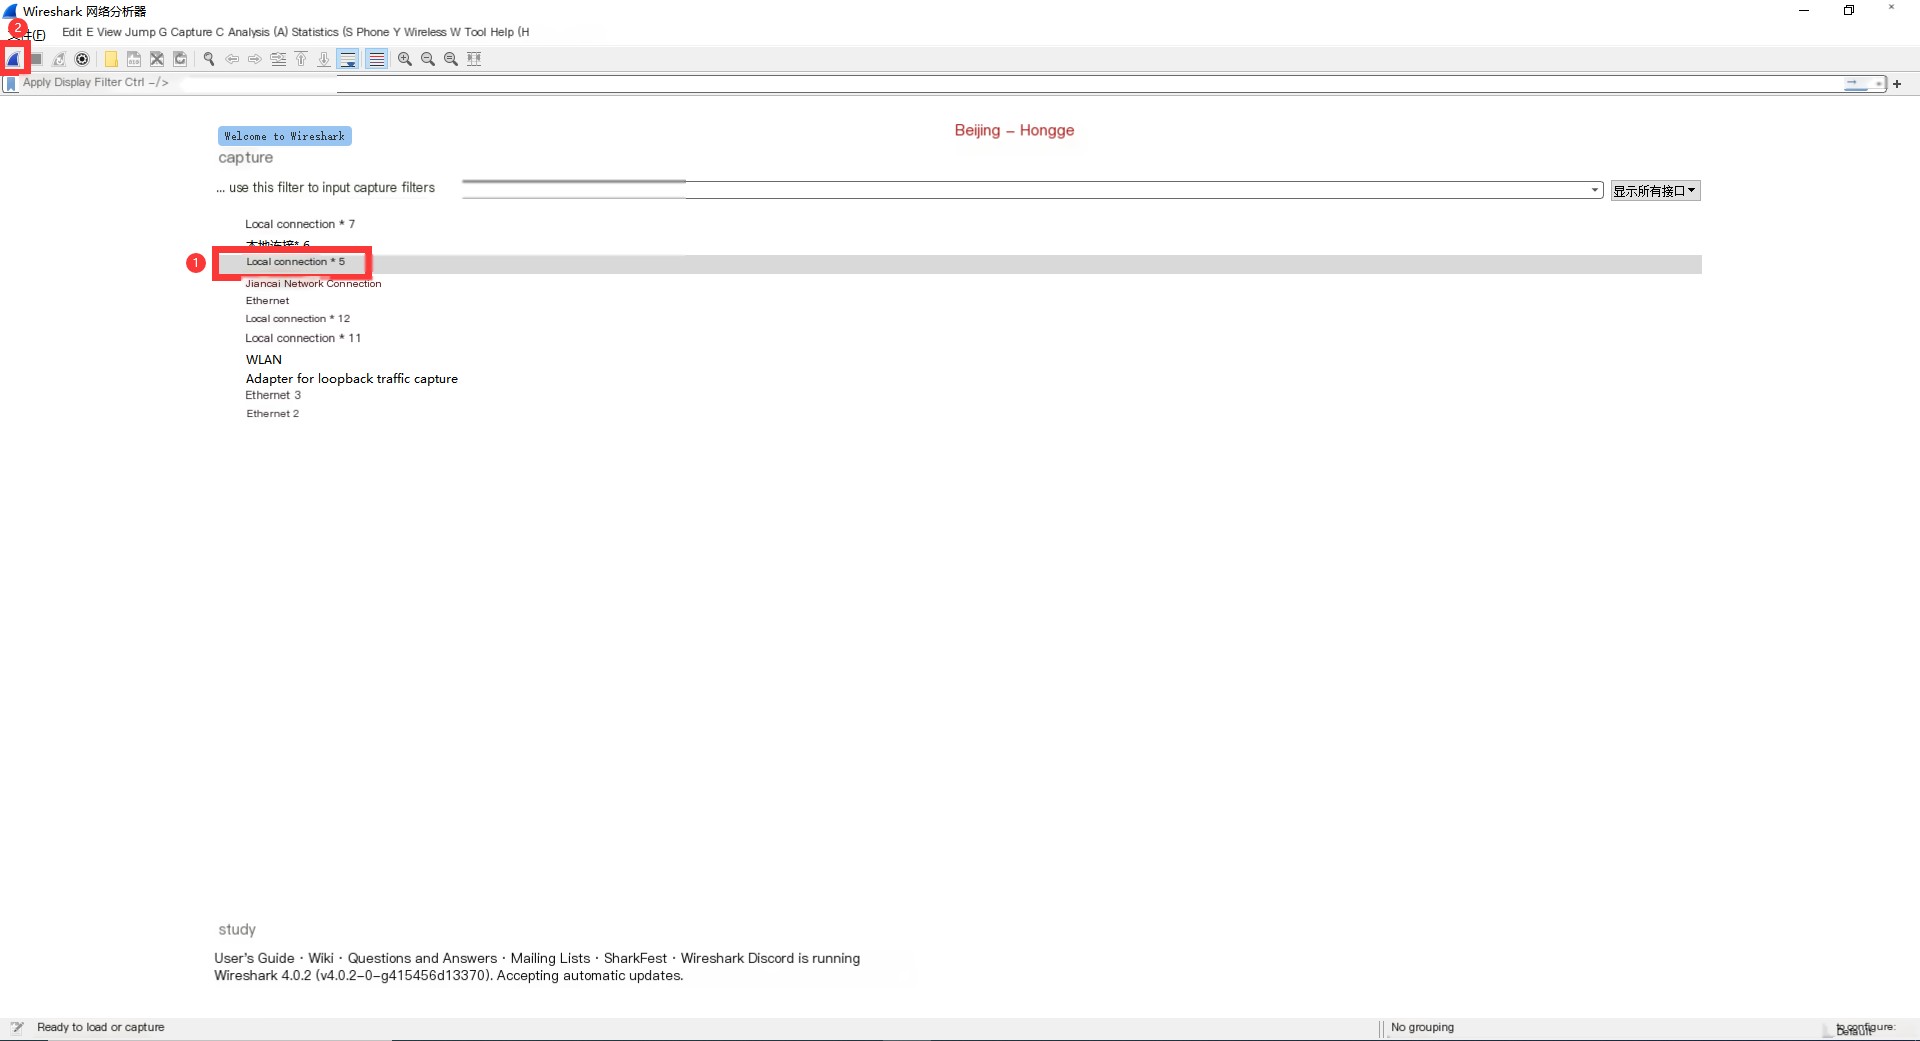
2. Click to start Wireshark, as shown below:

This image shows the main interface of Wireshark, displaying available interfaces like Local Connection 5, Local Connection 6, etc. To capture packets, you must select an interface, indicating packets will be captured on that interface.
3. Capture Settings
Friends can start capturing using any of the following methods.
3.1 First Method
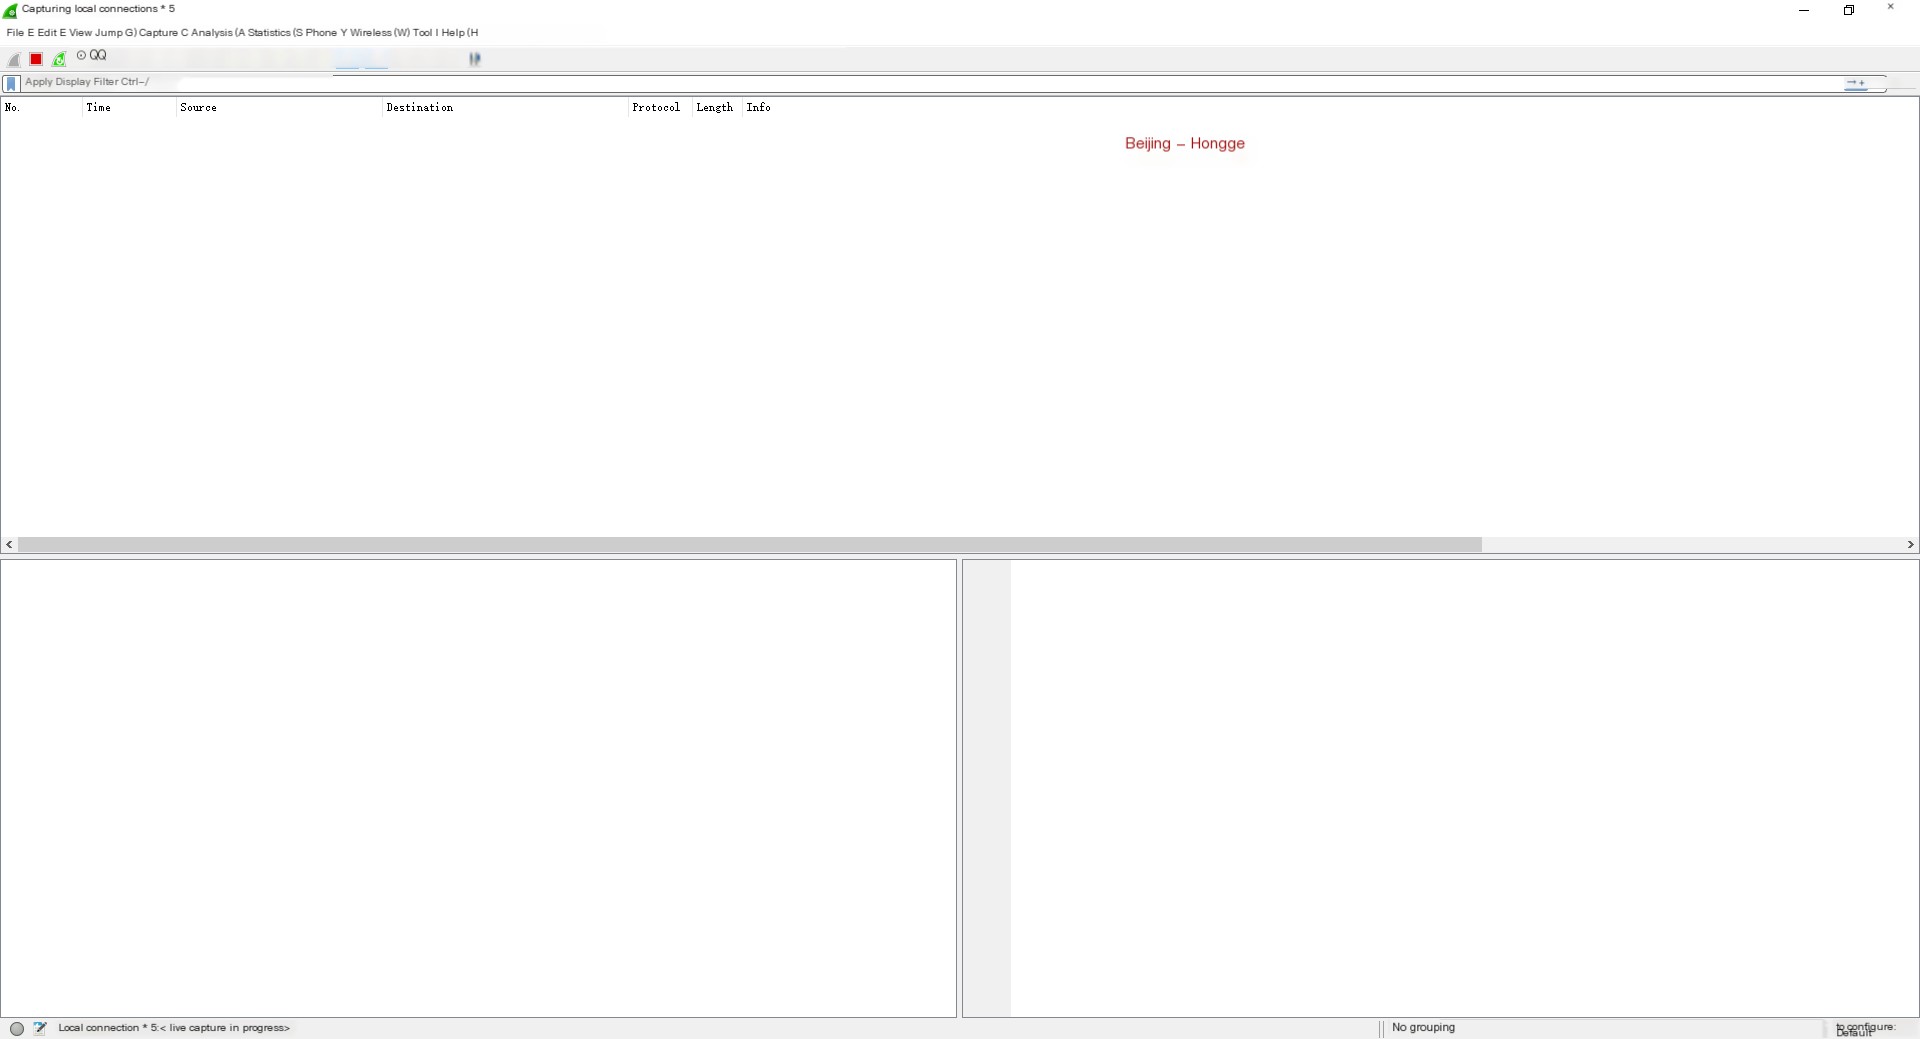
In the image above, select to capture packets on the “Local Connection 5” interface. Choose the “Local Connection 5” option and click the “Start Capturing Packets” button in the top left corner to capture network data, as shown below:
No information in the image means no packets were captured. This is because no data is currently on “Local Connection* 5.” At this point, Wireshark is capturing packets, but only after performing some actions on the local computer will data generate, such as browsing websites, as shown below:
3.2 Second Method
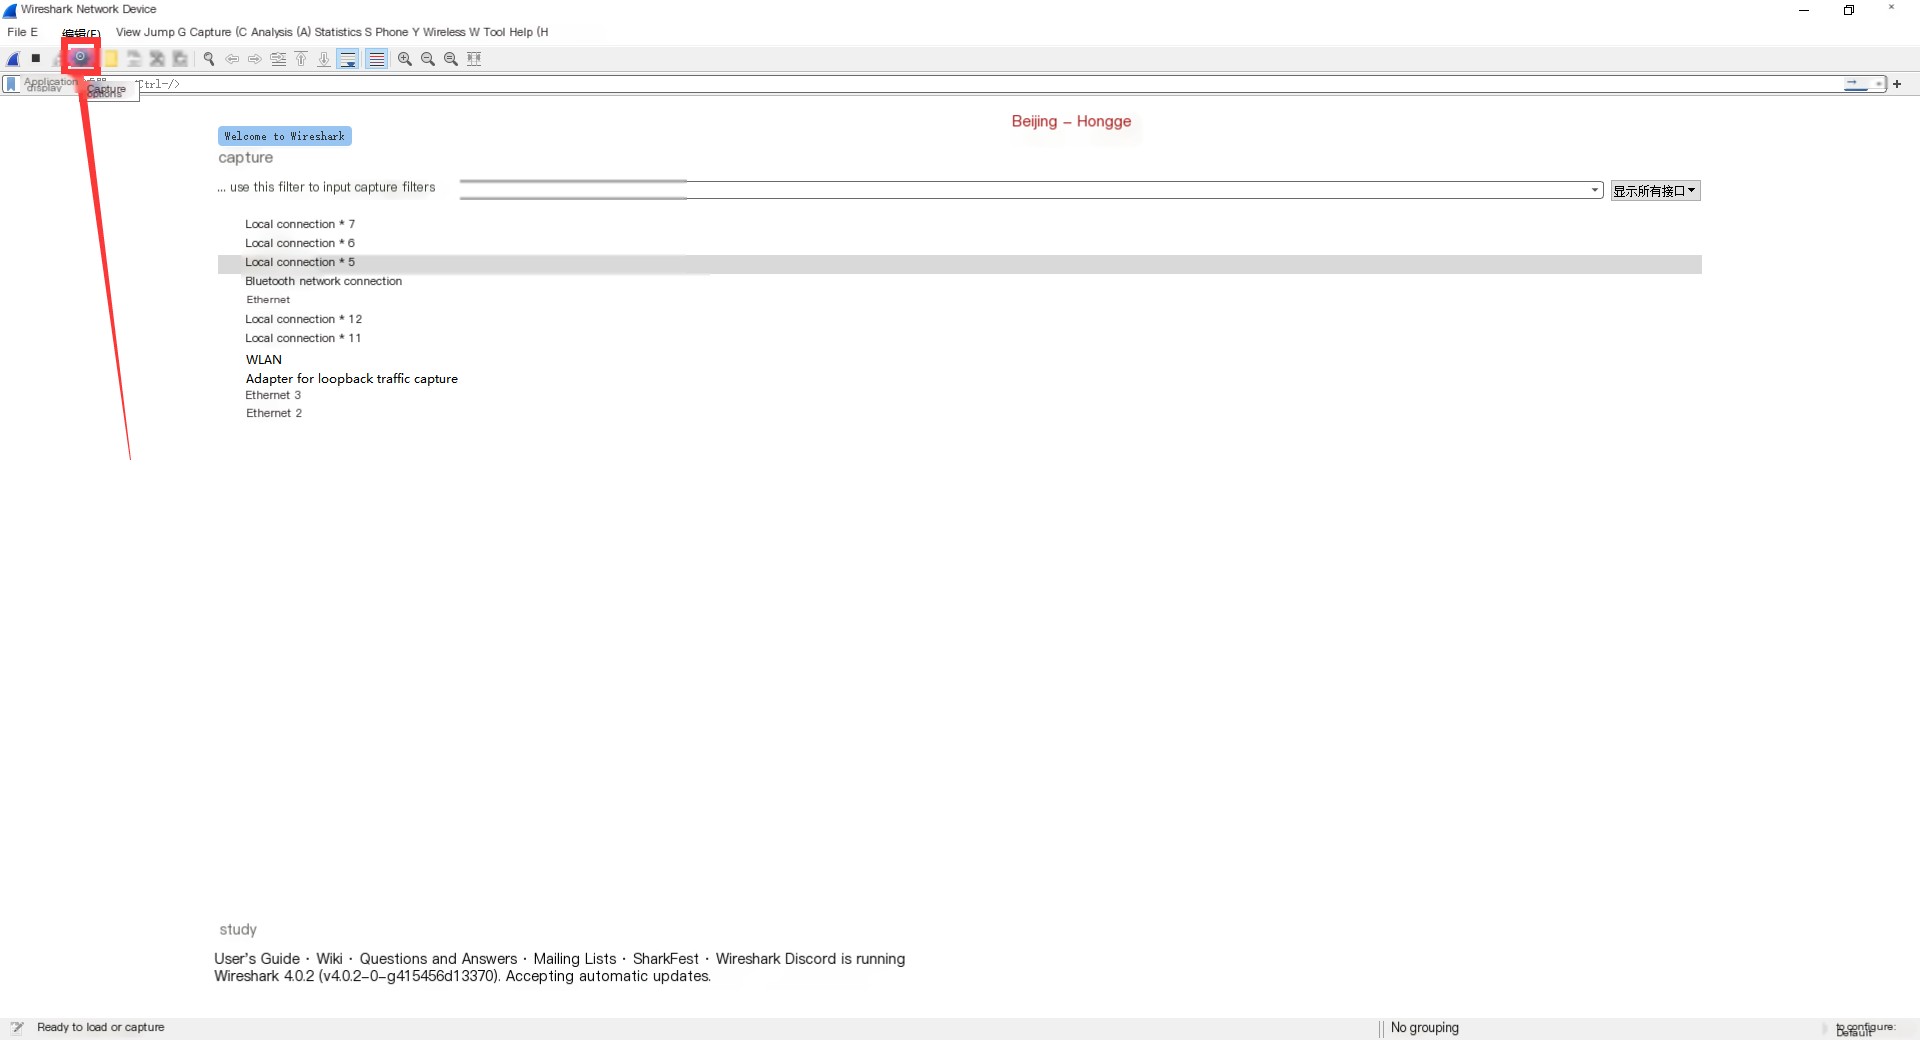
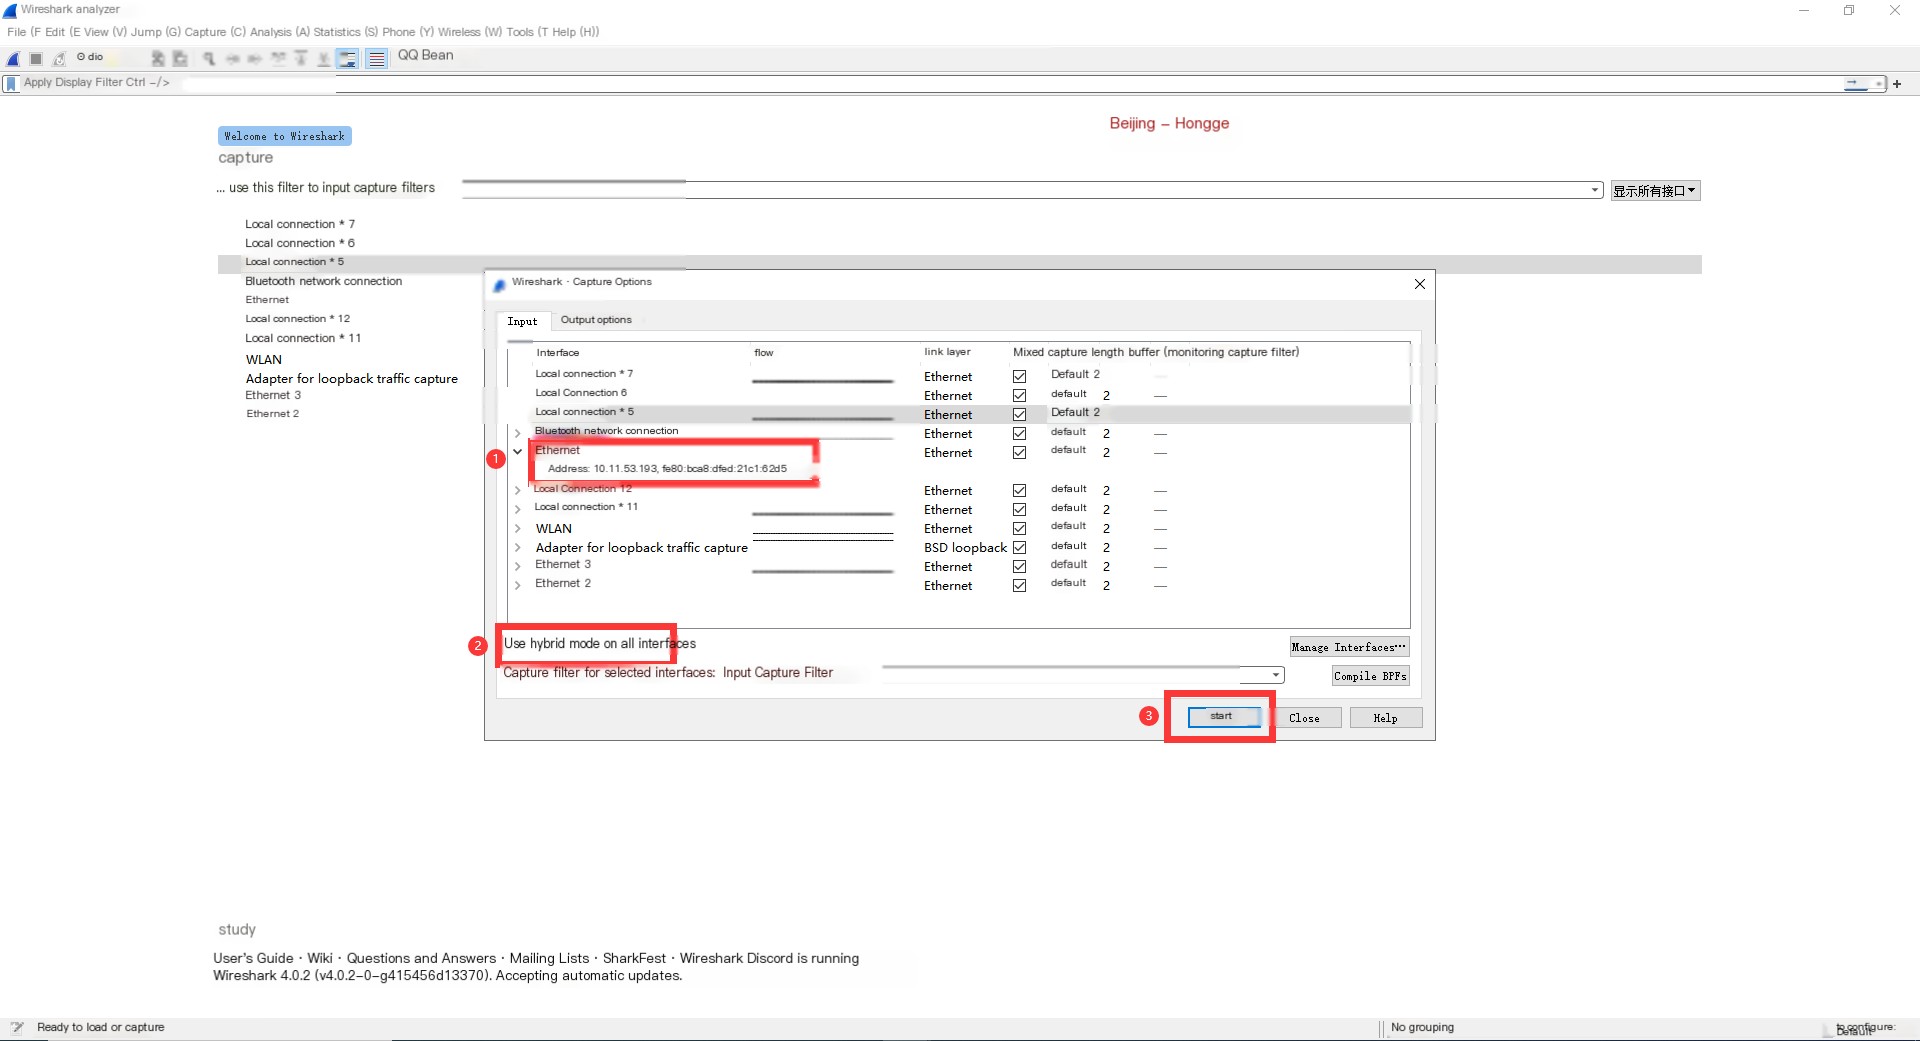
1. Select Capture from the menu bar -> Options, and the capture options appear as shown below:

Of course, you can also click the [Capture Options] icon to do it in one step, as shown below:
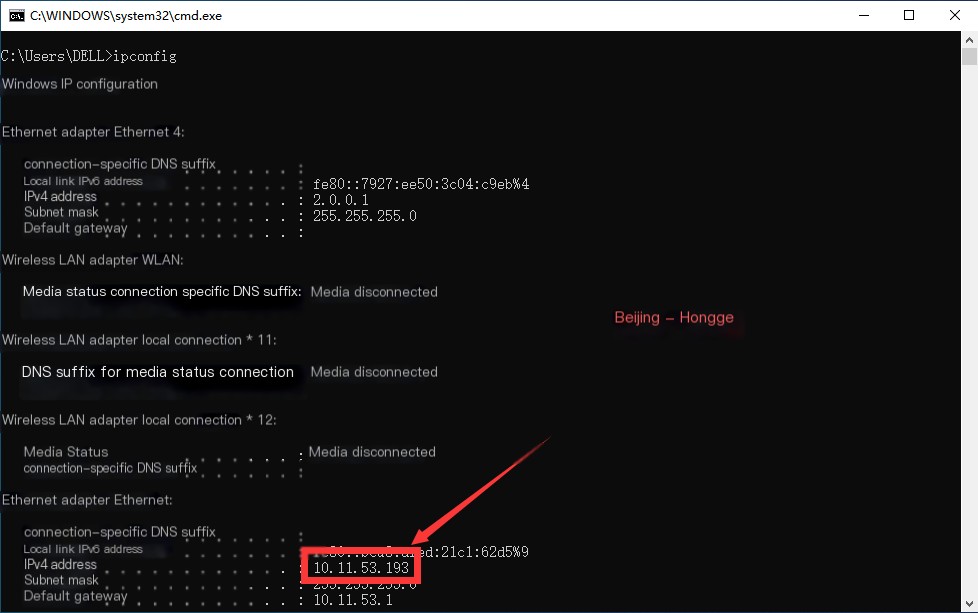
2. In the capture options: check the WLAN card or other cards (select according to your computer’s network card usage; a simple method is to look at the card corresponding to the used IP). Click Start to begin capturing packets. As shown below:
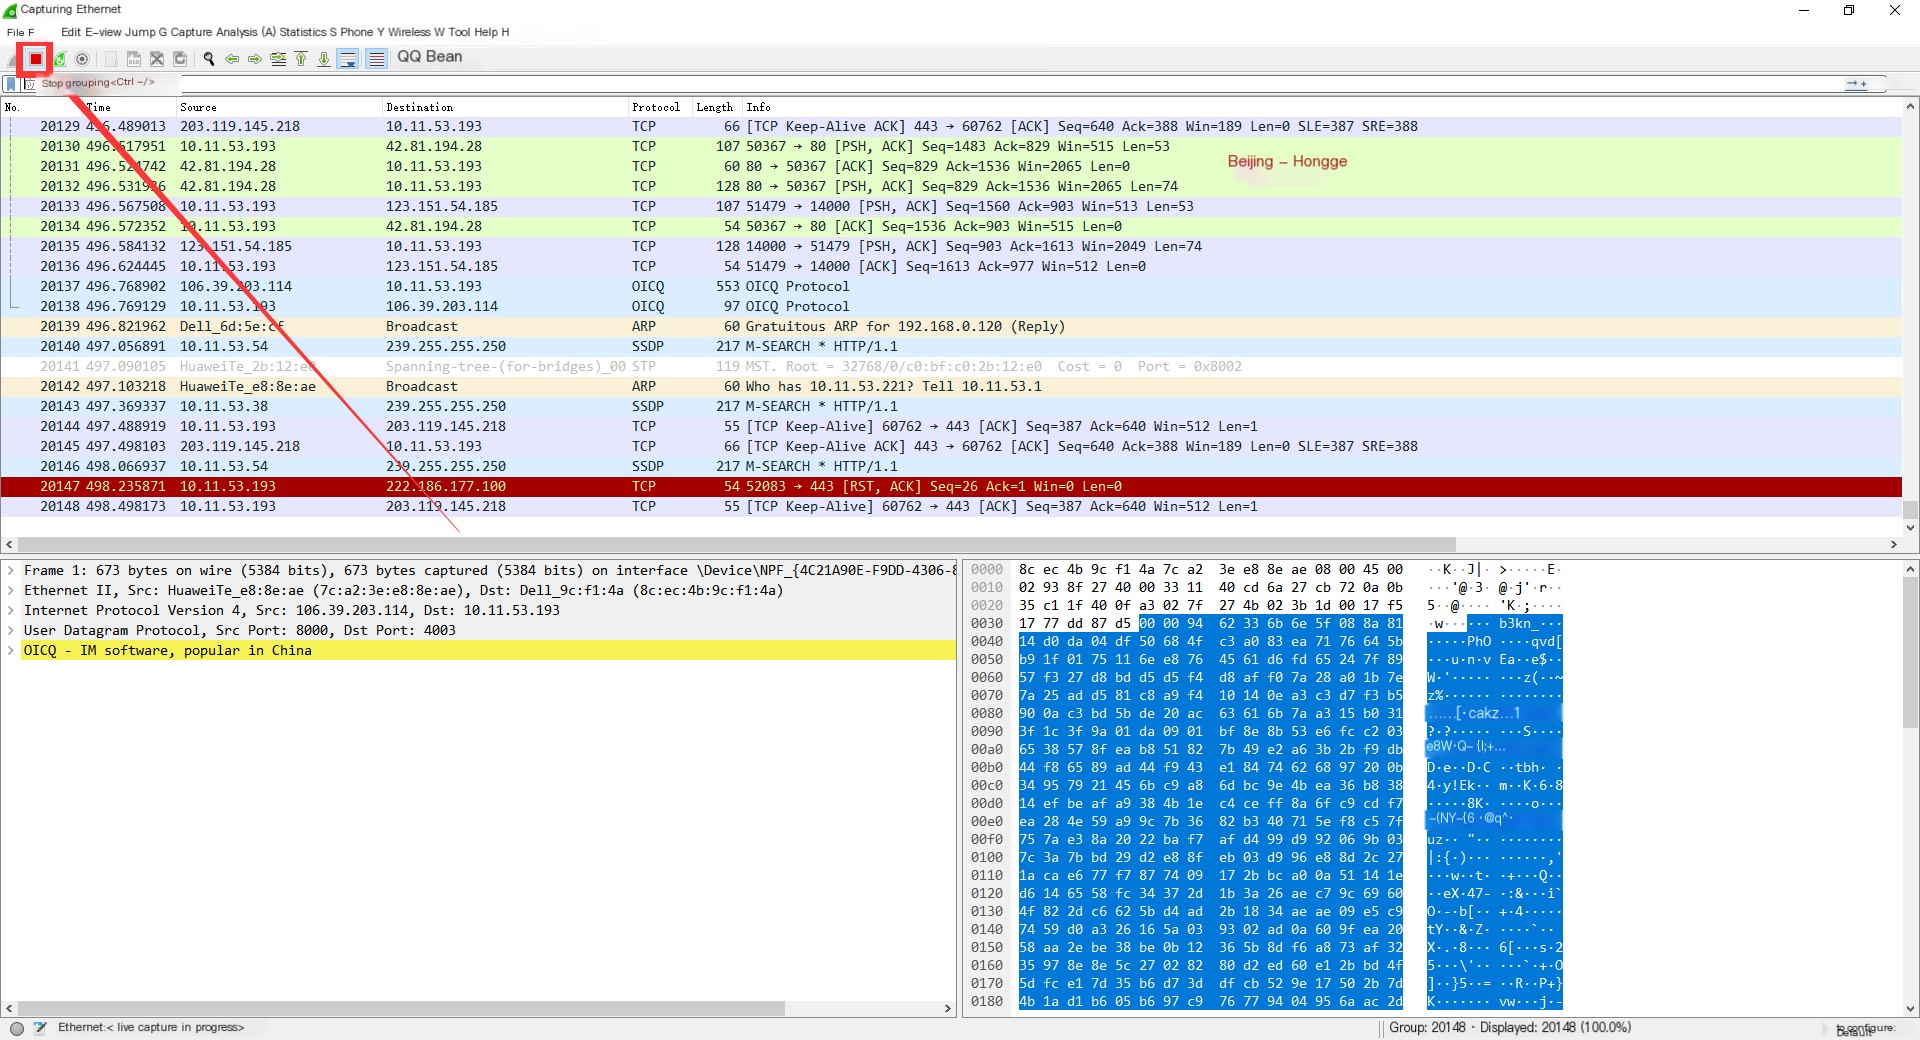
3. After clicking Start, Wireshark is in packet capture mode. When you perform a series of operations such as browsing websites on the local computer, packets on the “Ethernet” interface will be captured by Wireshark. The captured packets are shown in the image. The box in the image shows that packets on the “Ethernet” interface were successfully captured. As shown below:
4. Wireshark will continuously capture data on the “Ethernet” interface. If you no longer need to capture, you can click the “Stop Capturing Packets” button in the top left corner to stop the capture. As shown below:
3.3 Third Method
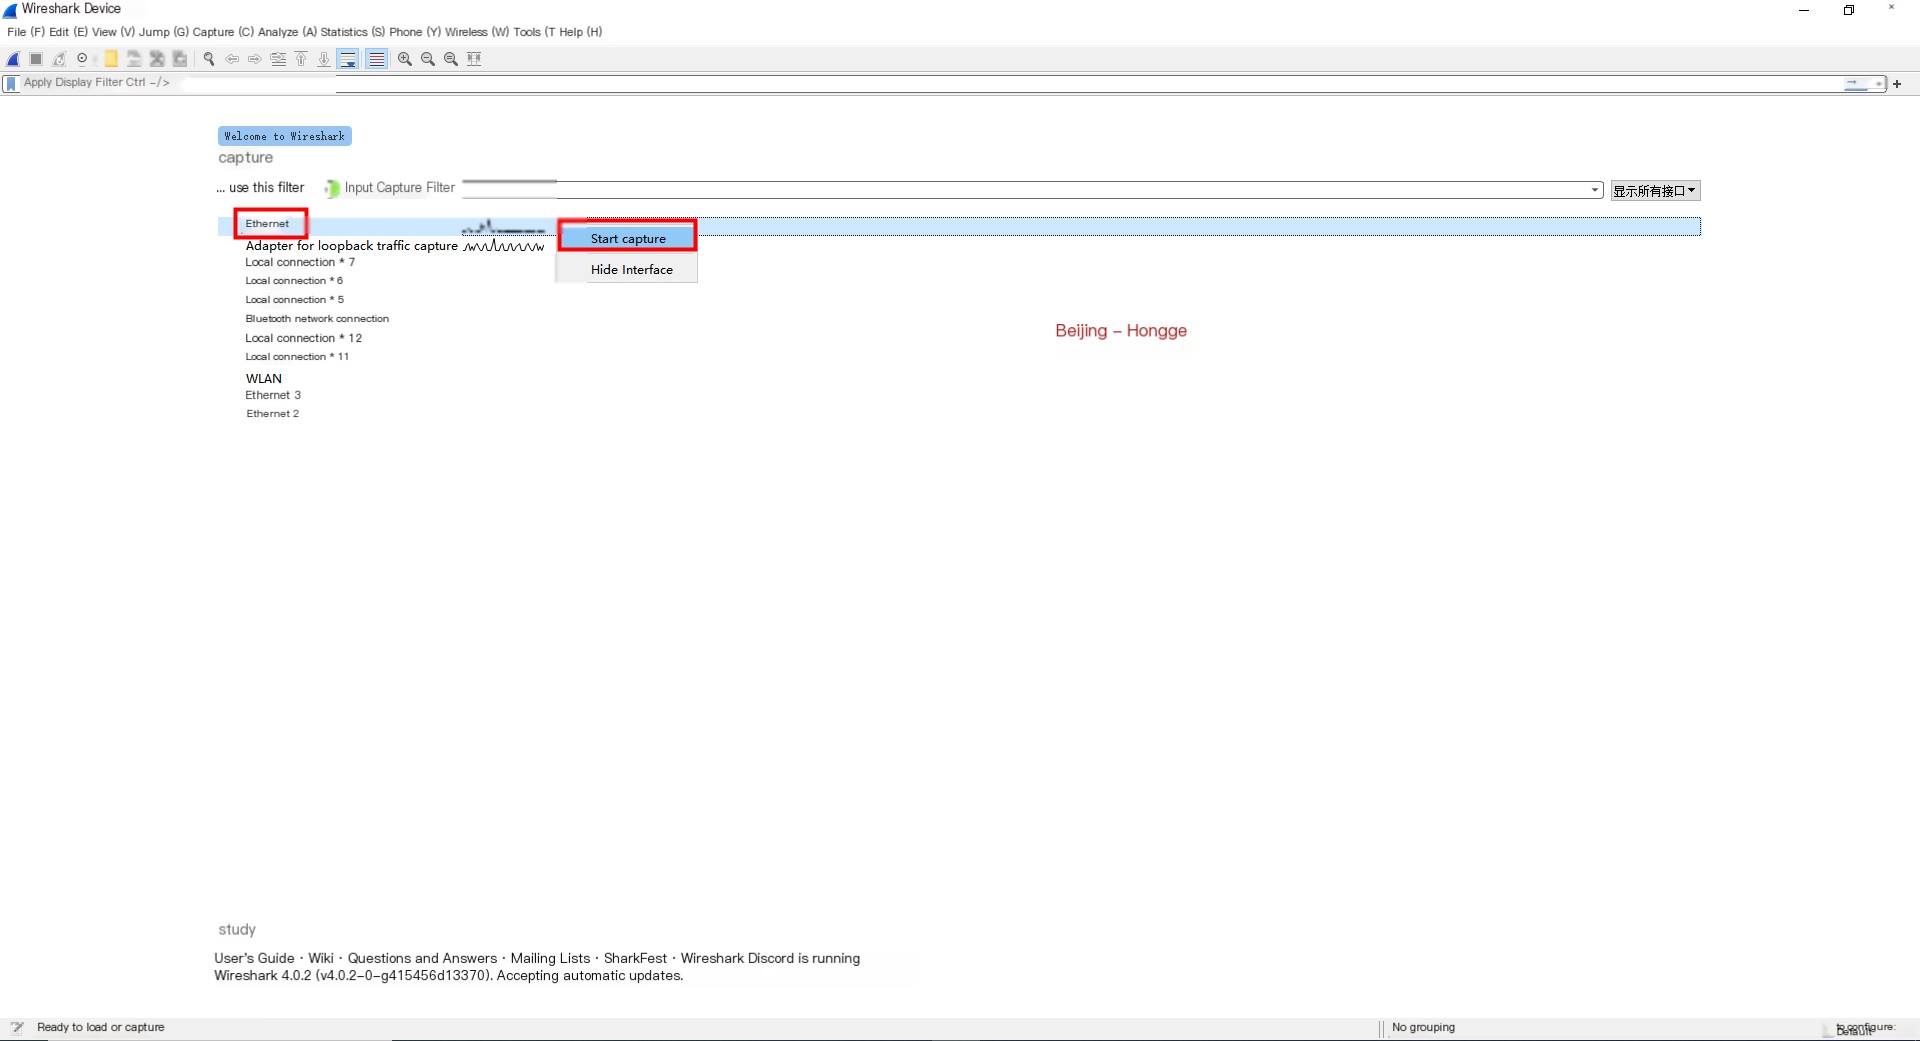
1. Select a network card, right-click and select “Start capture” to begin capturing, as shown below:
4. Wireshark Practical Packet Capture
The initial capture involves three processes: selecting the network card, configuring options, and starting the capture. The different methods don’t create any fundamental differences; they all lead to the same goal.
Here, as an example, I’ll explain and share the capture process by pinging Baidu’s domain name locally.
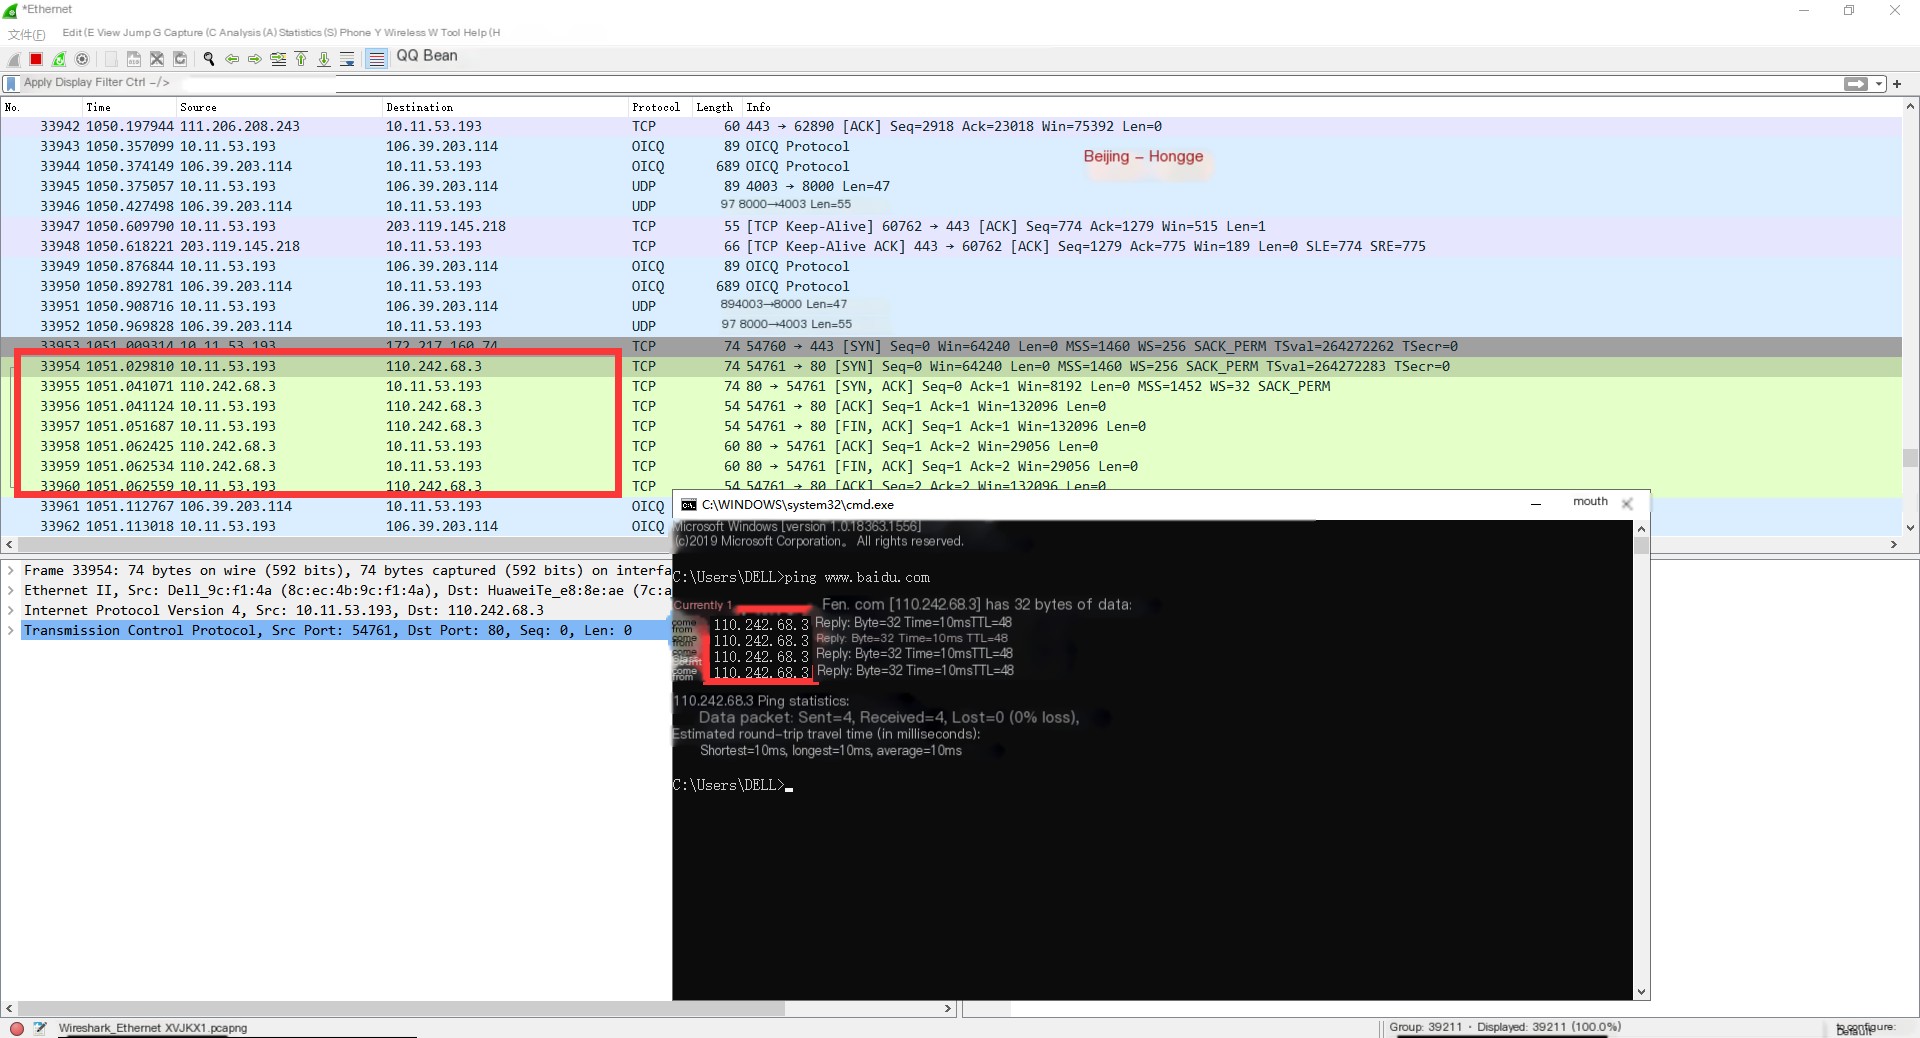
1. We know from the previous steps that Wireshark is now in capture mode for the “Ethernet” interface, so I’ll just ping Baidu’s domain name, as shown below:

2. We check whether Wireshark captured the packet when pinging Baidu’s domain name. By comparing, you can see it was captured, as shown below:
5. Filter Settings
We find that searching for ping packets to Baidu among many captured packets is quite tricky. Filtering conditions can be set in the filter bar to filter the packet list to avoid capturing useless packets, affecting the view. Here, using ping baidu.com as an example, only Baidu’s IP is filtered as follows:
Copy
ip.addr == 110.242.68.3 and icmpThe above filter condition means: only display packets where the source or destination host IP is 39.156.69.79 with the ICMP protocol. Note: the protocol name icmp should be in lowercase. I’ll briefly introduce it here and give a detailed explanation later.
After filtering, we find it much easier to search as I pinged twice, resulting in a total of 8 data records. As shown below:

Thus, the packet capture process with Wireshark is complete. Have you mastered it? Capturing packets with Wireshark is that simple. Detailed information on Wireshark filter conditions and how to view packet contents will be introduced later.
6. Summary
Okay, I have explained and shared several methods on using WireShark for packet capturing. Isn’t it simple? It’s getting late, so let’s end here! Thank you for patiently reading ~~