

Nessus is touted as the world’s most popular vulnerability scanning program, with over 75,000 organizations worldwide using it. This tool offers comprehensive computer vulnerability scanning services and regularly updates its vulnerability database. Unlike traditional vulnerability scanning software, Nessus can be remotely controlled and used for system vulnerability analysis scans both locally and remotely. Nessus is also one of the essential tools for penetration testing. If you wonder how to install Nessus on Kali Linux, just follow this guide carefully.
How to Install Nessus on Kali Linux
In this section, I’ll be teaching you how to get Nessus Essentials, a free version of the enterprise-grade vulnerability scanning platform Nessus.
I recommend you complete the next steps while in a Kali Linux VM.

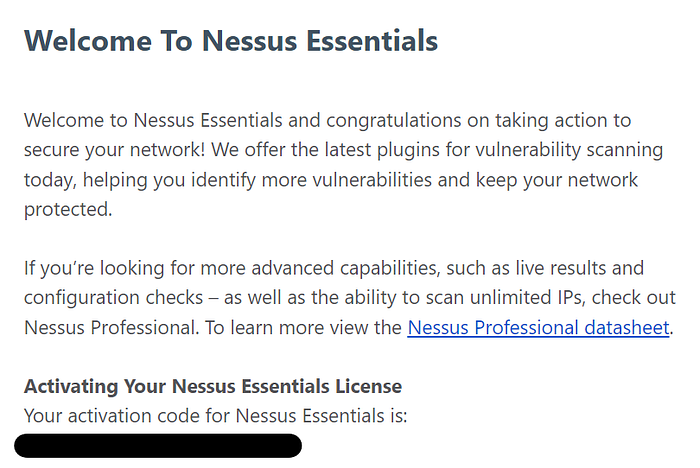
Step 1. Check your email for the activation code. copy and save in notepad.
Step 2. In a terminal, navigate to the directory you downloaded the file to (Most likely /root/Downloads

and use the following command to install Nessus from the .deb file:
sudo dpkg -i <Nessus .deb file name> (run as super user) (Debian package tool) (install) (Nessus package)

Step 3. Next, you’ll need to run the Nessus service (also referred to as the Nessus daemon), which starts everything up. Use the command
service nessusd start, and after a few seconds, go to your browser, and visit https://kali:8834/

This is the local web GUI for Nessus. Can’t find the webpage? the “kali” section of the URL is your hostname (the part that appears in the terminal after “root@”).

If you’ve previously worked with Nessus and encounter an error indicating a corrupt database, there are steps to resolve it. First, stop the Nessus service by running the command service nessud stop. Next, delete all Nessus-related files and perform a fresh installation by downloading the latest version. To ensure a complete removal, use the command rm -rf /opt/nessus in the terminal, which will recursively delete everything in the Nessus directory located in opt/nessus.
How to Start Nessus on Kali Linux
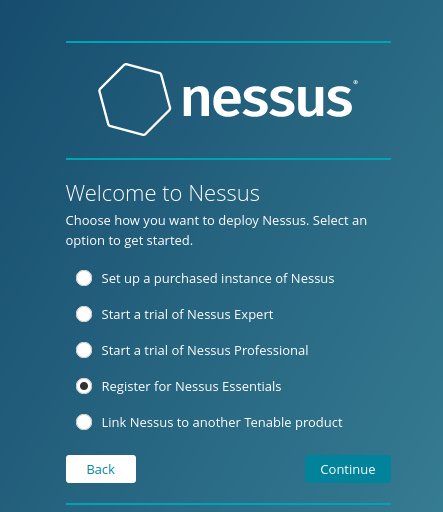
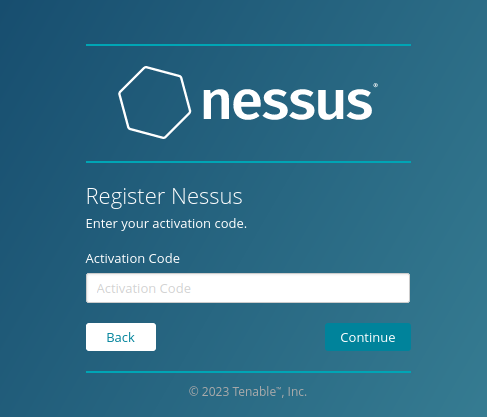
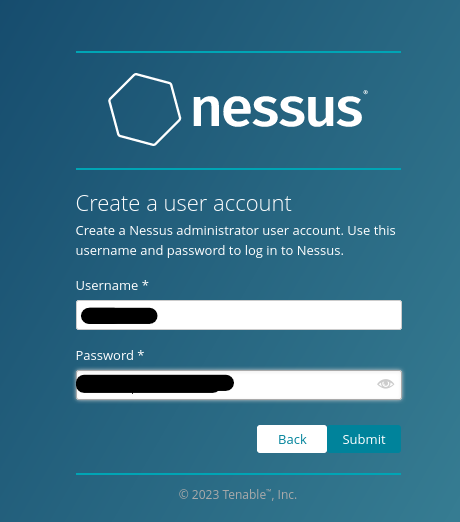
When you visit the Nessus website, you will be prompted to choose a product. Select Nessus Essentials. You can register at this point or, if you have previously registered, you can skip ahead to submitting your activation code, which should have been sent to your email. Finally, you will be asked to create a username and password for local access to Nessus on your virtual machine. The form will typically autofill with your Kali account details (e.g., ‘root’ and ‘toor’), but you can change these to whatever you prefer.
Step 1. Choose the Nessus Essentials product and proceed.
Step 2. Click SKIP in next page as you already registered.
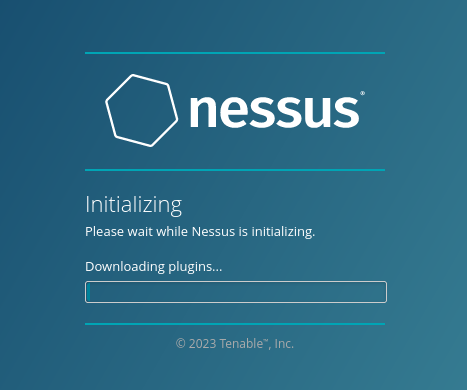
Step 3. Now, Nessus will start downloading the necessary plugins and files essential for its operation. This process may take some time, so it’s a good opportunity to take a break and come back once the download is complete. Once everything is ready, the Nessus dashboard will appear.
The dashboard provides access to a variety of features, including launching scans, creating policies, reviewing plugins, and more. In this module, we will mainly focus on plugins and using a pre-made scan template. However, I encourage you to explore Nessus further, as it is widely used in the industry and hands-on experience with it can be incredibly valuable.
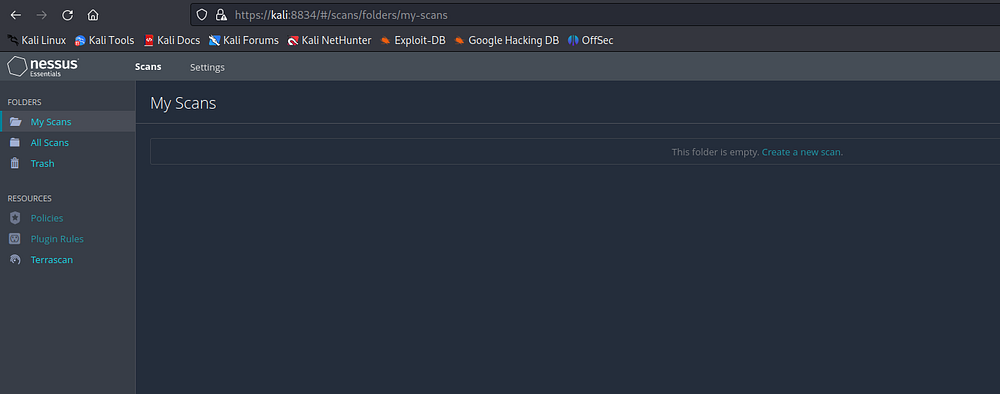
On the left-hand side, you’ll find a navigation menu that provides access to several key sections:
My Scans: This section displays all the scans conducted by the currently logged-in user, including those that are completed, scheduled, pending, and failed.
All Scans: Here, you can view scans conducted by any user within the organization, offering an overview of all completed, scheduled, pending, and failed scans.
Trash: If you no longer need a scan template, you can move it to the Trash. This action removes it from both the “My Scans” and “All Scans” sections, helping to keep your workspace tidy.
Policies: Scans are executed using a target and a policy, which includes a list of settings and plugins. Different plugins address specific security concerns, and policies let you configure and customize the scanning process accordingly.
Plugin Rules: Plugins are essential to Nessus as they perform scanning and enumeration. By using various plugins, you can achieve diverse results. This section allows you to fine-tune the scan by selecting specific security issues or areas of interest to focus on.
Scanners: Scanners are different hosts capable of performing enumeration. This feature is particularly useful when you need to scan multiple VLANs or physical networks that aren’t directly connected. In our scenario, we have one scanner available—the local scanner running within our VM.
Conclusion
Feel free to explore these sections further to gain a deeper understanding of their functionalities and how they can enhance your security assessments.