Hello, welcome to the Network Technology Alliance site.
The incident involving Northwestern Polytechnical University being attacked by the US NSA on September 5th has been widely discussed. As a technical professional, do you know how to analyze incoming traffic and pinpoint its origin?
Preliminary Explanation: Network Technology Alliance
Of course, we don’t know how the authorities located the source of the attack, because in the realm of cyber attacks, the techniques used often exceed our general knowledge and expertise. This article introduces a simple, yet not overly simple method that many people may not have used before.
Let’s show an example first:
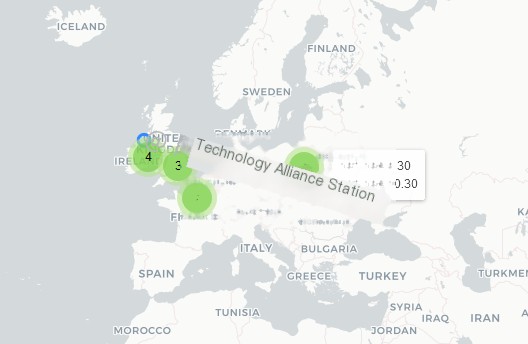
We see the traffic is directly displayed in the form of a map, which is achieved using the well-known packet capture tool Wireshark. Let’s explain in detail how to use it.
Network Technology Alliance: Wireshark/MaxMind
WireShark is a well-known packet capture tool, so we won’t elaborate further. With WireShark, you can easily perform packet analysis, and even small invasions can be identified.
MaxMind can be seen as a tool that provides geographical data for IP addresses.
We know that using WireShark, you can directly find out the source and destination IP addresses of a packet. However, it is tedious to check each IP address’s corresponding country and city manually. In such cases, it’s difficult to visually determine the origin of data packets.
Combining MaxMind with WireShark solves this issue.
“Demonstration Effect of the Network Technology Alliance”
First, let me demonstrate the effect:
Step One: Open WireShark and start capturing packets.
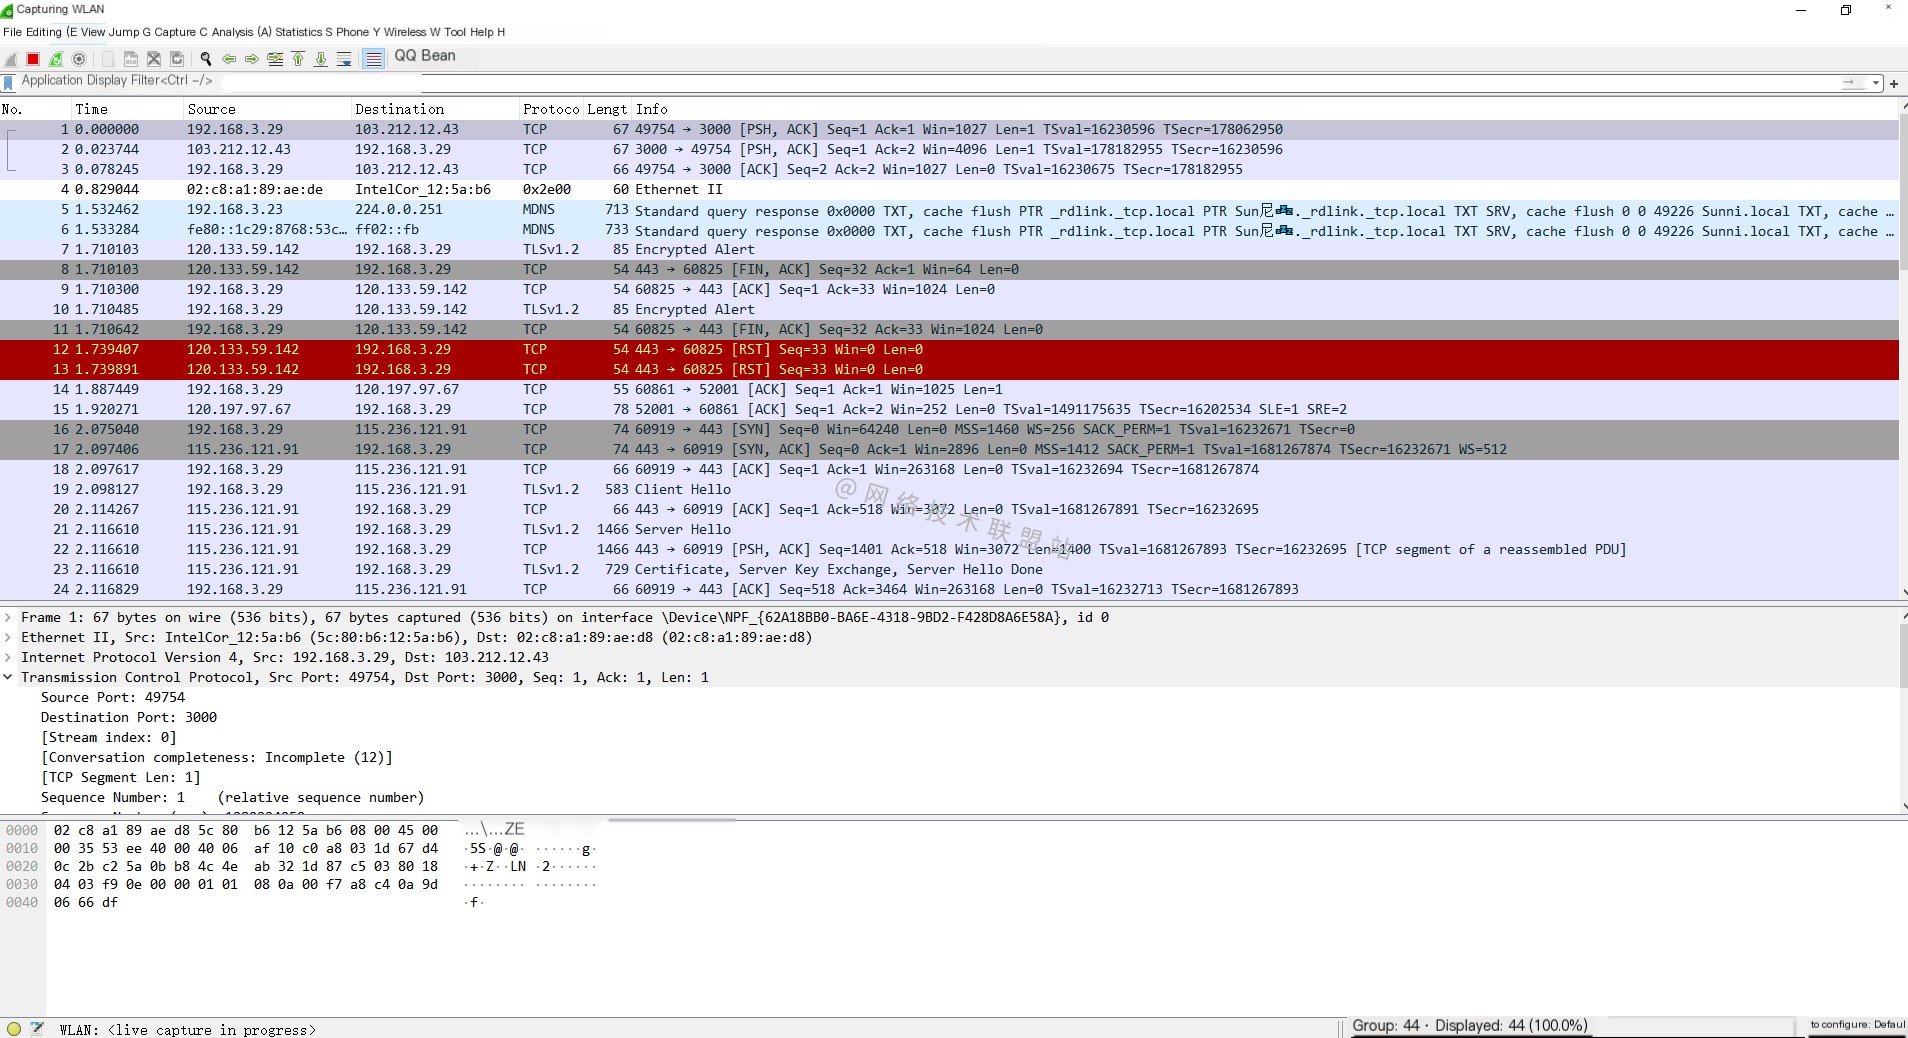
Step Two: Observe which regions are involved in the current traffic.
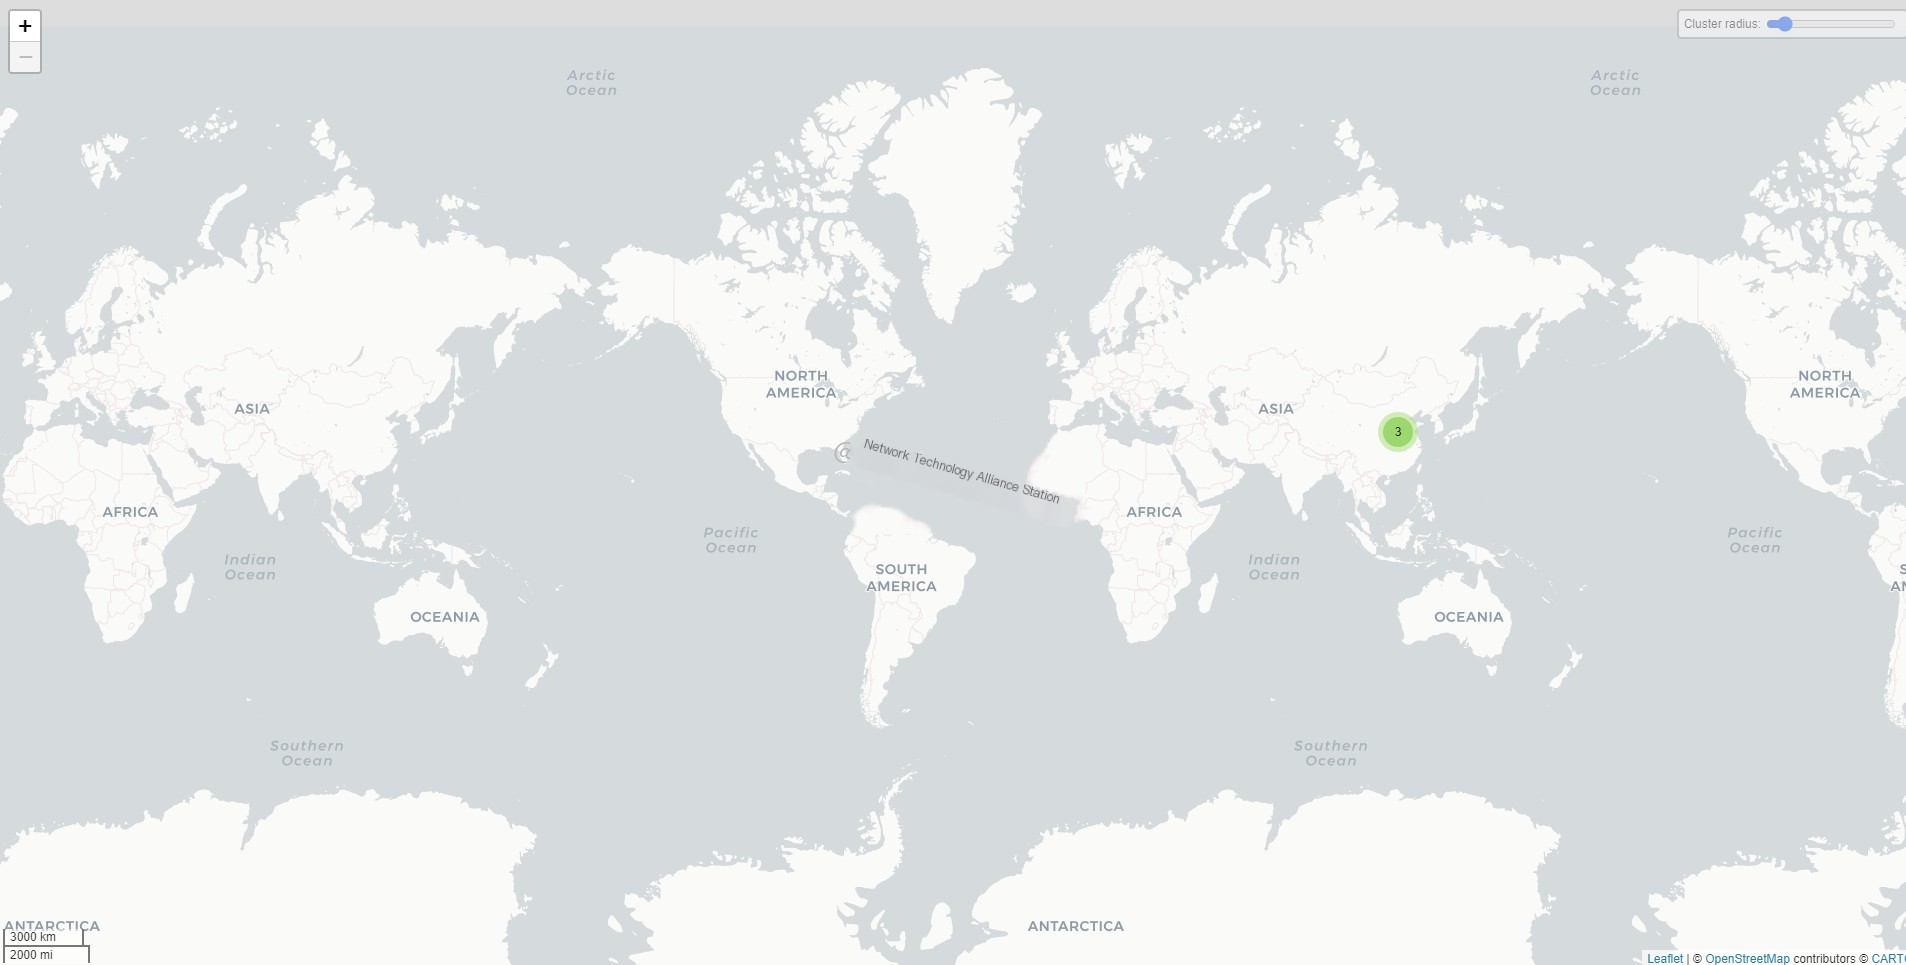
Since I am currently in China, you can only see points within China.
Step Two: Ping IPs from other countries.
14.102.132.1

2.58.252.1
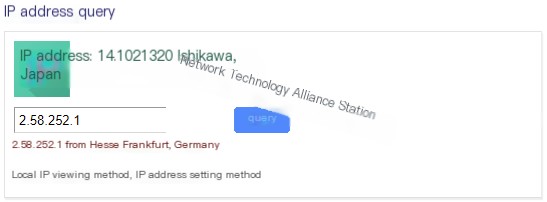
41.71.0.1
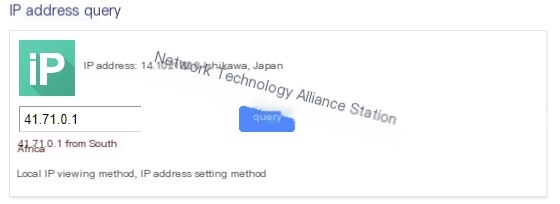
Let’s first ping these three countries:
ping 14.102.132.1ping 2.58.252.1ping 41.71.0.1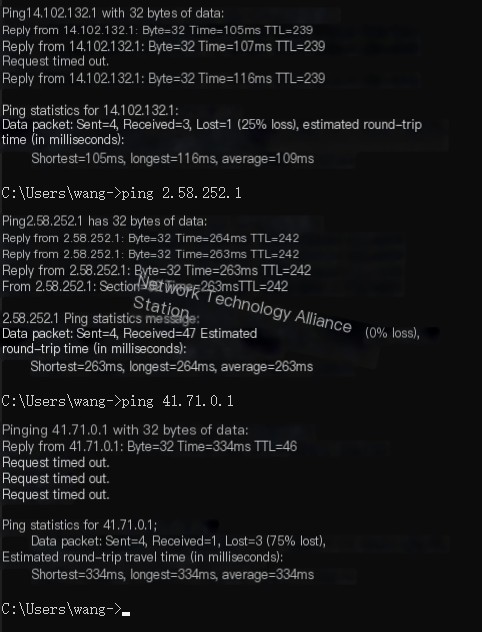
Since these are foreign sites, packet loss is normal.
Let’s look at the packets captured by WireShark:
 ping 14.102.132.1
 ping 2.58.252.1
 ping 41.71.0.1
Now let’s look at the traffic map:
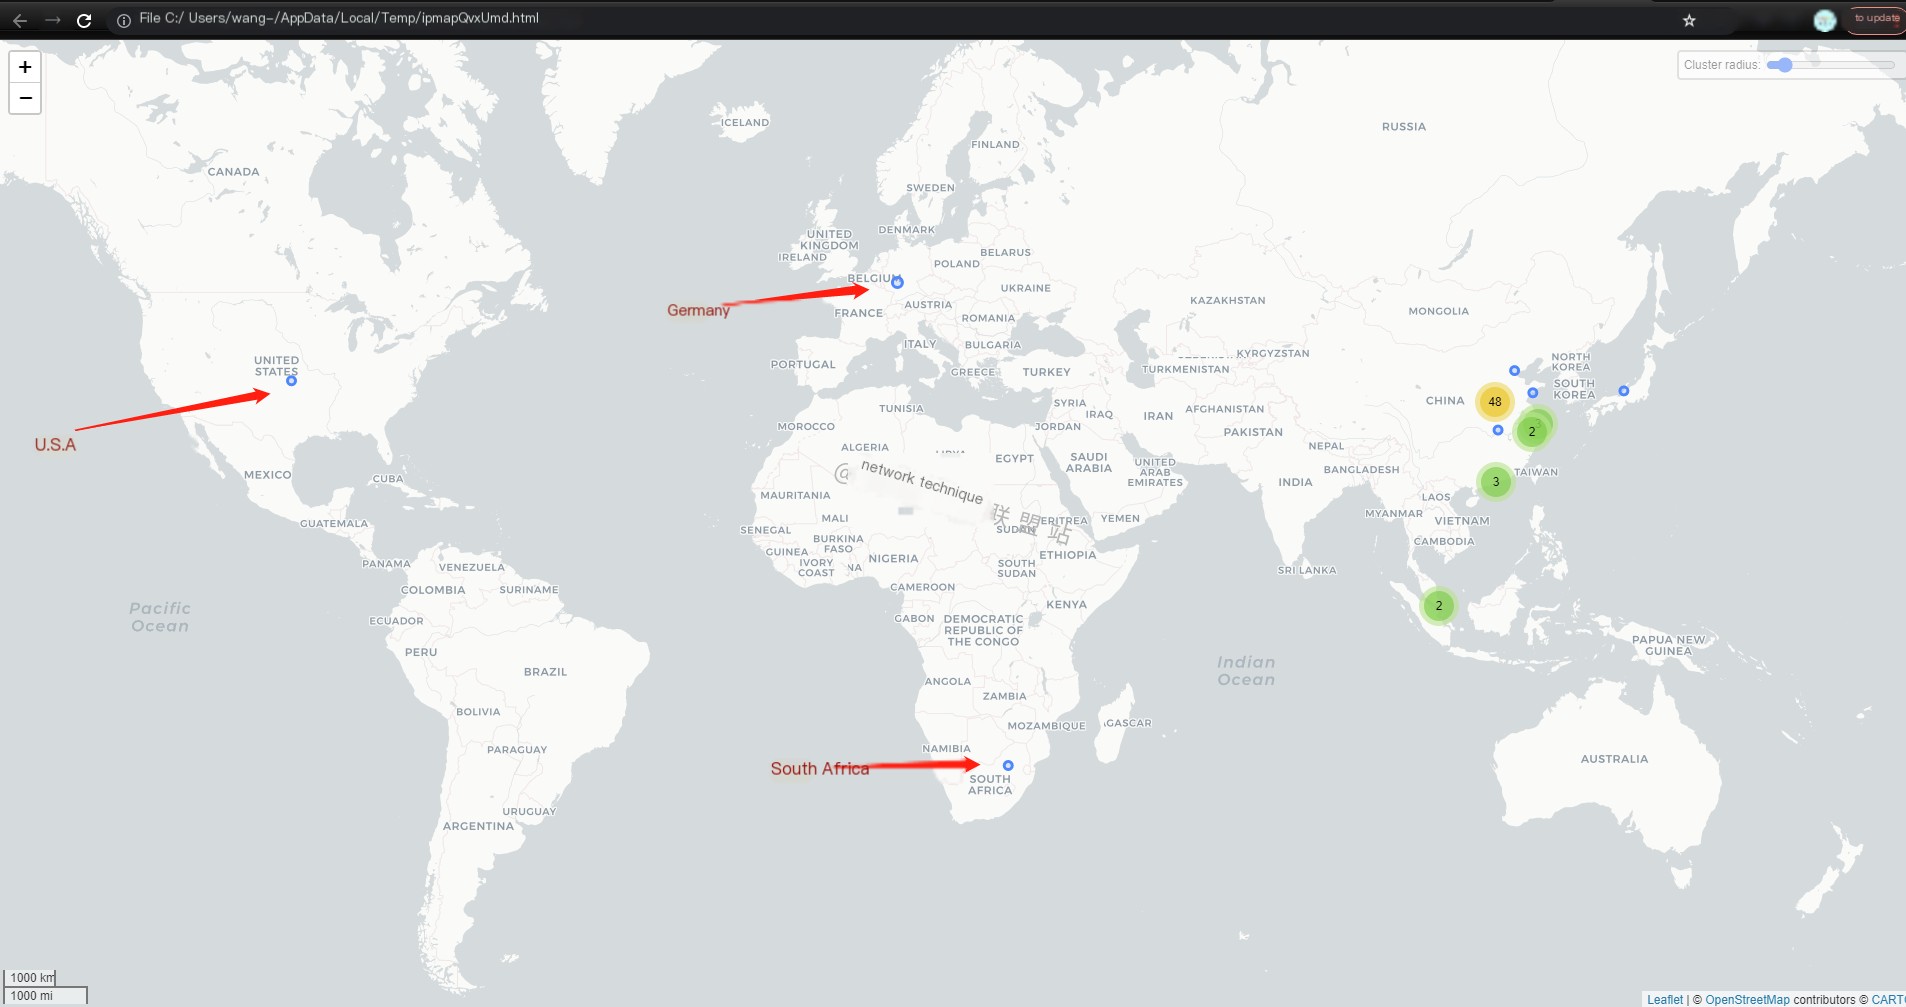
Did you clearly see the addresses of the three countries we pinged? There are also points for Hong Kong, China, and Singapore due to routing issues, as I used a proxy.
“Network Technology Alliance: Understanding Intrusion Events”
Imagine if foreign hackers used wiretapping protocols to attack you, and conveniently, your server also performed packet analysis at that time. By integrating these tools, it becomes easier to visually trace which country or city the attack is originating from, saving a lot of time.
How to Integrate MaxMind with WireShark?
Download MaxMind
Visit https://www.maxmind.com/en/accounts/762406/geoip/downloads to download the following three files:
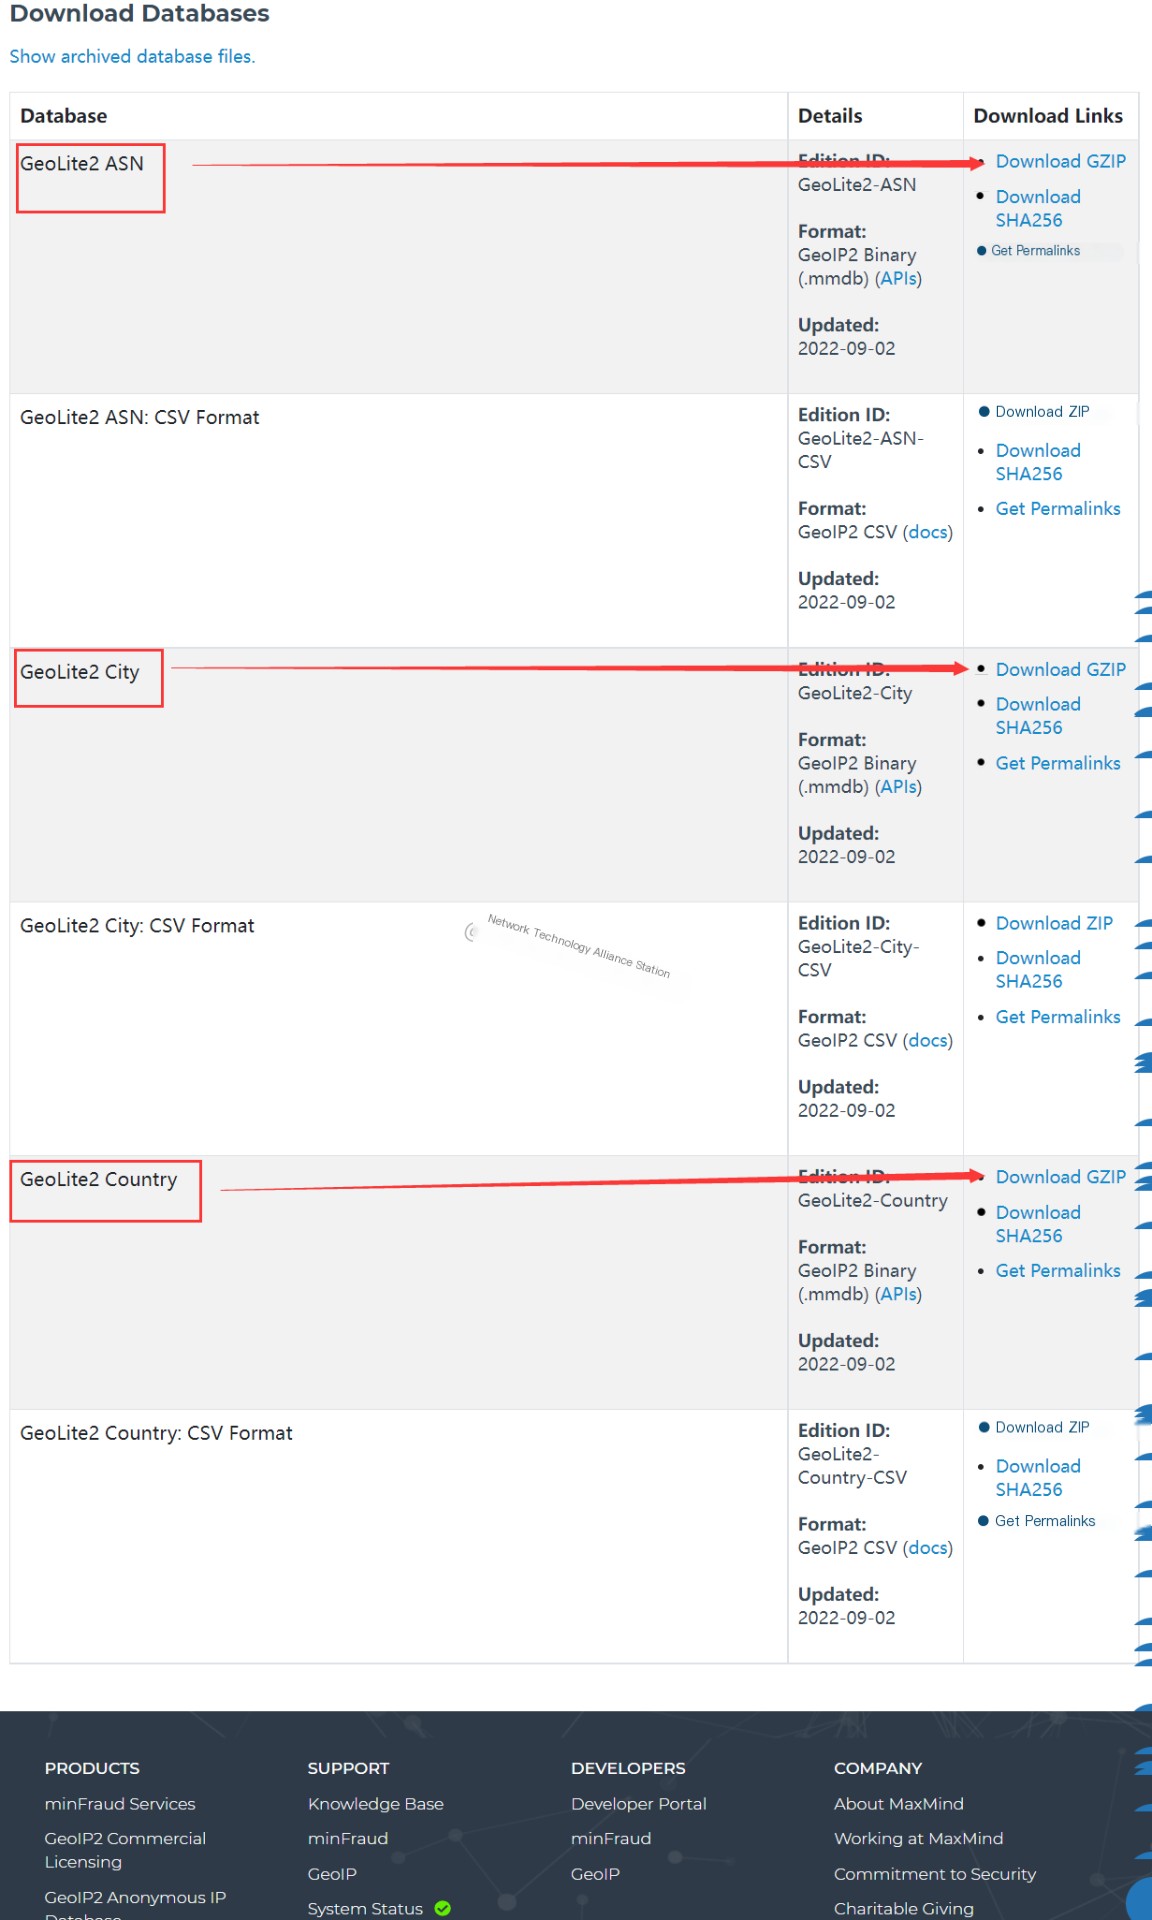
You need to register first for an initial download, which can be slightly cumbersome. If you don’t want to register and download, you can reply “MaxMind” in our WeChat public account [Network Technology Alliance Site] to get it. I have already downloaded it for you.
Extract Relevant Files
If you downloaded via the public account, you can skip this step.
We need to move files ending with .mmdb to a dedicated folder. Here, I created a folder named MaxMind:
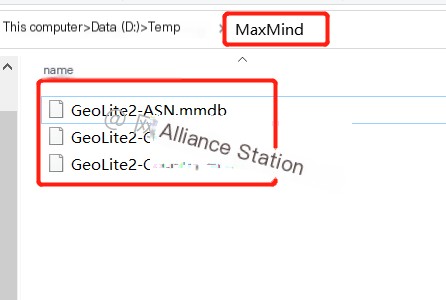
WireShark Integrate MaxMind
Open WireShark, click [Edit] in the menu bar, go to [Preferences], then click [Name Resolution]:

Scroll to the bottom to find [MaxMind database directories], where you need to set the folder named MaxMind you just created:
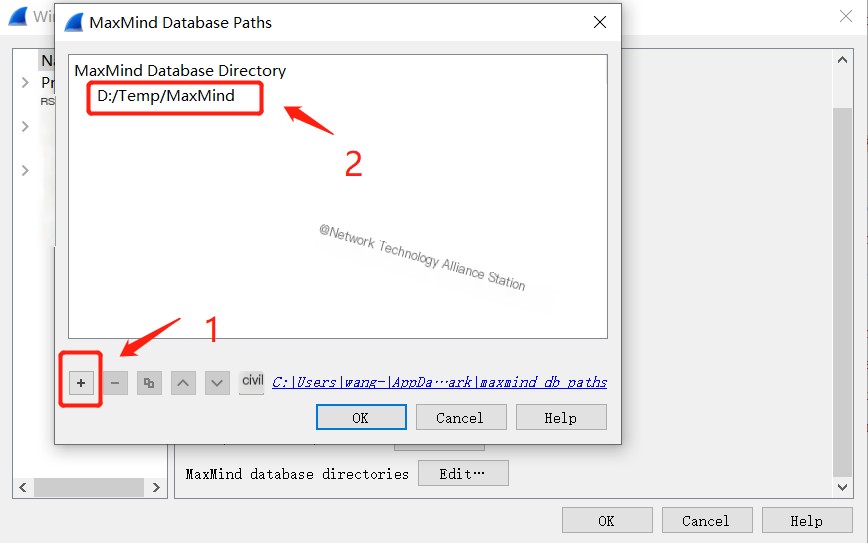
Click [ok] to complete the integration.
Overall, it’s not very difficult, mainly about downloading. The download link is a bit hard to find, and sometimes online access is quite slow.
Use MaxMind’s Map Function
Step One: Open WireShark and start capturing:
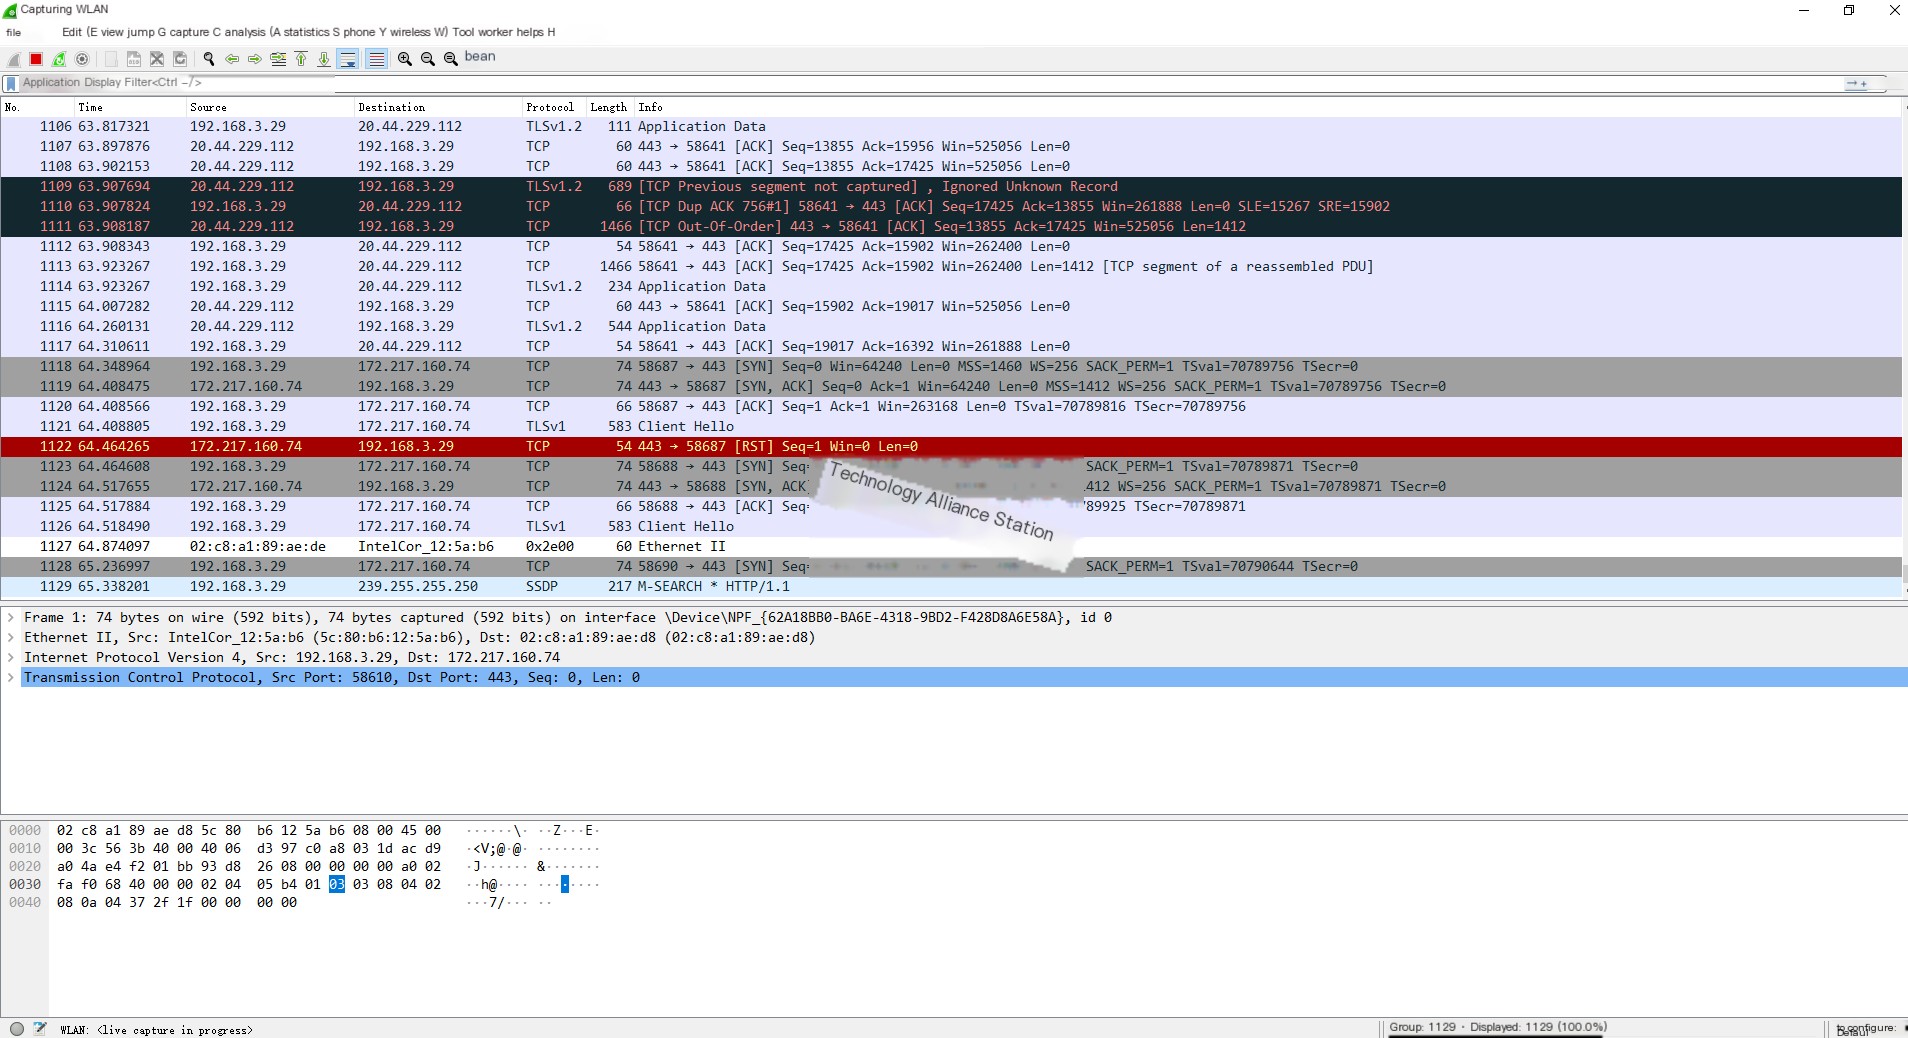
Step Two: Click the menu bar [Statistics] —> [Endpoints]:
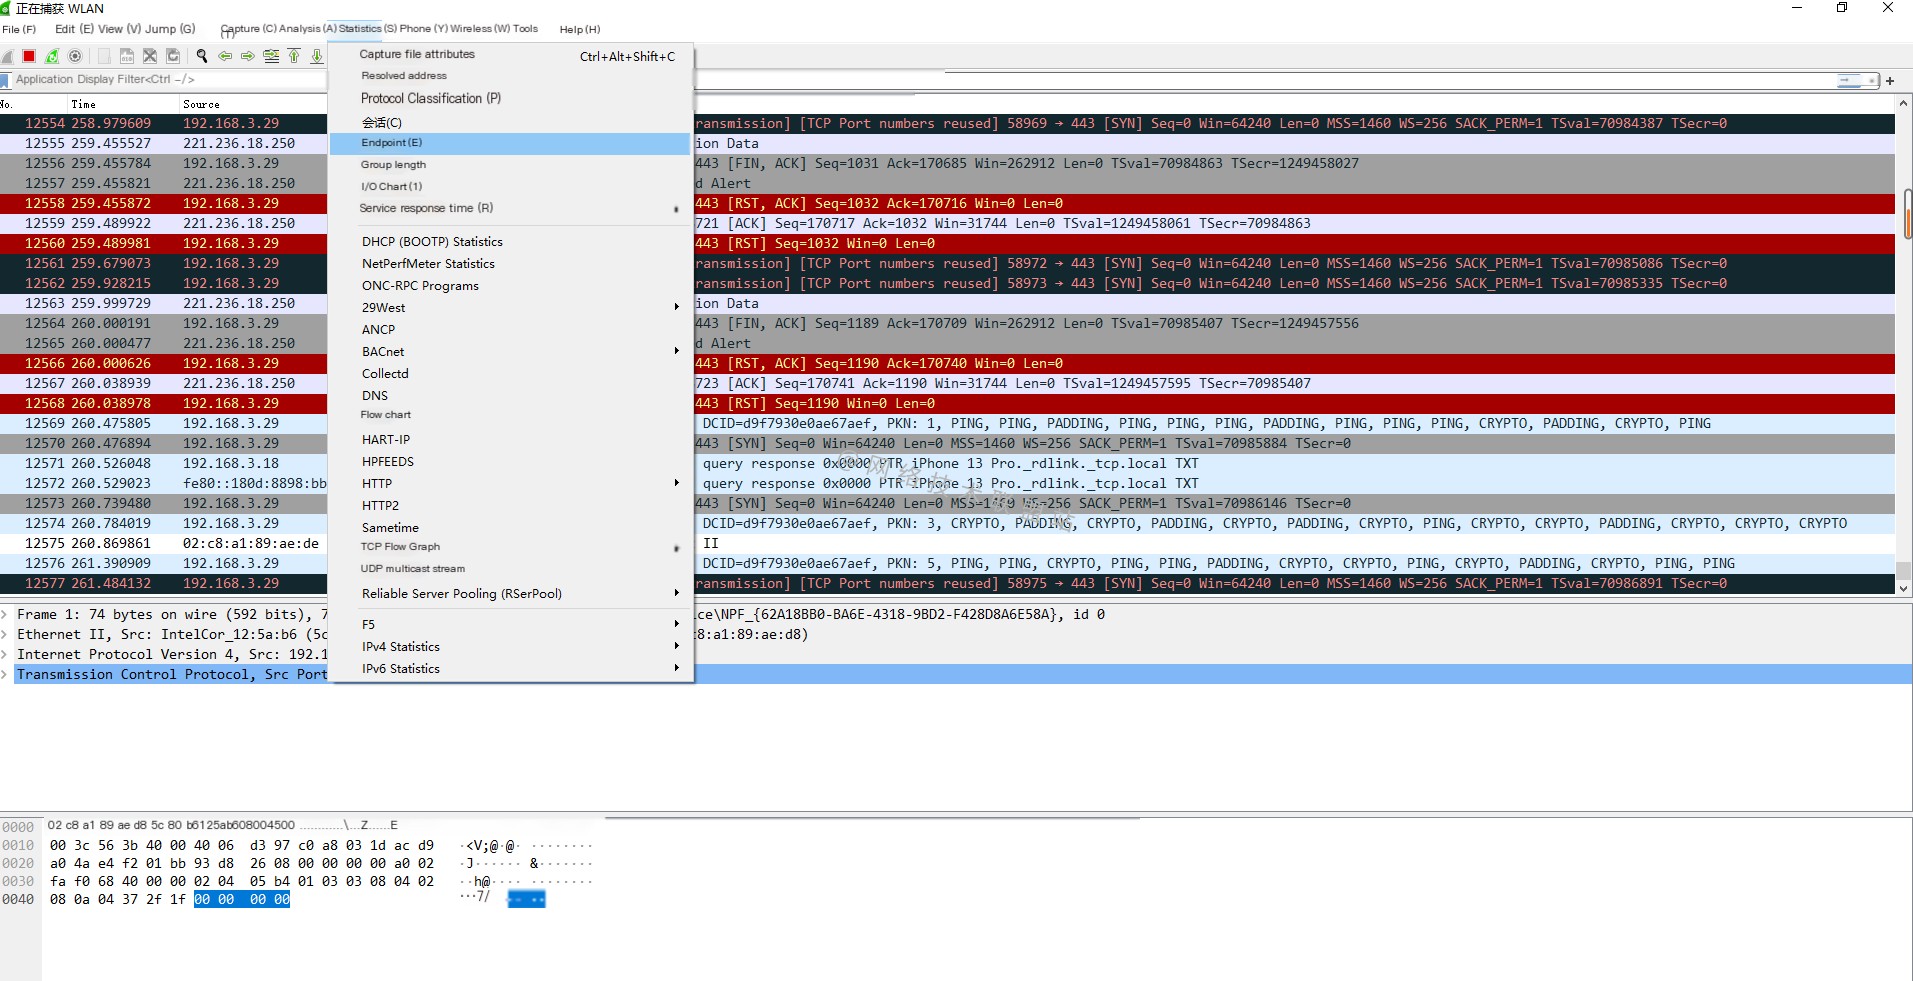
Step Three: Map
Here we see the map function at the bottom, which is the button for generating a map:
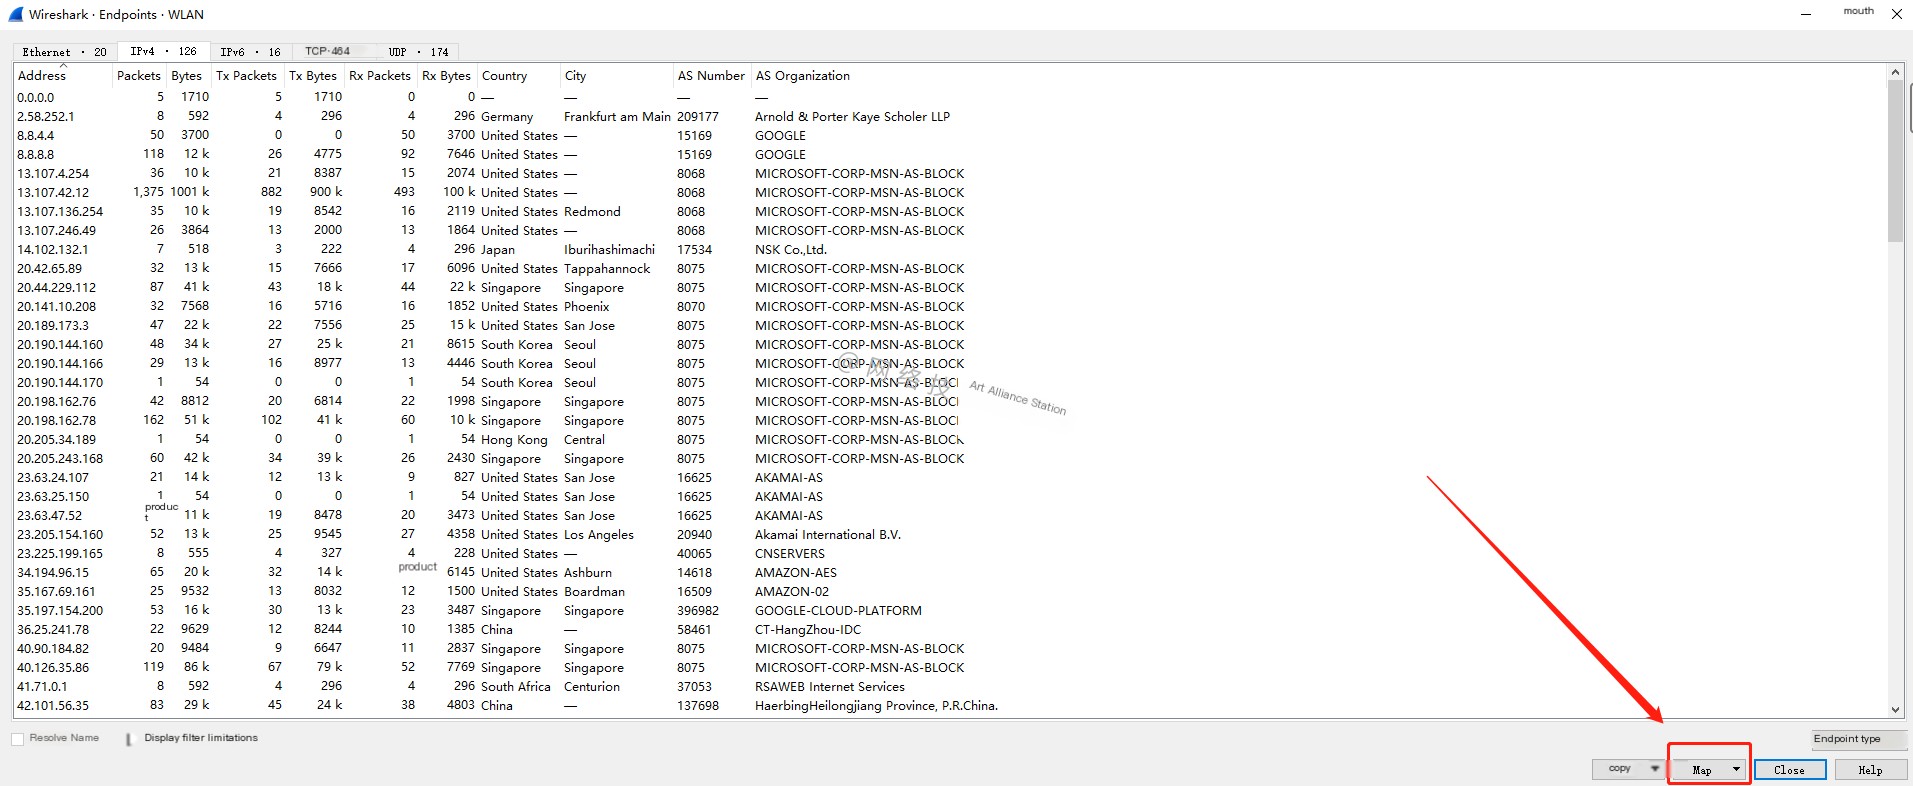
We can choose different protocol map functions:
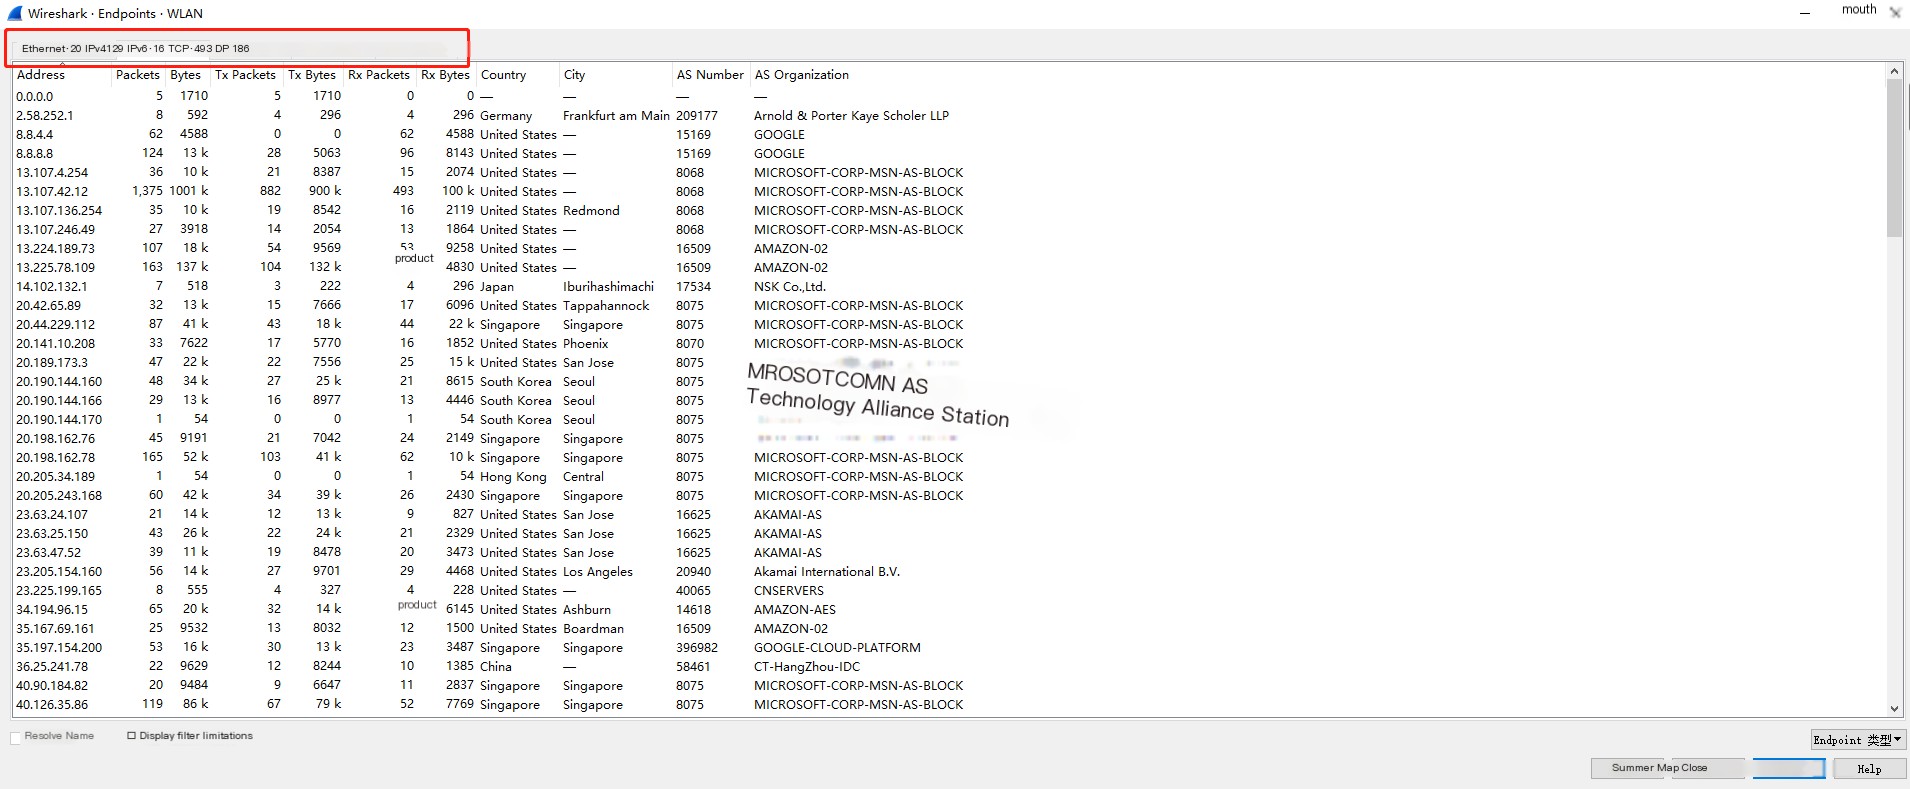
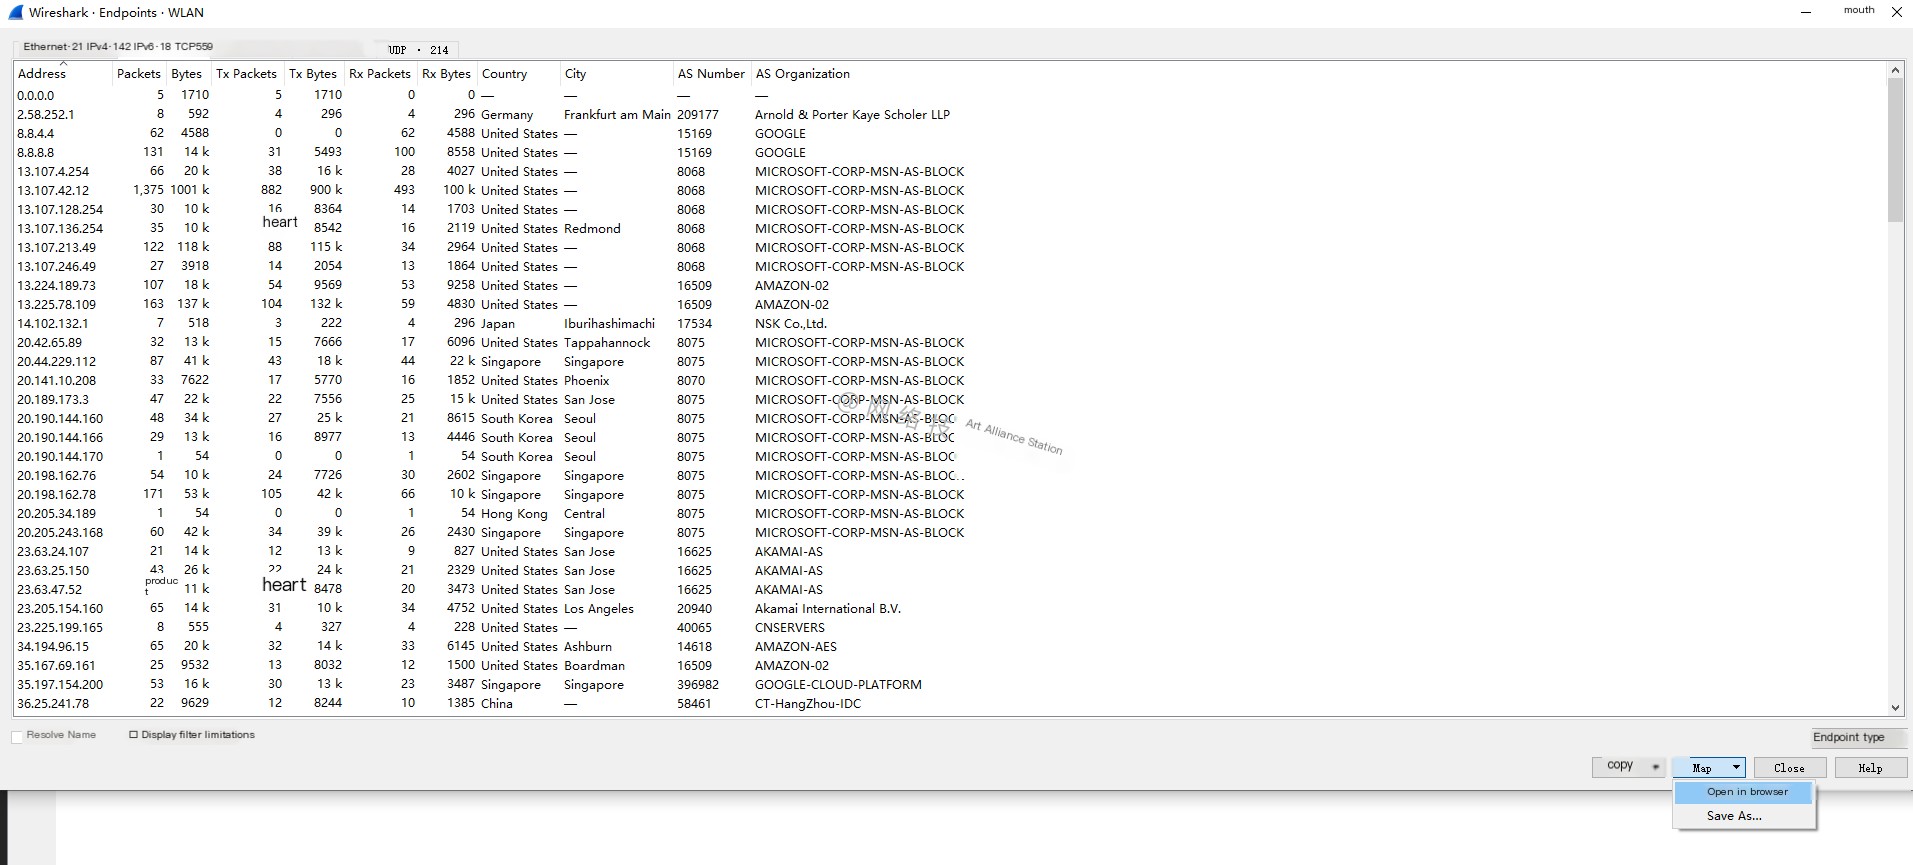
Here, we select IPV4 and choose to open in a browser:
At this point, you will see a locally generated HTML file with the related traffic map displayed:
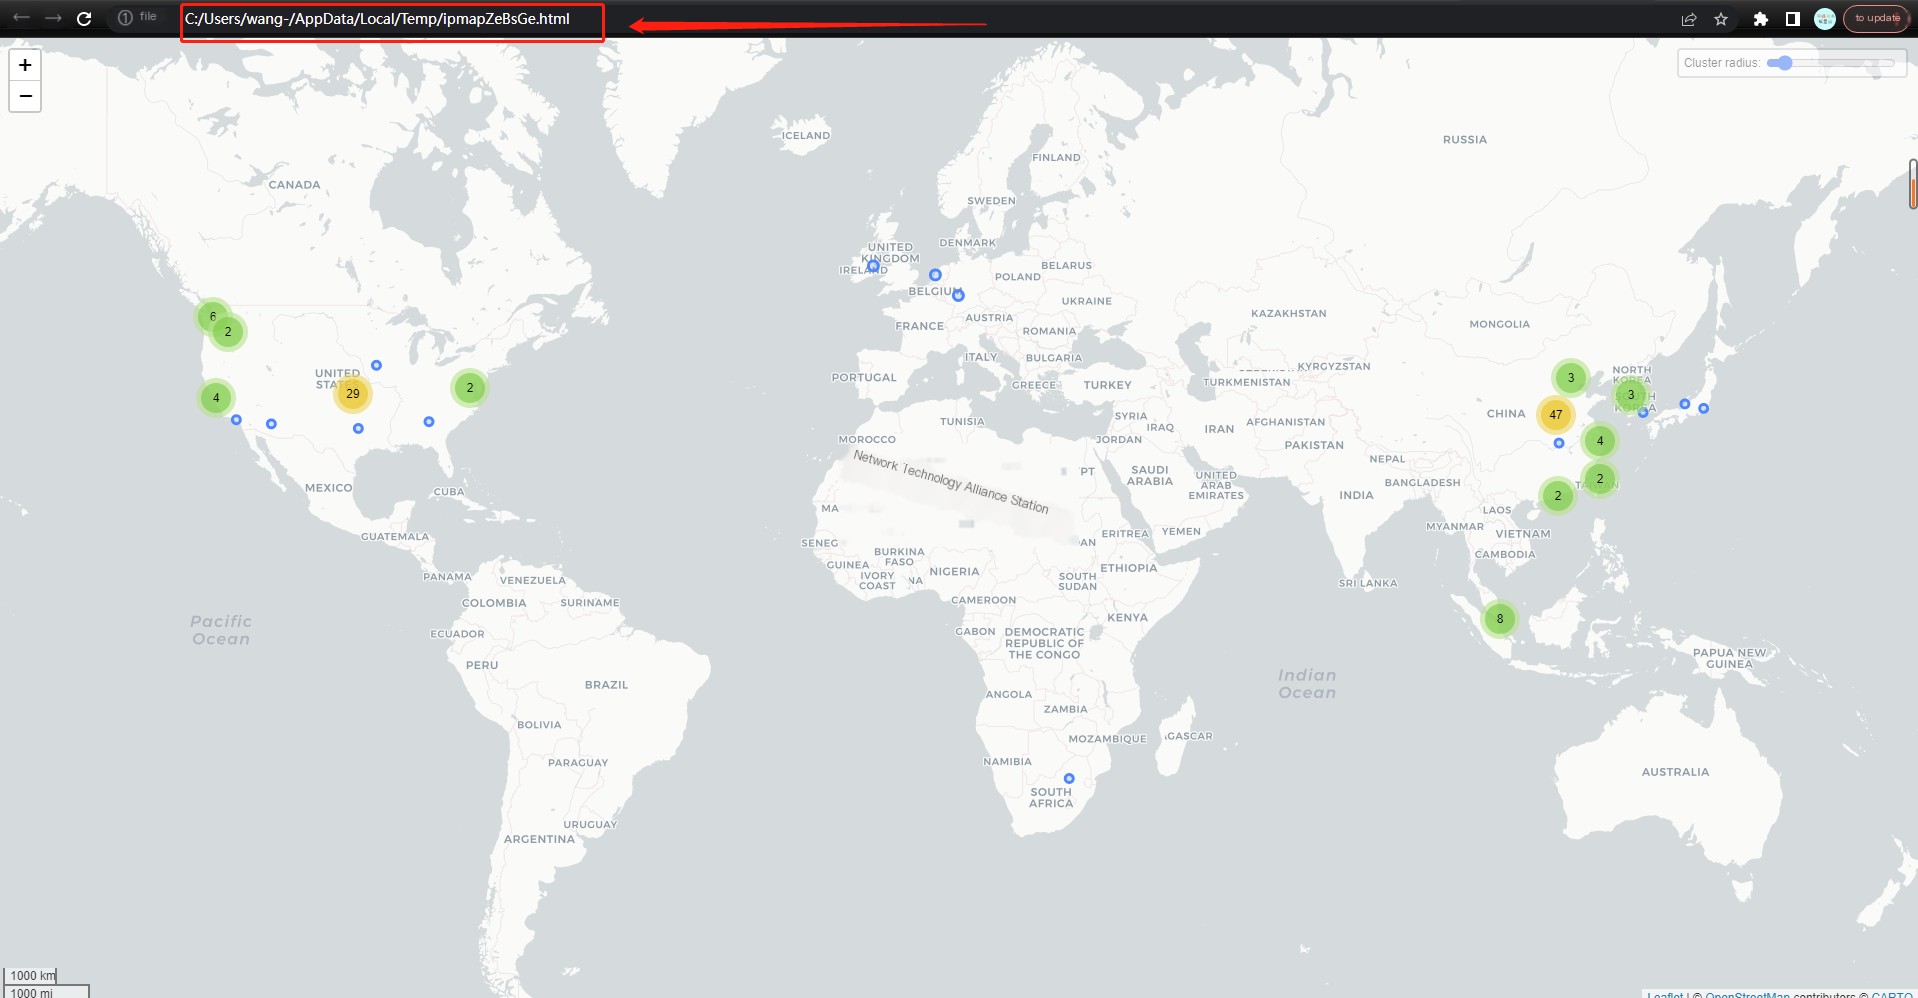
This completes the use of the MaxMind map feature.
Conclusion
Amid the incident of Northwestern Polytechnical University being attacked by the US, we must remain vigilant and prioritize cybersecurity. The latter part of this article introduced mapping IP traffic information using the well-known packet capture tool WireShark, integrated with MaxMind. After reading this article, you can also give it a try.
I hope this article was helpful to you. Thank you for reading. If you found the article helpful, don’t forget to like ?, and bookmark it ⭐! If you have any questions, feel free to discuss them with me in the comment section below!!!


