

Which Tool is Best for Vulnerability Scanning?
As a cybersecurity professional or cyber warrior, one of the keys to success is the ability to find vulnerabilities or flaws in the target system, which are precisely what we use to prevent cyber attacks. We have studied several methods, including using various web application vulnerability testers (such as Nikto) and browsing vulnerability databases (such as www.securityfocus.com), but here we want to be more specific. What if we had a tool that could scan a system or network and report back all its vulnerabilities to us—that would be a gold mine for us, and we do have such a tool! That is vulnerability scanning with Nexpose.

These tools are commonly known as vulnerability scanners. They maintain a database of known vulnerabilities and scan target systems for these issues. If any vulnerabilities are found, the tool generates a detailed report, enabling us to select the appropriate action to exploit the system or network.
There are numerous vulnerability assessment tools available, including the popular Nessus, which started as an open-source project and is now a commercial product from Tenable. Other notable scanners include Retina, ISS, Acunetix, and many more.
In this tutorial, we’ll focus on using Rapid7’s Nexpose tool. Rapid7, the same company that produces Metasploit, offers Nexpose, which integrates seamlessly with Metasploit, providing a significant advantage for its users.
Vulnerability Scanning with Nexpose: Step-by-Step Guide
Step 1: Download and Register Nexpose
Begin by downloading Nexpose from Rapid7’s website. Rapid7 offers multiple editions of Nexpose, and we’ll be using the free community edition.
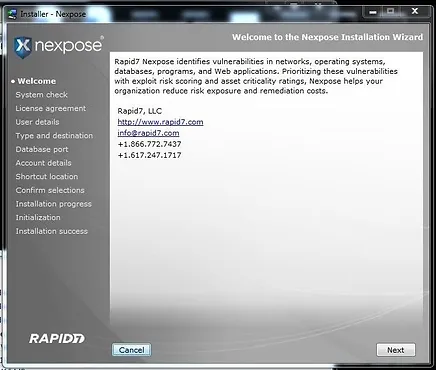
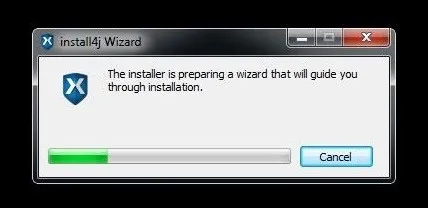
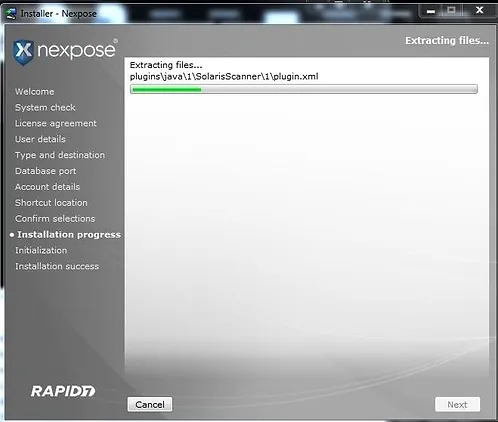
After downloading, install Nexpose on your Windows 7 system. The installation process involves a wizard that guides you through each step, including system checks and recommendations (e.g., 8GB of RAM), accepting the license agreement, selecting the installation type and destination, and setting up a database and user credentials.
Step 2: Restart Your System
Once Nexpose is installed, restart your system to ensure it is ready for use. Verify that Nexpose is running by going to the Windows Start button, selecting All Programs, and then Rapid7. Click on “Start Nexpose Service” to initiate Nexpose in the background.
Step 3: Access Nexpose via Browser
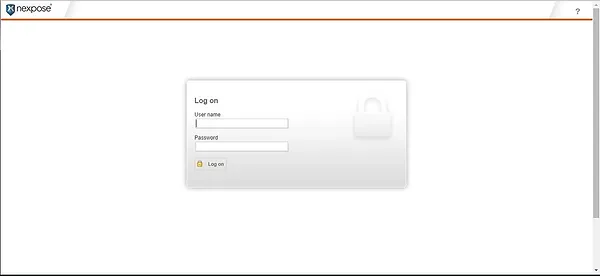
Open your browser and navigate to http://localhost:3780 to access Nexpose. The initial screen will show Nexpose updating its database of known vulnerabilities, which can take some time.
After the database update, you will be prompted to enter your credentials. Use the username and password you created during the installation. Additionally, enter the product key you received via email from Rapid7 to activate Nexpose.
Step 4: Scan the Targets by Nexpose
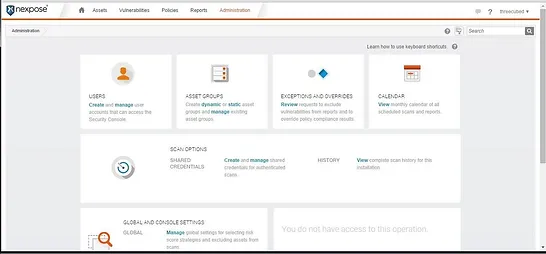
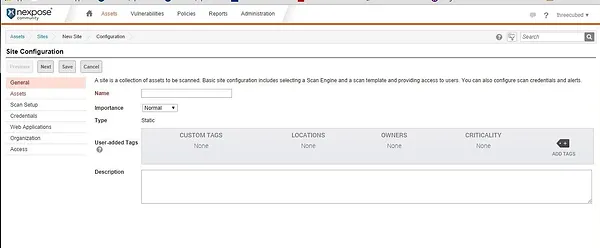
Click on the Home button in the upper left corner, then select “New Static Site.” Click on “Assets,” then “View,” and finally “New Site.” Enter the network or IP addresses you want to scan. The community edition allows scanning up to 32 IP addresses.
Step 5: View the Results
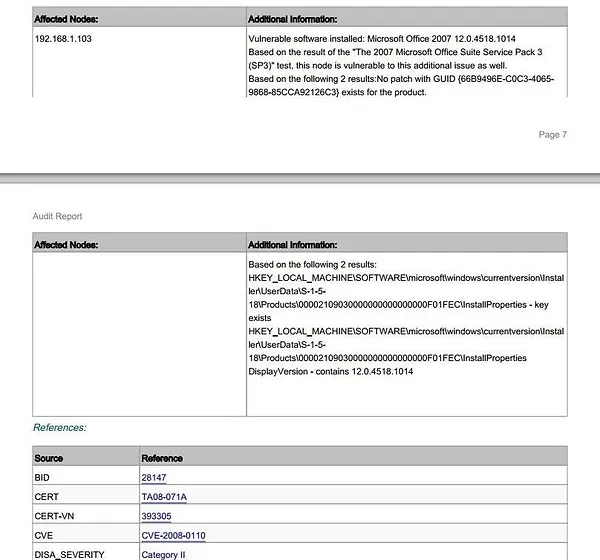
After the scan is complete, you can view the results. Nexpose generates a detailed report of all vulnerabilities found on the target systems or network. Click on “Reports” in the top menu and select the option to generate the report in PDF format.
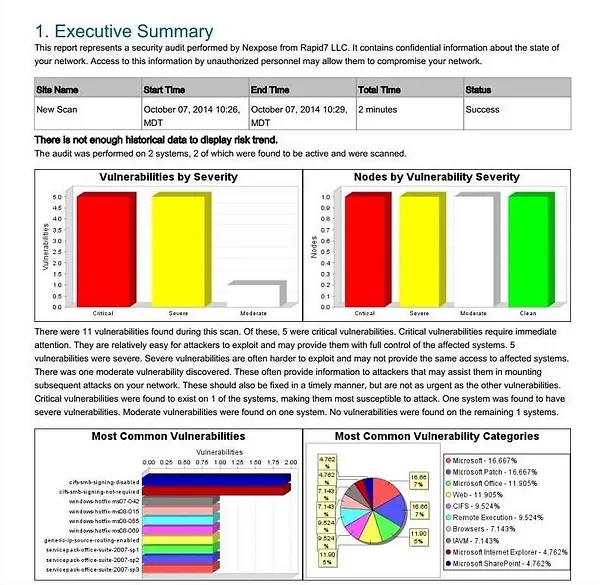
The report, often over twenty pages long, provides an executive summary and detailed information about each vulnerability. This comprehensive analysis allows you to see exactly what vulnerabilities exist and how to address them.
Conclusion
Vulnerability scanners like Nexpose are designed to help security engineers identify potential weaknesses in their systems and networks. However, savvy hackers can also use these tools to pinpoint potential targets and their vulnerabilities, eliminating the guesswork involved in choosing the right exploit. Nexpose and similar scanners not only identify vulnerabilities but also suggest the appropriate exploits to use, making them invaluable in both defensive and offensive cybersecurity strategies.